
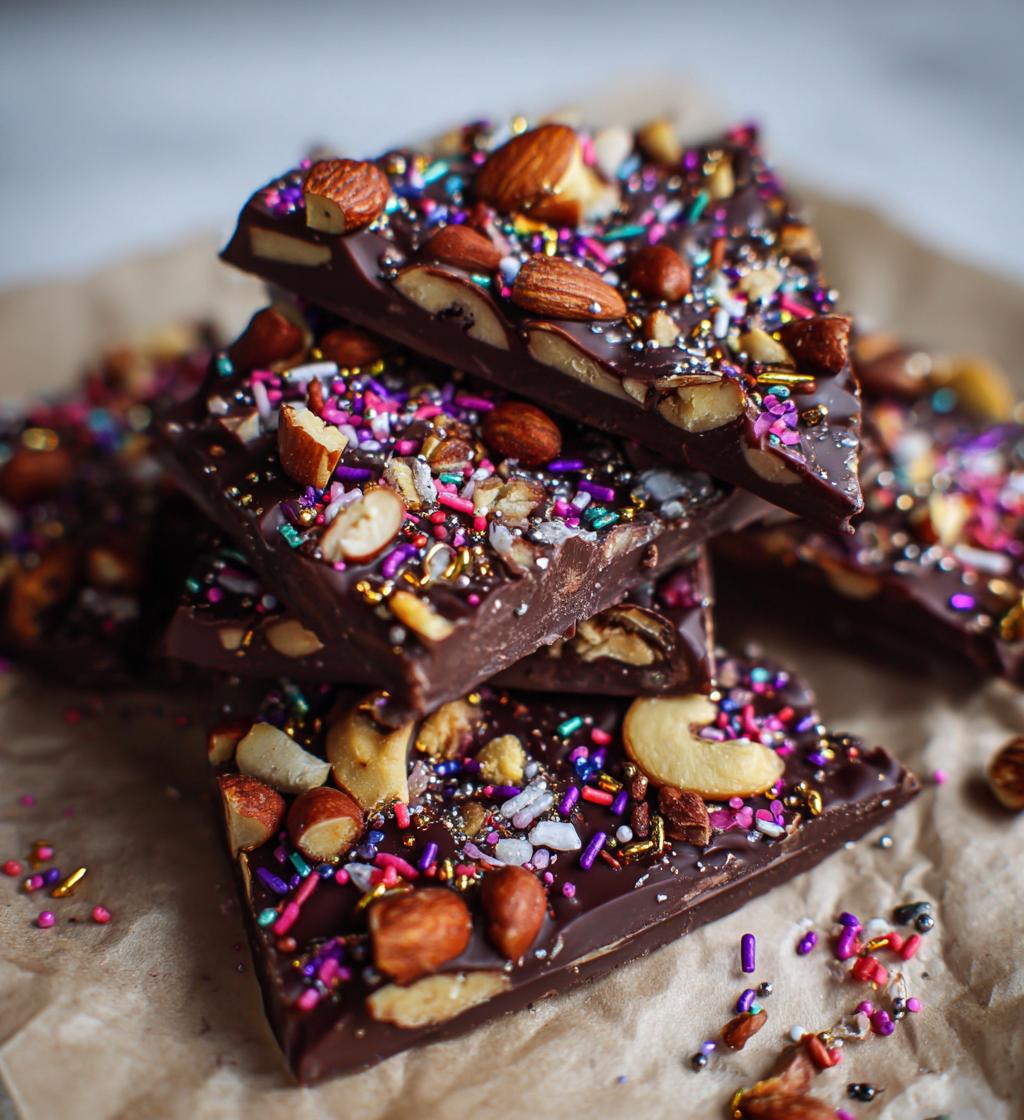
There’s something truly magical about whipping up homemade gifts for Valentine’s Day, and trust me, nothing says “I love you” quite like a box of delicious homemade chocolates! The beauty of *valentines day chocolate* lies in its ability to convey heartfelt emotions without saying a word. Every bite melts in your mouth, combining rich flavors and textures that store-bought treats just can’t match. I remember the first time I made these chocolate delights; the kitchen filled with the warm, sweet aroma of melting chocolate, and I felt like a true chocolatier! It was so rewarding to see the smiles on my loved ones’ faces as they indulged in something made with my own two hands. These treats are not just chocolates; they’re little tokens of affection, perfect for sharing with friends, family, or that special someone in your life. Get ready to create some sweet memories!
Ingredients List
Let’s gather everything we need to create these delightful chocolates! Each ingredient plays a vital role in crafting that perfect, melt-in-your-mouth experience. Here’s what you’ll need:
- 1 cup dark chocolate chips: Look for high-quality chocolate chips; they’ll melt beautifully and provide a rich flavor that’s simply irresistible.
- 1/2 cup heavy cream: This is what gives our chocolates that wonderfully creamy texture. Make sure it’s fresh for the best results!
- 1 teaspoon vanilla extract: A splash of vanilla elevates the flavor profile, bringing warmth and depth to your chocolate.
- 1/4 cup powdered sugar: This sweetens the mix and helps create that silky smooth consistency we’re aiming for.
- 1/4 cup crushed nuts: Choose your favorites, like almonds or walnuts, to add a delightful crunch and nutty flavor to the chocolates.
- 1/4 cup sprinkles: These are for that extra pop of color and fun! Use any sprinkles you love to personalize your treats.
With these ingredients on hand, you’re all set to create some amazing homemade *valentines day chocolate*! Let’s get cooking!
How to Prepare Instructions
Getting ready to make your own *valentines day chocolate* is truly exciting! Follow these steps, and you’ll have delicious chocolates that’ll impress anyone. Let’s dive right in!
Melting the Chocolate
First up, let’s melt those chocolate chips! Grab a double boiler—this is my go-to method to ensure the chocolate melts evenly without burning. If you don’t have a double boiler, you can easily create one by placing a heatproof bowl over a pot of simmering water. Just make sure the bottom of the bowl doesn’t touch the water. Stir the chocolate chips gently as they begin to melt, keeping an eye on them. This usually takes about 5-7 minutes. Remember, patience is key here; burnt chocolate is a heartbreaker!
Heating the Cream
While the chocolate is melting, let’s heat the heavy cream. Pour it into a saucepan and warm it over medium heat until it just starts to simmer—this means small bubbles will appear along the edges but nothing boiling! This step is essential because adding hot cream to the chocolate creates a beautiful emulsion. It should take around 3-4 minutes, and you’ll want to keep stirring occasionally to avoid any scorching.
Combining Ingredients
Now comes the fun part! Once the chocolate has melted completely and the cream is simmering, carefully pour the hot cream over the melted chocolate. Use a spatula to gently mix everything together until you achieve a smooth, luscious consistency. Add your teaspoon of vanilla extract and the powdered sugar, stirring until it’s all well incorporated. You should end up with a silky chocolate mixture that looks irresistible!
Molding the Chocolates
Next, it’s time to mold these beauties! Pour the chocolate mixture into your chosen molds, filling them about three-quarters full. Now, sprinkle the crushed nuts and colorful sprinkles on top—this is where you can get creative! Make sure to press the toppings down slightly so they stick into the chocolate. It’s all about that perfect presentation!
Cooling the Chocolates
Once your molds are filled, place them in the refrigerator for at least 2 hours. This chilling time is crucial for setting the chocolates. You’ll know they’re ready when they feel firm to the touch and easily pull away from the sides of the molds. Trust me, the waiting will be worth it!
Serving the Chocolates
Finally, it’s time for the grand reveal! Gently pop the chocolates out of the molds. If they’re being stubborn, just give them a little twist—don’t worry, they’ll come out beautifully! Arrange them on a lovely plate or box them up as gifts. Either way, your homemade *valentines day chocolate* is ready to bring smiles and sweetness to someone special!
Why You’ll Love This Recipe
- Quick and Easy: You can whip these up in just about 15 minutes of prep time! Plus, there’s no baking involved, making it super simple.
- Customizable: Feel free to get creative with your toppings! From nuts to sprinkles or even dried fruit, you can tailor these chocolates to your taste.
- Perfect for Gifting: These homemade chocolates make heartfelt gifts for friends, family, or that special someone. They show you care with every delicious bite!
- Impressive Presentation: With a little creativity, you can make these treats look absolutely stunning, making them ideal for any occasion, not just Valentine’s Day!
- Deliciously Indulgent: Each bite is rich and creamy, offering a delightful melt-in-your-mouth experience that’s hard to resist.
Tips for Success
Now that you’re all set to make your own *valentines day chocolate*, here are some pro tips to ensure everything turns out perfectly. Trust me, these little nuggets of wisdom will make a world of difference!
Choose Quality Ingredients
Always opt for high-quality dark chocolate chips. The better the chocolate, the richer and more satisfying your chocolates will taste. Look for chocolate with a cocoa content of at least 60% for that deep, luscious flavor. Fresh heavy cream is a must too—don’t skimp on it! Fresh ingredients really elevate the final product.
Be Patient with Melting
Remember, when melting chocolate, slow and steady wins the race! Don’t rush it by turning up the heat; this can lead to burnt chocolate, and we definitely don’t want that. Stir gently and keep an eye on it. If you notice any signs of clumping or seizing, just take it off the heat and stir vigorously until it smooths out.
Temperature Matters
When pouring the hot cream over the chocolate, ensure the cream is just at a simmer. Too hot, and you risk separating the mixture; not hot enough, and it won’t meld smoothly. It’s all about finding that sweet spot!
Storage Tips
Once your chocolates are set, store them in a cool, dry place. If you live in a warmer climate, it’s best to keep them in the refrigerator to avoid any melting. Just make sure to bring them to room temperature before serving to enjoy their full flavor and creamy texture!
Get Creative with Toppings
Don’t be afraid to experiment with different toppings! From sea salt to coconut flakes or even a drizzle of white chocolate, the sky’s the limit. This is your chance to let your personality shine through in your *valentines day chocolate*! Plus, it makes each piece feel unique and special.
With these tips in your back pocket, you’re all set to create stunning, delicious chocolates that’ll impress anyone—especially your loved ones! Happy chocolate-making!
Variations
One of the best parts about making your own *valentines day chocolate* is the endless possibilities for customization! You can easily switch things up to keep your chocolates exciting and unique. Here are some fun variations to inspire your creativity:
- Flavor Infusions: Add a splash of flavor by incorporating extracts like almond, peppermint, or orange instead of vanilla. Just a teaspoon will elevate your chocolates to a whole new level!
- Fruit Additions: Fold in some finely chopped dried fruits, such as cranberries, apricots, or even candied orange peel. They’ll add a delightful chewy texture and a burst of flavor in every bite.
- Nutty Twists: Swap out the crushed nuts for different varieties! Try using pistachios for a pop of color, or go for hazelnuts for a rich, buttery taste. You can even toast them lightly for an added depth of flavor.
- Decadent Drizzles: After pouring the chocolate into molds, consider drizzling melted white chocolate or dark chocolate on top for a beautiful marbled effect. It’s simple and oh-so-elegant!
- Spicy Surprises: For those who love a little heat, add a pinch of cayenne pepper or a sprinkle of chili powder to the chocolate mixture. It gives an unexpected kick that pairs surprisingly well with the sweetness!
- Seasonal Touches: Depending on the time of year, you can add festive sprinkles or colored toppings to match holidays or special occasions. Think red and pink for Valentine’s Day, or pastels for springtime!
With these variations, you can keep your chocolates fresh and tailor them to suit any taste or occasion. So, don’t hesitate to get creative and make each batch uniquely yours!
Nutritional Information Section
When it comes to indulging in homemade *valentines day chocolate*, it’s good to know what you’re treating yourself to! Here’s an estimate of the typical nutritional values per chocolate, so you can enjoy these treats with a little more awareness:
- Calories: 100
- Fat: 7g
- Saturated Fat: 4g
- Unsaturated Fat: 2g
- Trans Fat: 0g
- Cholesterol: 5mg
- Sodium: 5mg
- Carbohydrates: 10g
- Fiber: 1g
- Sugar: 8g
- Protein: 1g
Keep in mind that these values are estimates and can vary based on the specific ingredients you use and the sizes of your chocolates. Enjoy these delicious treats as part of a balanced diet, and savor each bite!
FAQ Section
Got questions about making your own *valentines day chocolate*? You’re not alone! Here are some common queries that might help clarify the process and make your chocolate-making adventure even sweeter.
Can I use milk chocolate instead of dark chocolate?
Absolutely! If you prefer a sweeter flavor, milk chocolate works wonderfully in this recipe. Just keep in mind that it may alter the texture slightly; it might be a bit creamier and less intense than dark chocolate.
What if I don’t have a double boiler?
No worries at all! You can create a makeshift double boiler by placing a heatproof bowl over a pot of simmering water. Just make sure the bottom of the bowl doesn’t touch the water to avoid scorching the chocolate. Stir gently, and you’ll be golden!
How do I know when the chocolates are set?
Great question! Your chocolates are ready when they feel firm to the touch and easily pull away from the sides of the molds. It usually takes at least 2 hours in the fridge, but if you’re in a hurry, you can check them after 1.5 hours. Just be patient; good things come to those who wait!
Can I add flavorings like mint or orange zest?
Definitely! A little flavoring can take your chocolates to the next level. Just add a teaspoon of your desired extract or a sprinkle of zest when you combine the ingredients. It’s an easy way to personalize your treats and surprise your loved ones!
How should I store my homemade chocolates?
Store your chocolates in a cool, dry place. If you’re in a warmer climate, it’s best to keep them in the refrigerator to avoid melting. Just make sure to let them come to room temperature before serving to enjoy their full flavor and that delightful creaminess!
Print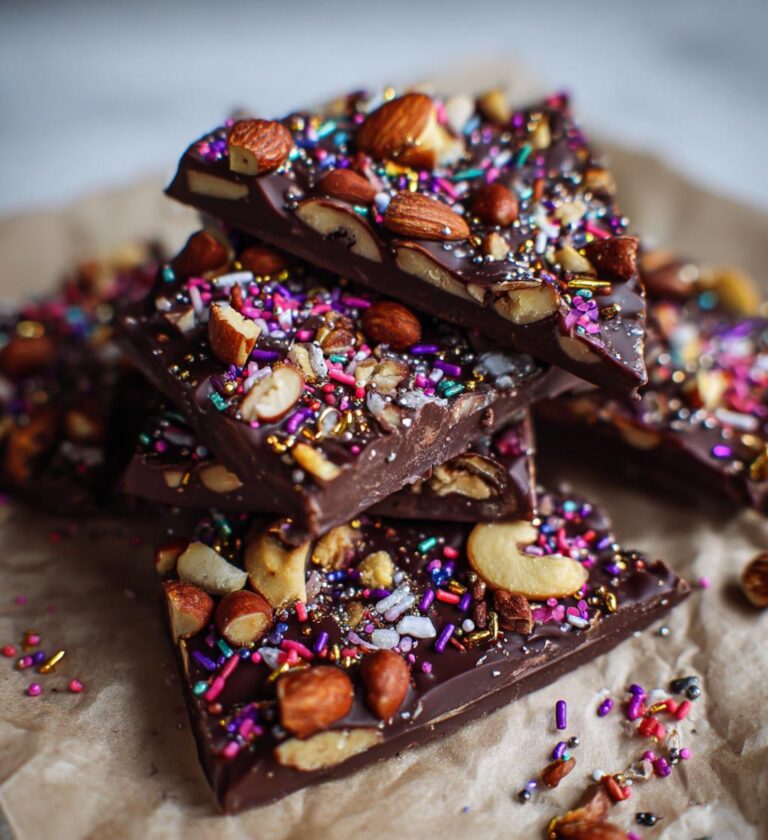
valentines day chocolate: 7 Sweet Steps to Create Magic
Delicious homemade chocolate treats for Valentine’s Day.
- Total Time: 2 hours 25 minutes
- Yield: 12 chocolates 1x
Ingredients
- 1 cup dark chocolate chips
- 1/2 cup heavy cream
- 1 teaspoon vanilla extract
- 1/4 cup powdered sugar
- 1/4 cup crushed nuts
- 1/4 cup sprinkles
Instructions
- Melt the dark chocolate chips in a double boiler.
- In a separate bowl, heat the heavy cream until it simmers.
- Pour the cream over the melted chocolate and stir until smooth.
- Add vanilla extract and powdered sugar. Mix well.
- Pour the mixture into molds and sprinkle crushed nuts and sprinkles on top.
- Refrigerate for at least 2 hours until set.
- Remove from molds and serve.
Notes
- Store in a cool place.
- Use any toppings you like.
- These make great gifts.
- Prep Time: 15 minutes
- Cook Time: 10 minutes
- Category: Dessert
- Method: No-bake
- Cuisine: American
- Diet: Vegetarian
Nutrition
- Serving Size: 1 chocolate
- Calories: 100
- Sugar: 8g
- Sodium: 5mg
- Fat: 7g
- Saturated Fat: 4g
- Unsaturated Fat: 2g
- Trans Fat: 0g
- Carbohydrates: 10g
- Fiber: 1g
- Protein: 1g
- Cholesterol: 5mg
Keywords: valentines day chocolate, homemade chocolate, chocolate treats