
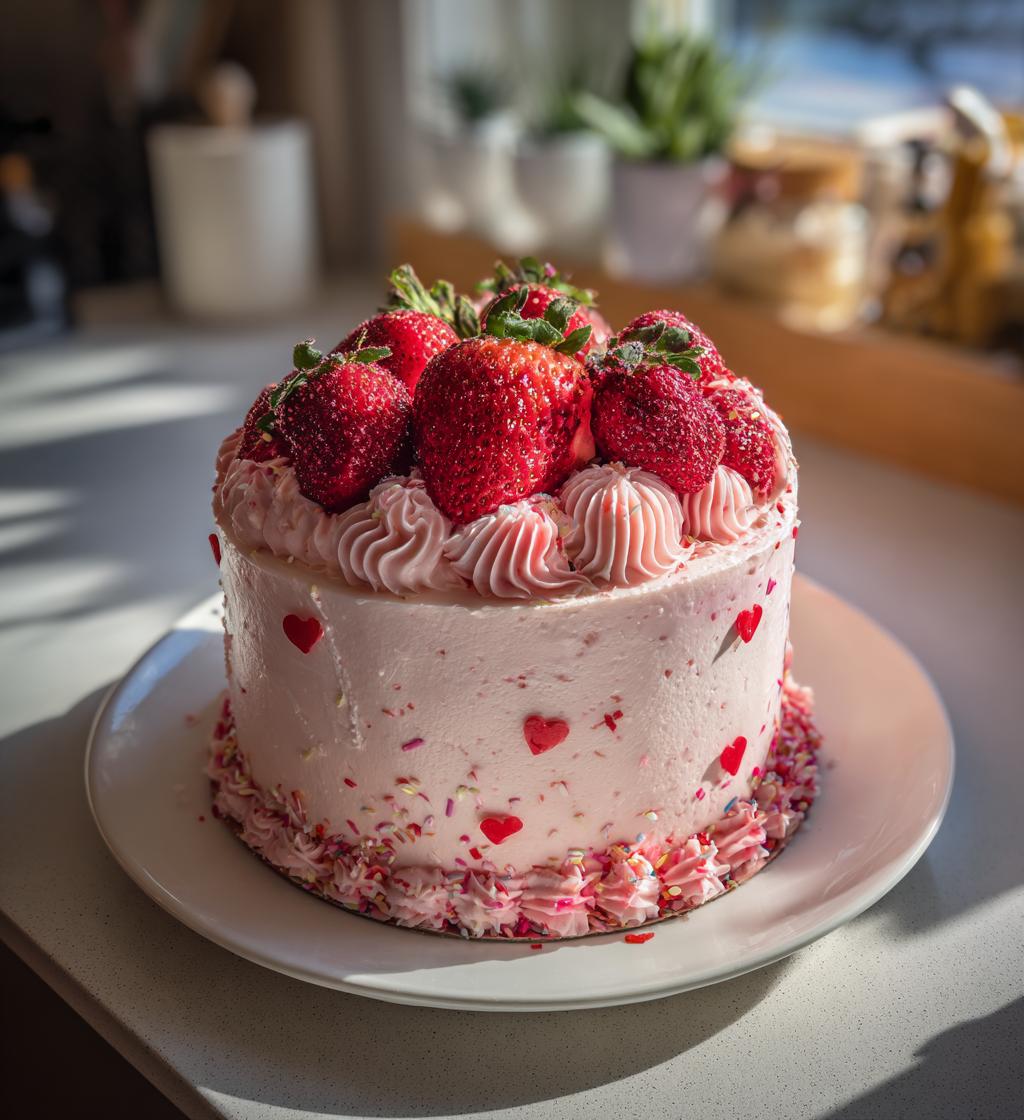
There’s something incredibly special about celebrating love, and what better way to do it than with a beautifully decorated cake? This recipe for Valentine’s Day cake decorating is not just about frosting—it’s about pouring your heart into every detail. I remember the first time I made a cake for my partner; it was a simple round cake, but as I decorated it with swirls of pink and red, I felt a rush of joy. Each sprinkle and strawberry was a little love note. This recipe is designed to help you create a stunning cake that radiates warmth and affection, perfect for sharing with those who brighten your life!
Ingredients List
To create a stunning Valentine’s Day cake, you’ll need the following ingredients:
- 1 round cake: This can be homemade or store-bought. Choose a flavor that your loved ones will enjoy—vanilla, chocolate, or even red velvet!
- 2 cups frosting: You can use any flavor you like, but I recommend a classic buttercream for its smooth texture and sweet taste.
- Red and pink food coloring: These colors are essential for achieving that romantic look. Just a few drops will go a long way!
- Heart-shaped sprinkles: These little gems add a playful touch to your cake, making it perfect for the occasion.
- Edible glitter: For that extra sparkle! A sprinkle of this will make your cake truly shine.
- Fresh strawberries: Sliced or whole, they make a delicious and beautiful garnish that complements the sweetness of the frosting.
How to Prepare the Cake for Valentine’s Day
Getting your cake ready for Valentine’s Day is an exciting journey, and I’m here to guide you through each step! With a little bit of love and creativity, we’ll turn a simple cake into a stunning centerpiece that’ll warm hearts.
Step 1: Bake the Cake
Start by preheating your oven to 350°F (175°C). Grease your round cake pan and pour in your batter. Bake it for about 30 minutes or until a toothpick comes out clean. The aroma of baking cake will fill your kitchen with sweetness—trust me, it’s the best part!
Step 2: Cool the Cake
Once your cake is out of the oven, let it cool in the pan for about 10 minutes. Then, carefully transfer it to a wire rack to cool completely. This step is crucial! If you frost a warm cake, the frosting will melt and slide right off, and we don’t want that! Cooling ensures the perfect canvas for decorating.
Step 3: Prepare the Frosting
While the cake cools, it’s time to get your frosting ready! In a large bowl, whip up your frosting until it’s fluffy and smooth. Then, divide it into two bowls—one for pink and one for red. Add a few drops of red food coloring to one bowl and pink to the other. Mix well until you achieve your desired shades. This colorful duo will bring your cake to life!
Step 4: Frosting the Cake
Now for the fun part—frosting! Take that beautiful cooled cake and spread a generous layer of pink frosting on top. Use a spatula to create delightful swirls all over the surface. Then, take your red frosting and pipe it around the edges in a decorative pattern. Don’t be shy—let your creativity shine through as you play with swirls and shapes!
Step 5: Adding Decorative Elements
Finally, let’s add those finishing touches! Sprinkle heart-shaped sprinkles all over the top of the cake for that festive flair. If you have fresh strawberries, place them on top or around the edges for a lovely garnish. And don’t forget the edible glitter—just a sprinkle will add a magical sparkle to your creation!
Tips for Successful Cake Decorating
Decorating a cake for Valentine’s Day can be a delightful experience, but a few tips can take your creation from good to absolutely stunning!
Firstly, make sure your cake is completely cool before you start decorating—this avoids any melting mishaps. If you want a smooth finish, consider applying a thin layer of frosting as a “crumb coat” before your final frosting layer. This traps any loose crumbs and gives you a clean surface to work with.
Don’t be afraid to get creative with your piping! Practice on a piece of parchment paper if you’re unsure. When using food coloring, remember that a little goes a long way; you can always add more to deepen the color.
Finally, have fun with it! Personalize your cake with little messages or special touches that resonate with your loved ones. The more heart you put into it, the more special your cake will be!
Nutritional Information
Understanding the nutritional value of your delightful creation is essential, especially when you’re indulging in a sweet treat. Each slice of this beautifully decorated Valentine’s Day cake contains approximately 350 calories. Here’s the breakdown of the macronutrients:
- Sugar: 25g
- Sodium: 150mg
- Total Fat: 15g
- Saturated Fat: 5g
- Unsaturated Fat: 8g
- Trans Fat: 0g
- Carbohydrates: 50g
- Fiber: 1g
- Protein: 3g
- Cholesterol: 30mg
Keep in mind that these values can vary slightly based on the ingredients you choose, but this gives you a good idea of what to expect. Enjoy every bite!
FAQ Section
Q1: Can I use store-bought frosting for decorating?
Absolutely! Using store-bought frosting is a fantastic time-saver and can still look beautiful. Just make sure to whip it a bit to make it fluffy before spreading!
Q2: How can I make my cake decorations more vibrant?
To achieve vibrant colors, use gel food coloring instead of liquid. Gel colors are more concentrated, so you’ll need less to get that rich hue.
Q3: What if I don’t have heart-shaped sprinkles?
No worries! You can use any sprinkles you have on hand, or even crushed candies or nuts for a unique twist. The goal is to make it personal!
Q4: How can I avoid a mess while decorating?
Consider placing a large piece of parchment paper under your cake while decorating. This way, any spills or crumbs are easily contained, making cleanup a breeze!
Q5: How long can I store the decorated cake?
A decorated cake can be stored at room temperature for a day or two, but if you’re keeping it longer, it’s best to refrigerate it. Just cover it lightly to prevent it from drying out.
Why You’ll Love This Recipe
- Easy to Follow: This recipe breaks down the decorating process into simple steps, making it accessible for bakers of all levels!
- Quick Preparation: With just an hour of prep time, you can whip up a beautiful cake for your loved ones without spending all day in the kitchen.
- Visually Stunning: The vibrant colors and fun decorations make this cake a feast for the eyes, perfect for impressing your valentine!
- Customizable: You can personalize the design and flavors to suit your loved ones’ tastes, ensuring a truly special treat.
- Perfect for Celebrations: Whether it’s Valentine’s Day, an anniversary, or just because, this cake is an excellent way to celebrate love!
Storage & Reheating Instructions
Storing your beautifully decorated Valentine’s Day cake is simple, and with the right care, it’ll stay delicious for days! If you plan to enjoy it within a couple of days, just cover it lightly with plastic wrap or a cake dome and keep it at room temperature. This helps maintain its moisture and flavor.
If you need to store it for longer, pop it in the fridge. Just make sure to cover it to prevent drying out. When it’s time to serve, let it sit at room temperature for about 30 minutes to soften up. If you prefer it warm, you can microwave a slice for about 10-15 seconds—just don’t overdo it, or you’ll lose that delightful frosting texture!
Print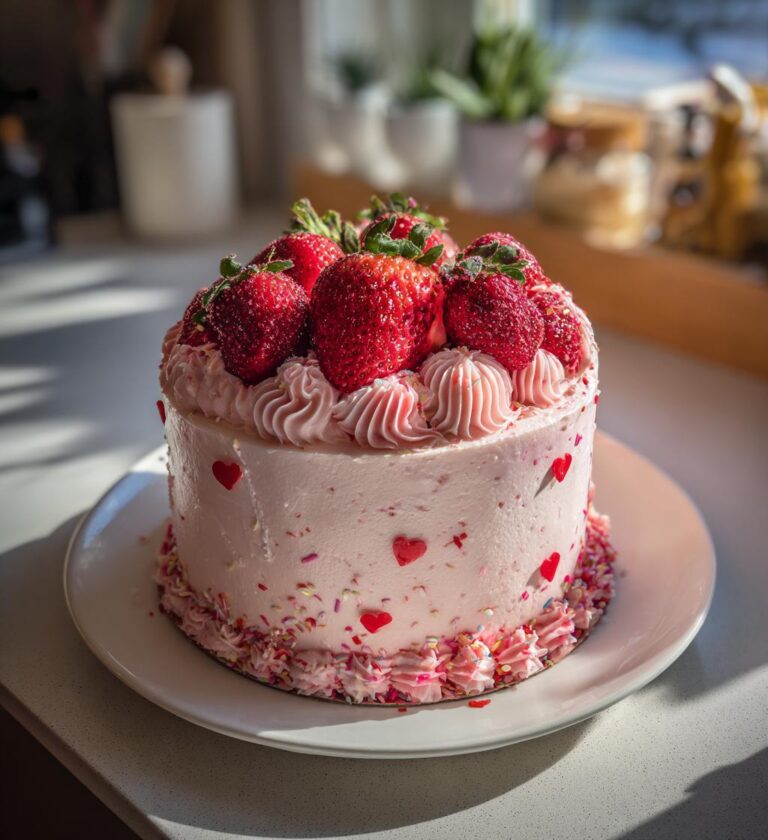
Valentines Day Cake Decorating: 5 Heartfelt Tips to Wow
A guide to decorating a cake for Valentine’s Day.
- Total Time: 1 hour
- Yield: 1 cake 1x
Ingredients
- 1 round cake
- 2 cups frosting
- Red and pink food coloring
- Heart-shaped sprinkles
- Edible glitter
- Fresh strawberries
Instructions
- Bake the cake and let it cool completely.
- Prepare the frosting and divide it into two bowls.
- Add red food coloring to one bowl and pink to the other.
- Frost the top of the cake with pink frosting.
- Use a spatula to create swirls in the frosting.
- Pipe red frosting around the edges in a decorative pattern.
- Sprinkle heart-shaped sprinkles on top.
- Add fresh strawberries on top for garnish.
- Sprinkle edible glitter for extra sparkle.
Notes
- You can use store-bought cake and frosting for convenience.
- Adjust the amount of food coloring to achieve desired shades.
- Chill the cake for 30 minutes before serving for easier slicing.
- Prep Time: 30 minutes
- Cook Time: 30 minutes
- Category: Dessert
- Method: Baking and Decorating
- Cuisine: American
- Diet: Vegetarian
Nutrition
- Serving Size: 1 slice
- Calories: 350
- Sugar: 25g
- Sodium: 150mg
- Fat: 15g
- Saturated Fat: 5g
- Unsaturated Fat: 8g
- Trans Fat: 0g
- Carbohydrates: 50g
- Fiber: 1g
- Protein: 3g
- Cholesterol: 30mg
Keywords: Valentine's Day, cake decorating, dessert, celebration