
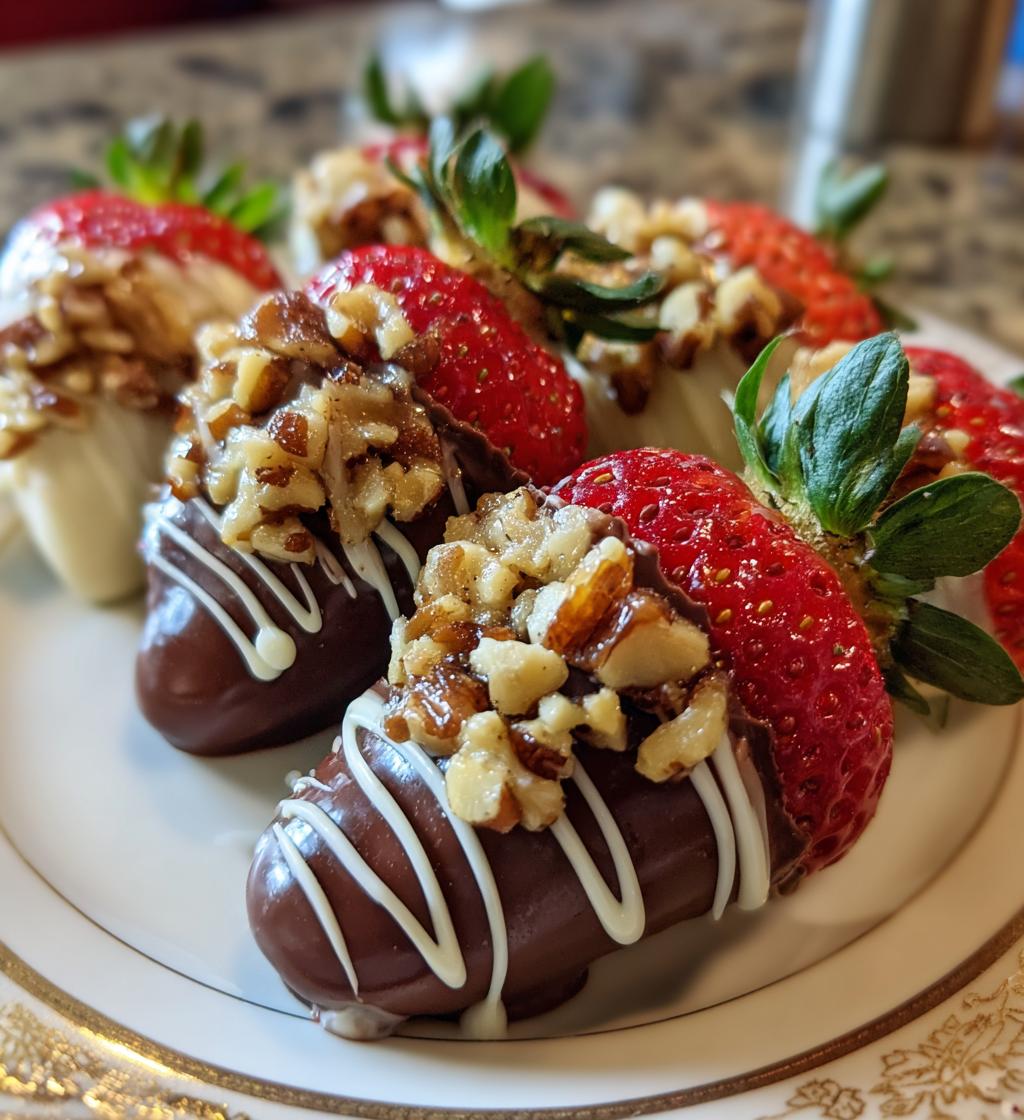
Ah, Valentine’s Day! The magical time of year when love is in the air, and nothing says “I care” quite like a box of homemade chocolates. There’s something truly special about crafting your own chocolates, don’t you think? It’s not just about the delicious treats you’re creating; it’s the love and effort that goes into every piece. These *valentines chocolate ideas* are not only creative but super easy to follow, making them perfect for everyone—from novice bakers to seasoned pros. I remember the first time I made chocolates for my partner. The joy on their face when they took that first bite was priceless! You’ll find that making these chocolates is not just a fun kitchen project; it’s a heartfelt way to express your feelings. So, roll up your sleeves, gather your ingredients, and let’s dive into the sweet world of homemade chocolates that will surely melt your loved one’s heart!
Ingredients List
Here’s everything you’ll need to whip up these delightful chocolates. I always say, quality ingredients make a world of difference, so go for the good stuff! Here’s the list:
- Dark chocolate: 200g – Choose a good quality dark chocolate for a rich flavor.
- Milk chocolate: 200g – A smooth and creamy milk chocolate works best.
- White chocolate: 200g – This will be your drizzle, so make sure it’s sweet and delicious.
- Strawberries: 1 cup – Fresh, ripe strawberries are perfect for adding a fruity burst.
- Raspberry extract: 1 tsp – This adds a lovely hint of raspberry flavor; you’ll love the twist!
- Heart-shaped molds: 2 – Any silicone molds will do, but heart shapes make it extra special.
- Decorative sprinkles: Optional – These add a fun touch and a pop of color to your chocolates!
Gather these ingredients, and you’ll be well on your way to creating something truly special for your Valentine!
How to Prepare Instructions
Now that you’ve got your ingredients ready, let’s dive into the chocolate-making adventure! Trust me, these steps are straightforward, and each one is filled with delightful anticipation. Here’s how to create your beautiful heart-shaped chocolates:
Step 1: Melt the Dark Chocolate
First things first, let’s melt that dark chocolate! You can use either a microwave or a double boiler. If you’re using the microwave, chop the chocolate into small pieces and place it in a microwave-safe bowl. Heat it in 30-second intervals, stirring in between until it’s smooth and glossy. This usually takes about 1 to 2 minutes total. If you’re using a double boiler, fill the bottom pot with water and let it simmer. Place the chopped chocolate in the top pot, stirring gently until melted. Just be careful not to let any water touch the chocolate, or it can seize up!
Step 2: Pour into Molds
Once your dark chocolate is all melted and luscious, it’s time to pour it into the heart-shaped molds. Use a spoon or a small ladle to distribute the chocolate evenly. You want to make sure each mold gets a nice coating, filling them about halfway. Don’t worry if it’s not perfect; a little artistry goes a long way! Allow the chocolate to settle for a moment before moving on.
Step 3: Add Strawberries
Now for the fun part—adding strawberries! Slice your fresh strawberries into thin pieces, about a quarter-inch thick. Gently press these slices into the melted dark chocolate in the molds. Just imagine the lovely burst of flavor they’ll add! Make sure they’re well-distributed so every bite has that fruity goodness.
Step 4: Melt and Layer Milk Chocolate
Next, it’s time to melt the milk chocolate. Just like before, chop it up and use the microwave or double boiler method to melt it until smooth. Once it’s ready, carefully pour the melted milk chocolate over the strawberries in the molds, covering them completely. This layering not only looks beautiful but also adds that creamy sweetness we all love!
Step 5: Chill the Chocolates
After you’ve layered your chocolates, pop the molds into the refrigerator. Chill them for about 30 minutes, or until the chocolate is set and firm to the touch. This waiting period is the hardest part, but oh-so-worth it when you take that first bite!
Step 6: Finish with White Chocolate
Once your chocolates are nicely chilled, it’s time to add the finishing touch: the white chocolate drizzle! Melt your white chocolate using the same method as before and transfer it to a piping bag or a zip-top bag with a small corner snipped off. Drizzle the melted white chocolate over each chocolate piece in a zigzag pattern, making them look extra fancy.
Step 7: Add Sprinkles
If you want to take it up a notch, sprinkle some decorative sprinkles on top while the white chocolate is still warm. This will help them stick and give your chocolates that festive flair. Feel free to go wild with colors and shapes; it’s all about making them uniquely yours!
Why You’ll Love This Recipe
- Quick and Simple: With just 40 minutes from start to finish, you can whip up these delightful chocolates without any fuss. Perfect for those last-minute gifts!
- Customizable: Feel free to get creative! Swap out strawberries for your favorite fruits or add nuts, caramel, or even a splash of liqueur for an adult twist. The possibilities are endless!
- Perfect for Sharing: This recipe yields 12 chocolates, making it ideal for sharing with friends, family, or that special someone. Nothing says “I love you” like a homemade treat!
- Impressive Presentation: These heart-shaped chocolates look so beautiful, they’ll impress anyone. Your loved ones will think you went all out, but it’s our little secret how easy they are to make!
- Deliciously Decadent: The combination of dark, milk, and white chocolate creates a rich flavor profile that’s hard to resist. Trust me, your taste buds will be dancing!
Tips for Success
Now that you’re ready to create your homemade chocolates, here are some pro tips to ensure everything turns out perfectly. Trust me, these little nuggets of wisdom will make your chocolate-making experience even sweeter!
- Use a kitchen scale: For precise measurements, especially with chocolate, a kitchen scale is a game changer. It helps you get the exact amounts you need for rich, balanced flavors.
- Don’t rush the melting process: Whether you’re using a microwave or a double boiler, take your time. Melting chocolate too quickly can cause it to seize or burn. Slow and steady wins the race!
- Cool your molds: After pouring the dark chocolate, let it cool slightly before adding strawberries. This prevents the fruit from sinking and ensures a lovely layering effect.
- Experiment with flavors: Feel free to mix up the raspberry extract! Try adding other extracts or even a hint of sea salt for a delightful contrast. It’s all about personalizing your chocolates!
- Keep it clean: When drizzling white chocolate, keep a clean workspace and tools. This helps maintain a neat appearance for your chocolates and makes the whole process feel more enjoyable.
- Be patient while chilling: I know it’s hard to wait, but giving your chocolates enough time to set in the fridge is crucial for achieving that perfect snap when you bite into them. It’s well worth the wait!
- Store them properly: After making these beauties, store your chocolates in a cool, dry place away from sunlight. If you need to stack them, place parchment paper between layers to prevent sticking.
By keeping these tips in mind, you’ll be well on your way to creating a batch of chocolates that not only look stunning but also taste divine. Happy chocolate-making!
Storage & Reheating Instructions
Once you’ve made these irresistibly sweet chocolates, you’ll want to keep them fresh and delicious for as long as possible. Storing your homemade chocolates properly is key to maintaining their taste and texture. Here’s how I do it:
First, make sure the chocolates are completely set and cool. If they’re still warm, they might lose their shape or stick together. Once they’re firm, store them in an airtight container. I love using a decorative box or a simple Tupperware – whatever suits your style! Just make sure to keep them in a cool, dry place, away from direct sunlight. This will help preserve their lovely flavors and prevent melting.
If you need to stack your chocolates, place a layer of parchment paper between them. This little trick prevents them from sticking together and keeps their beautiful designs intact. They should stay fresh for about a week at room temperature, but trust me, they’ll probably be gone much sooner than that!
Now, if you ever find yourself with leftover chocolates (which is rare, but hey, it happens!), you can extend their life by refrigerating them. Just remember to let them come to room temperature before enjoying again, as this helps restore that wonderful texture. If you need to reheat any melted chocolate or drizzle, simply microwave it in short bursts, stirring in between, until it’s smooth and ready to use again.
With these storage tips, you’ll ensure that your homemade chocolates remain a delightful treat whenever you’re ready to indulge. Happy storing!
Nutritional Information Section
As you savor these delicious homemade chocolates, it’s good to know a bit about their nutritional content. Here’s an estimate of what you’ll find in each serving, which consists of two chocolates. Keep in mind these values are approximate and can vary based on specific ingredients used:
- Calories: 200
- Fat: 12g
- Saturated Fat: 7g
- Unsaturated Fat: 3g
- Trans Fat: 0g
- Cholesterol: 10mg
- Sodium: 5mg
- Carbohydrates: 22g
- Fiber: 2g
- Sugar: 15g
- Protein: 2g
These homemade chocolates are a delightful treat, and while they are a bit indulgent, they also contain some fruit and are made with love! Enjoy them in moderation, and remember, it’s the thought and effort that truly counts when gifting these sweet creations!
FAQ Section
Got questions about these *valentines chocolate ideas*? Don’t worry, I’ve got you covered! Here are some common queries I hear, along with my sweet answers:
Q1. Can I use other fruits instead of strawberries?
Absolutely! While strawberries are a classic choice, you can experiment with other fruits like raspberries, blueberries, or even sliced bananas. Just make sure they’re firm enough to hold their shape in the chocolate!
Q2. What if I don’t have heart-shaped molds?
No problem at all! You can use any silicone mold you have on hand. Even a muffin tin works in a pinch. Just adjust the size of your chocolates and keep an eye on the chilling time, as smaller molds may set faster.
Q3. How do I prevent the chocolate from seizing?
Great question! The key is to make sure no water comes into contact with the chocolate while melting. This means using dry bowls and utensils. If you accidentally add water, don’t panic! You can try to salvage it by adding a bit more solid chocolate, but it might take some finesse.
Q4. Can I make these chocolates ahead of time?
Definitely! These chocolates can be made a few days in advance. Just store them in an airtight container in a cool, dry place. They’ll stay fresh and delicious, ready to impress your loved ones!
Q5. What other flavors can I add to the chocolates?
Oh, the flavor possibilities are endless! You can add extracts like almond, peppermint, or orange for a unique twist. You could also fold in some crushed nuts or even a splash of liqueur for an adult version. Get creative and make them truly yours!
I hope these FAQs help you on your chocolate-making journey! Remember, the best part is the love you put into each piece, so have fun and enjoy the process!
Print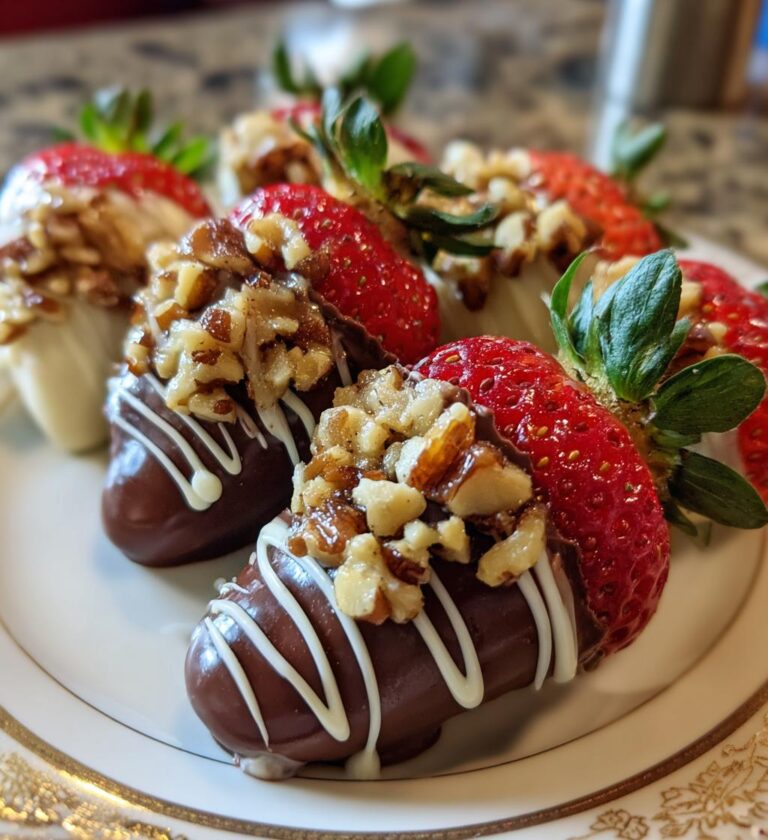
valentines chocolate ideas that Will Melt Hearts Effortlessly
Creative chocolate ideas for Valentine’s Day.
- Total Time: 40 minutes
- Yield: 12 chocolates
Ingredients
- Dark chocolate – 200g
- Milk chocolate – 200g
- White chocolate – 200g
- Strawberries – 1 cup
- Raspberry extract – 1 tsp
- Heart-shaped molds – 2
- Decorative sprinkles – Optional
Instructions
- Melt dark chocolate in a microwave or double boiler.
- Pour melted chocolate into heart-shaped molds.
- Add sliced strawberries into the molds.
- Melt milk chocolate and pour over strawberries.
- Chill the molds in the refrigerator until set.
- Remove chocolates from molds and drizzle with white chocolate.
- Sprinkle with decorative sprinkles if desired.
Notes
- Use high-quality chocolate for best results.
- Experiment with different fillings like nuts or caramel.
- Store chocolates in a cool, dry place.
- Prep Time: 30 minutes
- Cook Time: 10 minutes
- Category: Dessert
- Method: No-bake
- Cuisine: American
- Diet: Vegetarian
Nutrition
- Serving Size: 2 chocolates
- Calories: 200
- Sugar: 15g
- Sodium: 5mg
- Fat: 12g
- Saturated Fat: 7g
- Unsaturated Fat: 3g
- Trans Fat: 0g
- Carbohydrates: 22g
- Fiber: 2g
- Protein: 2g
- Cholesterol: 10mg
Keywords: valentines chocolate ideas, homemade chocolates, chocolate gifts, romantic desserts