
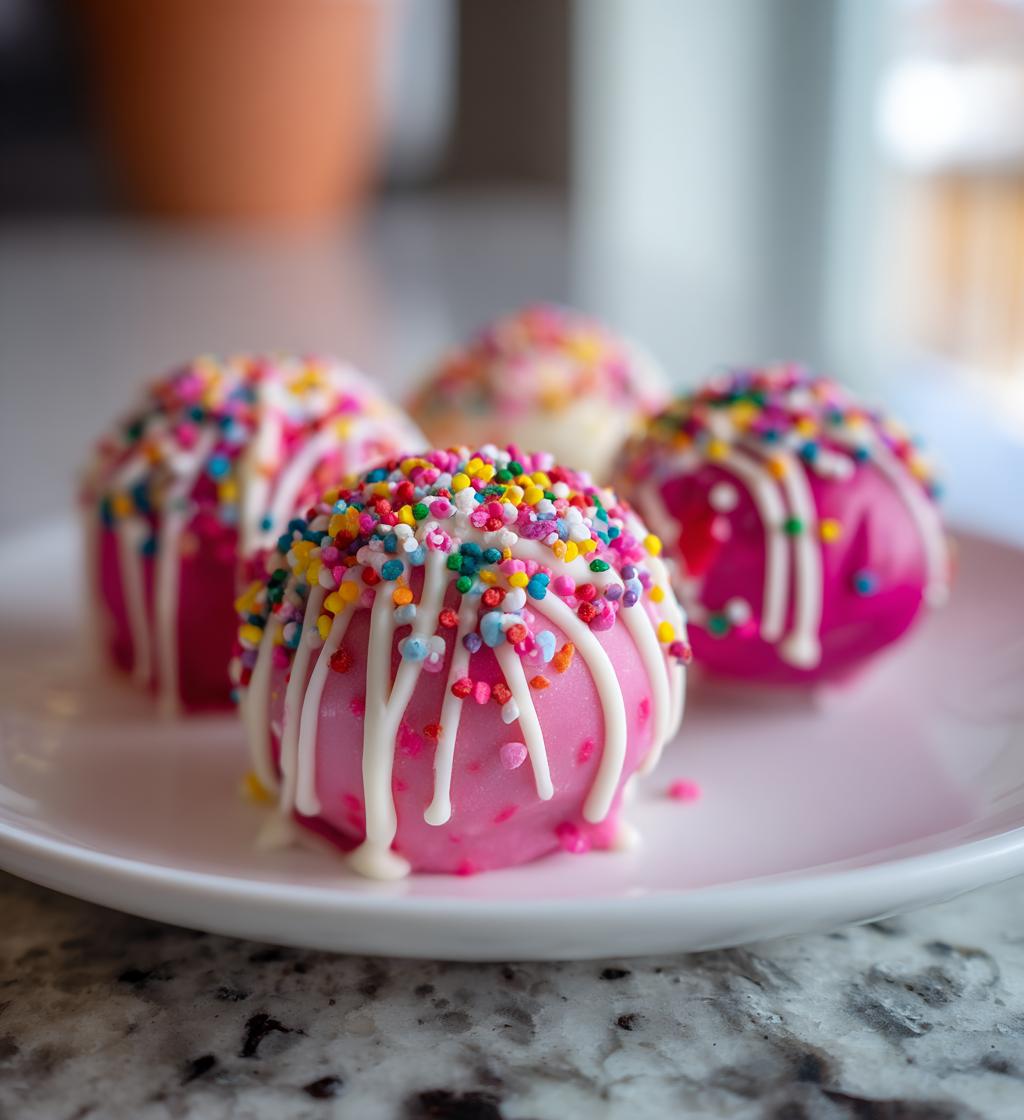
Ah, Valentine’s Day! A day dedicated to love, friendship, and, of course, sweet treats. What better way to celebrate than with these delightful valentines cake pops? They’re not just cute; they’re a fun way to spread some joy to your loved ones! I remember the first time I made these for my kids’ school party. Watching their friends’ faces light up when they received a colorful cake pop made my heart swell. It’s all about those little moments, right? Plus, they’re so easy to whip up! You can customize them for any occasion, and trust me, you’ll want to keep the recipe on hand all year round. Whether you’re hosting a romantic dinner or a fun gathering with friends, these cake pops add that perfect touch of sweetness. So, grab your apron and let’s get ready to create some love-filled deliciousness!
Ingredients for Valentines Cake Pops
To make the most scrumptious valentines cake pops, you’ll need just a handful of simple ingredients. Here’s what you’ll need:
- 1 box of cake mix: Any flavor you like! I usually go for classic vanilla or red velvet for that festive color.
- 3 eggs: These help bind everything together and give the cake its moist texture.
- 1/2 cup of oil: Vegetable or canola oil works perfectly. This adds moisture and richness to the cake.
- 1 cup of water: To mix with the cake mix; it’s essential for the right batter consistency.
- 1 cup of frosting: Store-bought or homemade, this will help form the cake pops and add sweetness. My favorite is cream cheese frosting!
- 1 lb of candy melts: Choose your favorite colors to dip the cake pops in. Bright pink and white are always a hit for Valentine’s Day!
- Sprinkles for decoration: This is where the fun comes in! Use heart-shaped sprinkles or an assortment of colorful ones to jazz them up.
Gather these ingredients, and you’ll be well on your way to creating some adorable and delicious cake pops that your loved ones will adore!
How to Prepare Valentines Cake Pops
Getting ready to make these delightful valentines cake pops is half the fun! Follow these easy steps to create your own batch of sweet love-filled treats.
Preheat and Prepare the Cake
First things first, let’s get that oven preheated to 350°F (175°C). This is essential for a perfectly baked cake! While it’s warming up, grab your cake mix and follow the package instructions. You’ll usually need to mix in the eggs, oil, and water. Just make sure everything is blended well—no lumps allowed! This part is super simple, and it’s where the magic begins.
Bake and Cool the Cake
Once your batter is ready, pour it into a greased pan and pop it into the oven for about 25-30 minutes. Keep an eye on it; your kitchen will start smelling heavenly, and you’ll want to avoid overbaking! A toothpick inserted into the center should come out clean when it’s done. Now, here’s the key part: let the cake cool completely before you move to the next step. This can take around 30 minutes, but be patient! Crumbling a warm cake will lead to a messy situation, and nobody wants that!
Forming the Cake Pops
After your cake has cooled, it’s time to crumble it into a large mixing bowl. Use your hands to break it up into fine crumbs—this is where the fun begins! Then, add in the frosting. Mix it all together until the crumbs are well-coated and the mixture is moldable. You want to be able to shape it into small balls, so don’t be shy about getting your hands in there! Aim for about 1-2 inches in diameter. Place the formed balls on a baking sheet lined with parchment paper.
Freezing and Melting
Now, insert a stick into each cake ball—this is what makes them pops! Make sure to push it in about halfway, so they stay secure. Then, pop them in the freezer for about 30 minutes. This helps them firm up, making it easier to dip them later. While they’re chilling, melt your candy melts according to the package instructions. Keep an eye on them; you want them smooth, but not too hot!
Dipping and Decorating
Once your cake pops are nice and solid, it’s time for the fun part! Dip each one into the melted candy, allowing any excess to drip off. Don’t be afraid to swirl them a bit to get an even coat! Before the coating hardens, sprinkle on your decorations. This is where you can really let your creativity shine! Heart-shaped sprinkles, colorful jimmies—go wild! Set them back on the baking sheet to dry completely, and voila! You’ve got yourself a batch of beautiful, delicious valentines cake pops ready to be enjoyed!
Why You’ll Love This Recipe
- Quick and Easy: With just a box of cake mix, you can whip these up in no time! Perfect for those last-minute celebrations.
- Fun for Everyone: These valentines cake pops are a hit at parties, gatherings, or even a cozy night in. Kids and adults alike will love them!
- Customizable Decor: The decorating options are endless! Use different colors of candy melts and sprinkles to match any occasion or theme.
- Great for Gifting: These cake pops make adorable gifts! Package them in a cute box or bag for a sweet surprise that shows you care.
- Less Mess: No need for plates or forks! These bite-sized treats are perfect for snacking and can be enjoyed on the go.
Tips for Success with Valentines Cake Pops
As you embark on your journey to create the perfect valentines cake pops, keep these handy tips in mind to ensure your sweet treats turn out beautifully every time!
- Use a foam block for drying: Once you’ve dipped your cake pops in the candy melts, sticking them into a foam block or a piece of styrofoam can help keep them upright while they dry. This way, you’ll avoid any unsightly drips and maintain that perfect shape!
- Experiment with candy melt colors: Don’t be afraid to mix and match! You can blend different colors of candy melts to create unique shades or even swirl them together for a marbled effect. It makes for an eye-catching display!
- Chill your cake pops between steps: If you notice the cake pops getting a little soft while you’re working, pop them back in the freezer for a few minutes. This helps maintain their shape and makes dipping easier.
- Use a dipping tool: If you find dipping a bit tricky, consider using a fork or a dipping tool specifically designed for cake pops. This can help get an even coat and avoid messy hands!
- Mix frosting flavors: While I love using cream cheese frosting, you can switch things up by mixing different frosting flavors into your cake mixture. Chocolate, strawberry, or even peanut butter can add a delicious twist!
- Keep it simple: If you’re new to cake pops, start with a simple design using just a few sprinkles. As you get more comfortable, you can try more elaborate decorations.
By following these tips, you’ll set yourself up for success and create a batch of valentines cake pops that not only look gorgeous but taste divine! Happy baking!
Nutritional Information
Before you dive into these delightful valentines cake pops, it’s always good to know what you’re indulging in! Here’s the estimated nutritional breakdown for one cake pop:
- Calories: 150
- Fat: 7g
- Sugar: 12g
- Protein: 2g
Keep in mind that these values are estimates and can vary based on the specific ingredients you use, especially if you opt for different frosting or candy melt flavors. So, enjoy these sweet treats in moderation, and don’t forget to share the love!
FAQ Section
Got questions about making your valentines cake pops? Don’t worry, I’ve got you covered! Here are some of the most common queries I come across, along with my tried-and-true answers.
Can I use a different cake flavor?
Absolutely! One of the best parts about these valentines cake pops is how customizable they are. You can use any flavor of cake mix that tickles your fancy—chocolate, lemon, or even funfetti for a festive twist! Just remember that the frosting flavor should complement the cake for the best taste!
How do I store leftover cake pops?
To keep your cake pops fresh and delicious, store them in an airtight container in the refrigerator. They’ll last about a week this way, though I doubt they’ll stick around that long! If you want to keep them longer, you can freeze them. Just pop them in a freezer-safe container, and they’ll be good for up to a month. When you’re ready to enjoy them, let them thaw in the fridge to maintain their texture.
Can I make these cake pops ahead of time?
Yes, you can! In fact, making them a day or two in advance can actually enhance the flavors. Just make sure to store them properly in the refrigerator. They’ll be ready to impress your friends or family at a moment’s notice!
What if I don’t have candy melts?
No candy melts? No problem! You can use chocolate chips instead. Just melt them down the same way you would candy melts, but be aware that they might not coat as smoothly. Adding a little bit of vegetable oil to the melted chocolate can help thin it out for easier dipping.
Can I add other mix-ins to the cake mixture?
Definitely! Feel free to get creative! You can add mini chocolate chips, crushed nuts, or even a splash of flavored extract to the cake mixture. Just make sure not to overdo it, as too many add-ins might make it harder to shape the cake pops.
How can I make these cake pops vegan?
To make vegan valentines cake pops, look for a vegan cake mix and substitute the eggs with unsweetened applesauce or flax eggs (1 tablespoon of ground flaxseed mixed with 2.5 tablespoons of water equals one egg). Use vegan frosting and candy melts, and you’re all set for a deliciously sweet vegan treat!
If you have any more questions or need further assistance, feel free to ask! Happy baking, and enjoy spreading the love with your valentines cake pops!
Storage & Reheating Instructions
Once you’ve made your delightful valentines cake pops, you’ll want to make sure they’re stored properly to maintain their deliciousness!
For storing your cake pops, place them in an airtight container in the refrigerator. They’ll stay fresh for about a week—though I can’t guarantee they’ll last that long with how tasty they are! If you want to keep them for a longer period, you can freeze them. Just pop them in a freezer-safe container, and they can last up to a month. When you’re ready to enjoy them, simply take them out and let them thaw in the fridge so they can regain that perfect texture.
If you need to reheat them, it’s best to avoid the microwave, as it can make the cake pops soggy. Instead, let them sit at room temperature for about 15-20 minutes. This way, they’ll come back to life without losing their delightful charm!
By following these simple storage and reheating instructions, you’ll ensure that your valentines cake pops remain as scrumptious as the day you made them! Enjoy every last bite!
Print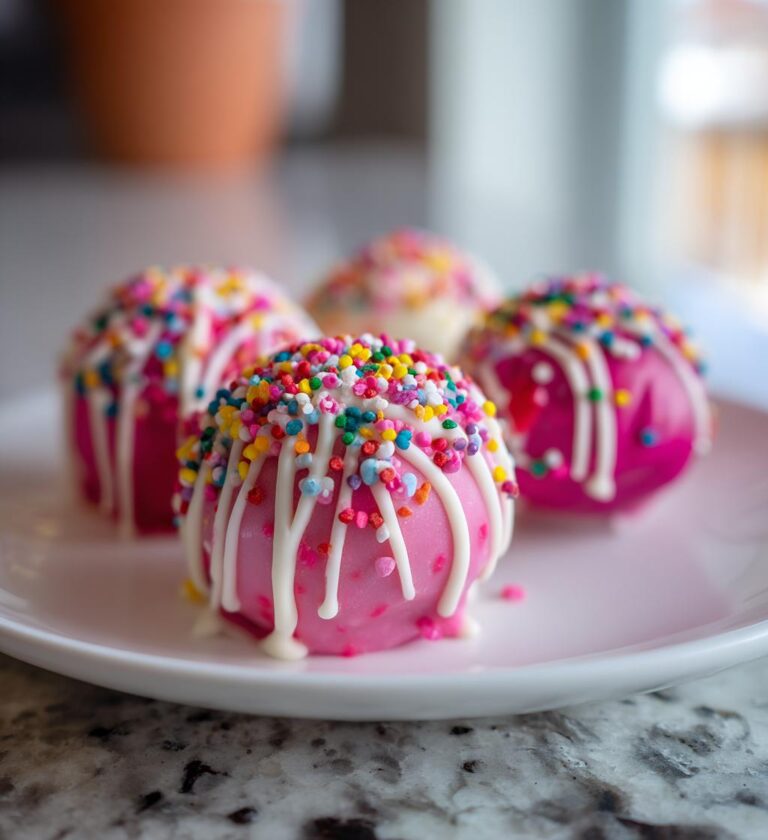
Valentines Cake Pops: 5 Sweet Treats to Delight Your Love
Delicious cake pops perfect for Valentine’s Day celebrations.
- Total Time: 1 hour
- Yield: 24 cake pops 1x
Ingredients
- 1 box of cake mix
- 3 eggs
- 1/2 cup of oil
- 1 cup of water
- 1 cup of frosting
- 1 lb of candy melts
- Sprinkles for decoration
Instructions
- Preheat your oven to 350°F (175°C).
- Prepare the cake mix according to package instructions.
- Bake the cake in a greased pan for 25-30 minutes.
- Let the cake cool completely.
- Crumble the cake into a bowl and mix in the frosting.
- Shape the mixture into small balls and place them on a baking sheet.
- Insert sticks into each ball and freeze for 30 minutes.
- Melt the candy melts according to package instructions.
- Dip each cake pop into the melted candy and let excess drip off.
- Decorate with sprinkles before the candy hardens.
Notes
- Use different colors of candy melts for variety.
- Store in the refrigerator for freshness.
- Use a foam block to hold the pops while they dry.
- Prep Time: 30 minutes
- Cook Time: 30 minutes
- Category: Dessert
- Method: Baking and Decorating
- Cuisine: American
- Diet: Vegetarian
Nutrition
- Serving Size: 1 cake pop
- Calories: 150
- Sugar: 12g
- Sodium: 50mg
- Fat: 7g
- Saturated Fat: 2g
- Unsaturated Fat: 3g
- Trans Fat: 0g
- Carbohydrates: 20g
- Fiber: 0g
- Protein: 2g
- Cholesterol: 30mg
Keywords: valentines cake pops