
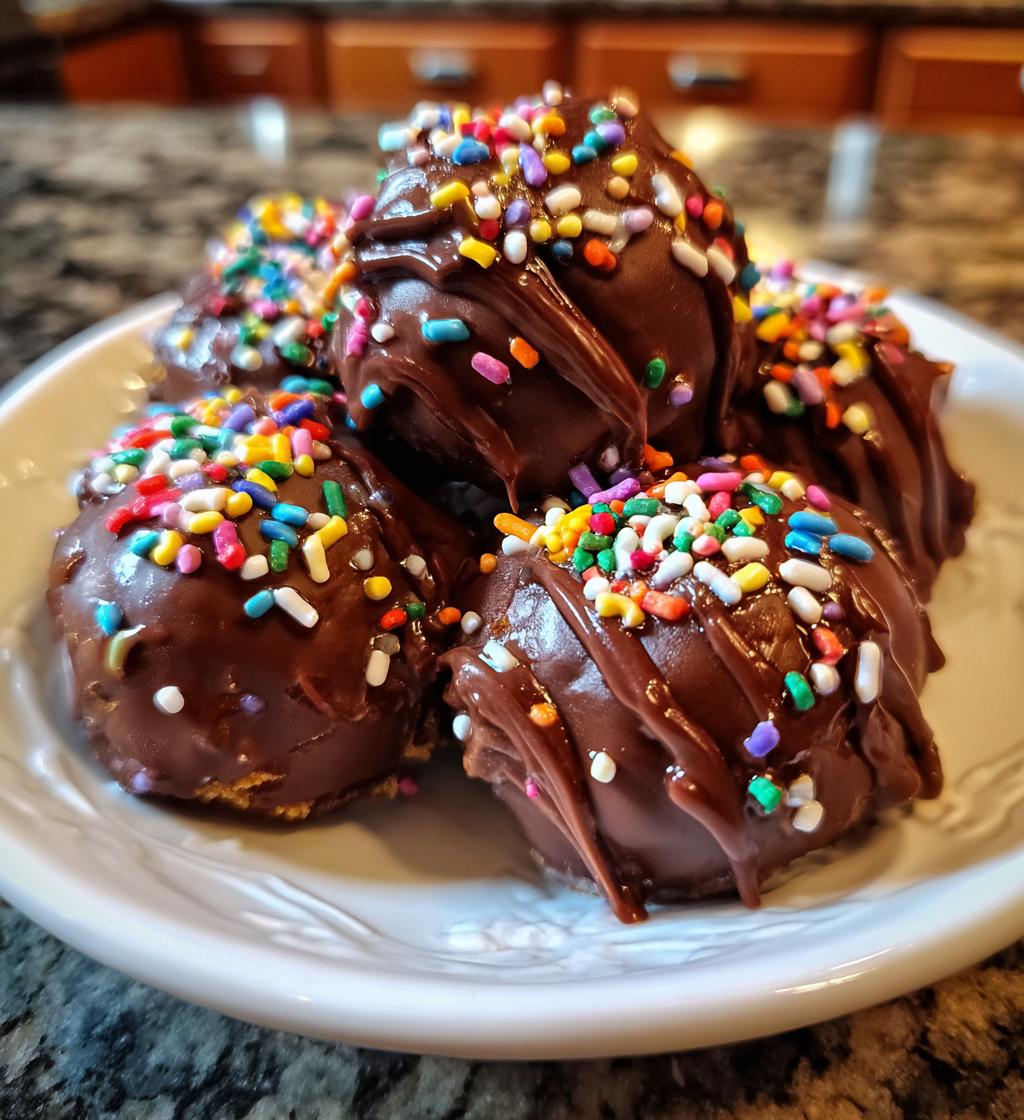
Oh my goodness, let me tell you about my absolute favorite treat to whip up for Valentine’s Day – valentines cake balls! These delightful little bites of joy are not only a feast for the eyes but also a delicious way to show your loved ones just how much you care. Seriously, I can almost smell the chocolate now! The best part? They’re super quick and easy to make, which means you can spend less time in the kitchen and more time spreading the love.
Imagine this: you’ve just baked a fluffy cake, and once it cools, you get to crumble it up and mix it with frosting – how fun is that? Then, you roll those cake crumbles into perfect little balls, dip them in luscious melted chocolate, and sprinkle them with a pop of color. They’re like little bites of happiness that you can gift or enjoy yourself. Trust me, once you make these, they’ll become a go-to treat in your kitchen for any occasion, not just Valentine’s Day!
Ingredients List
Gathering your ingredients is the first step to creating these scrumptious valentines cake balls. Here’s what you’ll need:
- 1 box cake mix: You can choose any flavor your heart desires! Red velvet is a classic for Valentine’s Day, but chocolate, vanilla, or even funfetti work beautifully too.
- 1 cup frosting: Again, pick your favorite flavor! Cream cheese frosting adds a delightful tang, while chocolate frosting is always a crowd-pleaser. Just make sure it’s nice and smooth for easy mixing.
- 2 cups chocolate chips: I recommend semi-sweet chocolate chips for that perfect balance of sweetness. You could also go for milk chocolate or dark chocolate, depending on your taste preference!
- 1 teaspoon vanilla extract: This little extra touch amplifies the flavors and makes everything taste even more delicious!
- Sprinkles for decoration: Use any colorful sprinkles you have on hand. Heart-shaped sprinkles would be perfect for Valentine’s Day, bringing an extra festive flair!
With these ingredients ready, you’re all set to create some magical cake balls that will surely impress everyone!
How to Prepare Valentines Cake Balls
Now that you’ve got all your ingredients lined up, it’s time to get to the fun part – making those scrumptious valentines cake balls! Follow these easy steps, and you’ll have a batch ready to impress in no time.
Step-by-Step Instructions
- Bake the cake: Preheat your oven and prepare the cake mix according to the package instructions. Once you’ve got that batter ready, pour it into your greased cake pan and pop it in the oven. Bake until it’s golden and a toothpick comes out clean – usually around 25-30 minutes. Just keep an eye on it!
- Cool the cake: Once baked, let the cake cool completely in the pan. This is crucial – if it’s warm when you start crumbling, it’ll get all mushy and messy.
- Crumble the cooled cake: Once the cake has cooled, transfer it to a large mixing bowl. I love using my hands for this part! Just break the cake into small crumbs until it’s nice and fluffy.
- Add frosting and vanilla: Pour in your cup of frosting and the teaspoon of vanilla extract. Now, mix it all together until everything is combined. It should become a sticky, dough-like consistency that you can easily shape.
- Form the mixture into balls: Take small portions of the mixture and roll them into bite-sized balls. I usually go for about one inch in diameter – just enough for a perfect pop in your mouth!
- Chill the balls: Place the formed balls on a baking sheet lined with parchment paper and chill them in the refrigerator for about 30 minutes. This helps them firm up, making them easier to dip later.
- Melt the chocolate: While those little beauties are chilling, it’s time to melt your chocolate chips. I do this in the microwave in short bursts of 30 seconds, stirring in between until it’s all smooth and silky. Be careful not to overheat – burnt chocolate is a tragedy!
- Dip each ball: Once the chocolate is melted and your cake balls are chilled, it’s time for the fun part! Dip each ball into the melted chocolate, ensuring it’s fully coated. Use a fork to lift it out, letting any excess chocolate drip off before placing it back on the parchment paper.
- Add sprinkles: Before the chocolate sets, sprinkle those adorable decorations on top! This is where you can get creative – use as many or as few as you like. They’ll add that perfect finishing touch!
- Let the chocolate harden: Finally, let the chocolate-covered cake balls sit at room temperature or pop them back into the fridge for a bit to harden before serving. You want that chocolate to be nice and firm when you take that first bite!
And there you have it! Follow these steps, and you’ll have gorgeous valentines cake balls ready to share (or keep all to yourself!).
Why You’ll Love This Recipe
Oh, let me count the ways you’re going to fall head over heels for these valentines cake balls! First off, the preparation is a breeze. You’re looking at less than an hour from start to finish, and most of that time is just waiting for the cake to cool and the chocolate to harden. It’s perfect for those busy days when you want to whip up something special without spending the whole day in the kitchen.
Then there’s the customization factor! You can mix and match flavors of cake and frosting to create your own unique treats. Want to try a chocolate cake with peanut butter frosting? Go for it! Or maybe a red velvet cake with cream cheese frosting – a classic that never disappoints. You can even switch up the chocolate for white chocolate or colorful candy melts for a fun twist!
And let’s not forget, these little bites look absolutely adorable. They’re the perfect gift for Valentine’s Day, whether you’re sharing them with friends, family, or that special someone. They’re easy to package up in cute boxes or bags, making them a sweet surprise that’s sure to put a smile on anyone’s face. Plus, I promise you, nothing says “I love you” like a homemade treat that’s made with care!
So, whether you’re celebrating love or just treating yourself, these valentines cake balls are a delightful way to spread joy and sweetness – and who doesn’t want that?
Tips for Success
Alright, let’s make sure your valentines cake balls turn out absolutely perfect! I’ve got some handy tips that I swear by every time I make these delightful treats.
Melting chocolate: This is a crucial step, so let’s get it right! When melting chocolate chips, do it in short bursts of 30 seconds in the microwave, stirring each time. This prevents the chocolate from overheating and turning into a sad, burnt mess. If you’re more of a stovetop person, just use a double boiler! Keep the heat low and stir until smooth. Remember, patience is key!
Chilling is essential: Don’t skip the chilling step! Allowing the formed cake balls to chill for about 30 minutes makes them firmer and easier to dip. If they’re too soft, they won’t hold their shape when you coat them in chocolate.
Flavor variations: The beauty of these cake balls is in their versatility. Feel free to experiment with different cake mixes and frostings! A lemon cake with vanilla frosting? Yes, please! Or maybe a funfetti cake with chocolate frosting for a festive twist. The options are endless, and each combination brings its own unique flair to the table!
Get creative with decorations: Sprinkles are just the beginning! You can use crushed nuts, coconut flakes, or even drizzle some white chocolate over the top for an extra touch. It’s all about what makes your heart sing!
Keep it tidy: Chocolate dipping can get a little messy, so make sure to work over parchment paper or a clean baking sheet. This way, any drips or spills are contained, and clean-up is a breeze!
With these tips in your back pocket, you’re all set to create the most scrumptious and beautiful valentines cake balls that will surely impress everyone! Enjoy the process and have fun with it!
Serving Suggestions
Now that you’ve created these lovely valentines cake balls, let’s talk about how to serve them up for maximum delight! These little treats are so versatile that they can easily shine on any dessert table or special occasion spread.
First up, let’s pair them with some fabulous beverages. A nice cup of hot chocolate or a rich cup of coffee complements the sweetness of the cake balls beautifully. If you want to keep it festive, a sparkling rosé or some bubbly lemonade adds a fun twist to your dessert spread, especially for a Valentine’s Day gathering!
If you’re feeling a little extra, consider serving your cake balls with a side of whipped cream or a scoop of vanilla ice cream. The cold, creamy texture contrasts perfectly with the rich chocolate coating of the cake balls. Yum!
For those who love variety, you could create a dessert platter featuring your valentines cake balls alongside other sweet treats. Think cookies, brownies, or even some fresh fruit like strawberries and raspberries. The bright colors and flavors will make for a stunning presentation, and the fruit adds a refreshing touch to balance the sweetness.
Lastly, don’t forget about the fun of packaging! If you’re gifting these cake balls, consider putting them in cute little boxes or bags tied with a pretty ribbon. Not only do they make a sweet treat, but they also become a charming gift that anyone would be thrilled to receive!
So, however you choose to serve them, your valentines cake balls are sure to steal the show and bring smiles all around!
Storage & Reheating Instructions
Alright, let’s talk about keeping those delightful valentines cake balls fresh and tasty! If you happen to have any leftovers (which I doubt, but just in case!), storing them properly is key to maintaining their deliciousness.
To store your cake balls, simply place them in an airtight container. I like to layer them with parchment paper in between to prevent any sticking. This keeps them nice and safe, ensuring they don’t get all smushed together. You can store them in the fridge for up to a week, but trust me, they won’t last that long!
If you want to keep them for a bit longer, you can also freeze them! Just make sure they are fully set and the chocolate has hardened. Then, pop them in a freezer-safe container or a resealable freezer bag. They’ll stay good for about 2-3 months this way. When you’re ready to enjoy them again, just take them out and let them thaw in the fridge for a couple of hours. Easy peasy!
As for reheating, you actually don’t need to! These tasty bites are best enjoyed at room temperature or straight from the fridge. If you find that the chocolate has lost a bit of its shine after freezing, you can always give them a quick dip in some melted chocolate to freshen them up before serving.
With these storage tips, your valentines cake balls will stay delicious and ready to impress whenever you need a sweet treat!
Nutritional Information Section
Let’s take a quick peek at the estimated nutritional values for our delightful valentines cake balls. Each cake ball is packed with sweetness and flavor, and here’s what you can expect per serving (that’s 1 cake ball):
- Calories: 150
- Fat: 7g
- Saturated Fat: 4g
- Unsaturated Fat: 2g
- Trans Fat: 0g
- Sodium: 50mg
- Carbohydrates: 20g
- Fiber: 1g
- Sugar: 12g
- Protein: 2g
- Cholesterol: 30mg
Keep in mind that these values are estimates and can vary based on the specific ingredients you choose. But rest assured, they’re a sweet little indulgence that’s totally worth it for any celebration!
FAQ Section
Got questions? Don’t worry, I’ve got you covered! Here are some common queries I get about making valentines cake balls along with my trusty answers.
Q1: Can I customize the flavors of my cake balls?
Absolutely! One of the best things about valentines cake balls is how versatile they are. You can use any flavor of cake mix and frosting that tickles your fancy. Want to try a strawberry cake with vanilla frosting? Go for it! The combinations are endless, so let your creativity shine!
Q2: How should I store leftover cake balls?
To keep your delicious valentines cake balls fresh, store them in an airtight container. I like to use parchment paper between layers to prevent sticking. They’ll stay good in the fridge for about a week! If you want to keep them longer, you can freeze them for 2-3 months. Just let them thaw in the fridge when you’re ready to enjoy!
Q3: Can I make these cake balls gluten-free?
Yes, you can! Just swap out the regular cake mix for a gluten-free version. There are plenty of great gluten-free cake mixes available now that taste amazing. Just make sure your frosting is also gluten-free, and you’re all set!
Q4: What if I don’t have chocolate chips? Can I use something else?
If chocolate chips aren’t your thing, you can absolutely use candy melts or white chocolate! They melt beautifully and still give you that delicious coating. Plus, candy melts come in vibrant colors, which can make your valentines cake balls extra festive!
Q5: How can I make these dairy-free?
To make valentines cake balls dairy-free, opt for dairy-free cake mixes and frosting. There are also great dairy-free chocolate chips out there that work perfectly for dipping. Just be sure to check the labels to ensure they meet your dietary needs!
With these FAQs in mind, you’re all set to tackle any challenges that come your way. Happy baking!
Print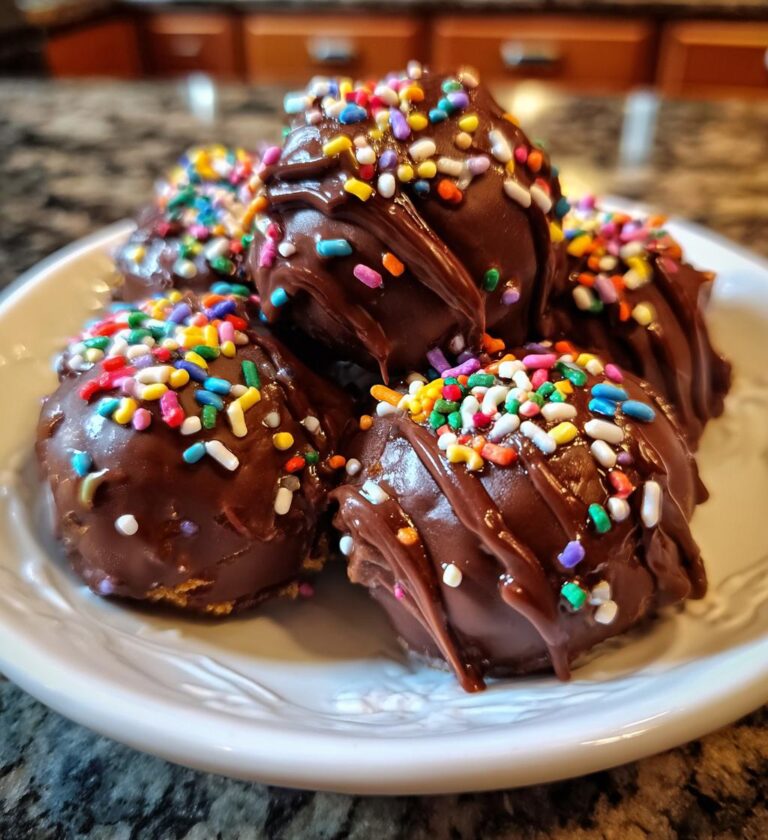
Valentines Cake Balls: 10 Sweet Bites to Melt Hearts
Delicious cake balls perfect for Valentine’s Day.
- Total Time: 50 minutes
- Yield: 24 cake balls 1x
Ingredients
- 1 box cake mix
- 1 cup frosting
- 2 cups chocolate chips
- 1 teaspoon vanilla extract
- Sprinkles for decoration
Instructions
- Bake the cake according to package instructions.
- Allow the cake to cool completely.
- Crumble the cooled cake into a large bowl.
- Add frosting and vanilla extract, mix well.
- Form the mixture into small balls.
- Chill the balls in the refrigerator for 30 minutes.
- Melt the chocolate chips in a microwave.
- Dip each ball in melted chocolate and place on parchment paper.
- Add sprinkles on top before the chocolate sets.
- Let the chocolate harden before serving.
Notes
- Use any flavor of cake mix.
- Store in an airtight container.
- Can be made a day in advance.
- Prep Time: 20 minutes
- Cook Time: 30 minutes
- Category: Dessert
- Method: Baking and Chilling
- Cuisine: American
- Diet: Vegetarian
Nutrition
- Serving Size: 1 cake ball
- Calories: 150
- Sugar: 12g
- Sodium: 50mg
- Fat: 7g
- Saturated Fat: 4g
- Unsaturated Fat: 2g
- Trans Fat: 0g
- Carbohydrates: 20g
- Fiber: 1g
- Protein: 2g
- Cholesterol: 30mg
Keywords: valentines cake balls, cake pops, dessert ideas, Valentine's Day treats