
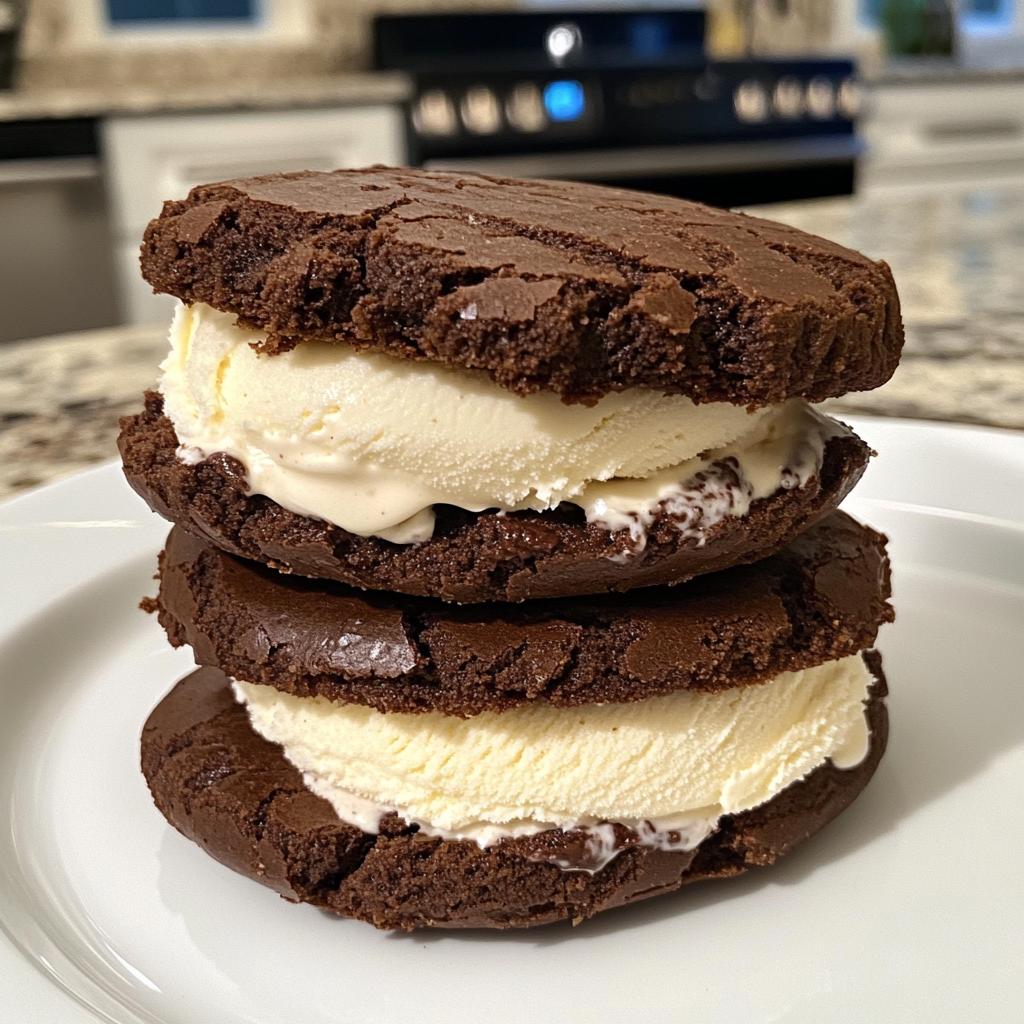
Oh, the joy of biting into a perfectly crafted Ice Cream Sandwich! There’s just something magical about the combination of two soft, chewy cookies cradling a generous scoop of creamy ice cream. It’s like a sweet hug for your taste buds. I can still remember those hot summer days as a kid when my mom would surprise us with these delightful treats after a long afternoon of playing outside. We’d dart to the kitchen, giggling and cheering, as she pulled out the cookies and ice cream, the anticipation building with every scoop.
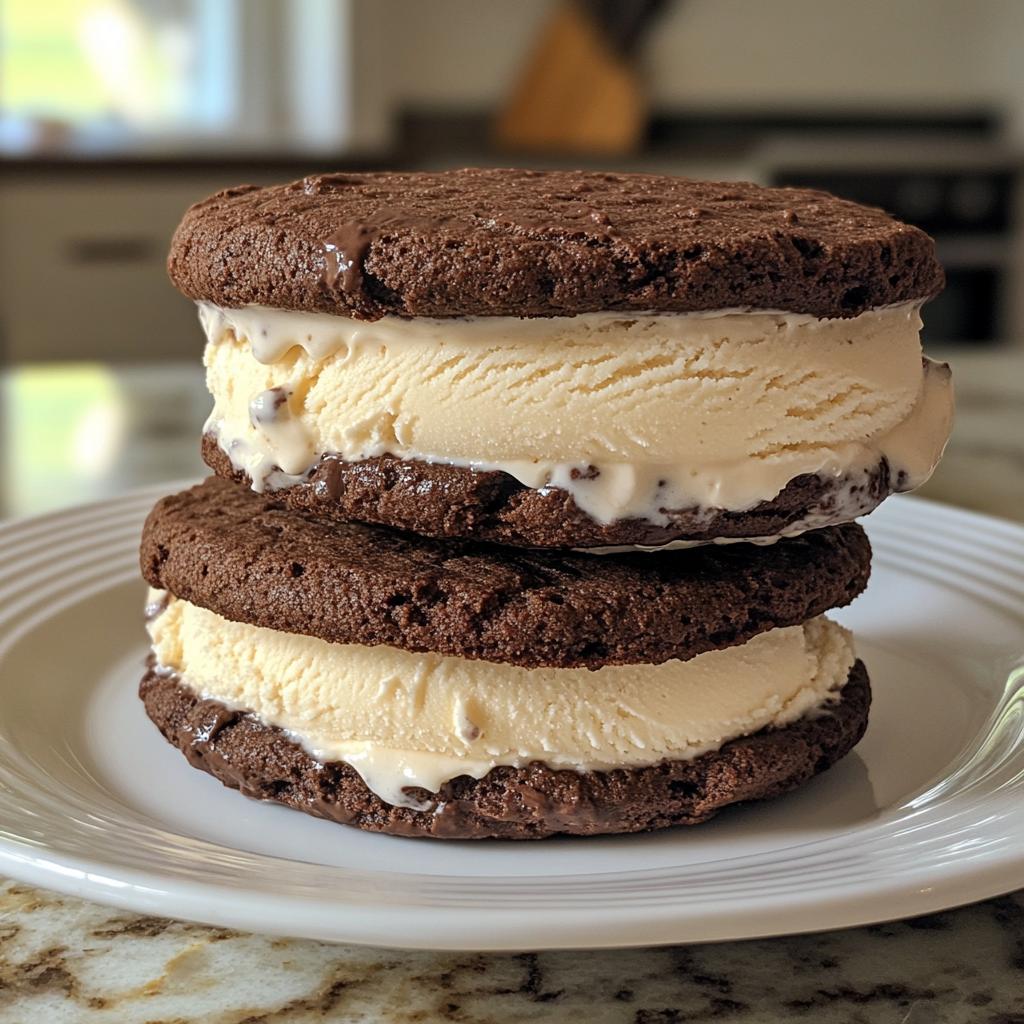
What I love most about Ice Cream Sandwiches is their versatility. You can mix and match flavors to create your own masterpieces! Want chocolate chip cookies with mint chocolate chip ice cream? Go for it! Or how about peanut butter cookies with vanilla bean ice cream? Yes, please! The possibilities are endless, and that’s part of the fun. Plus, they’re super easy to make, which means you can whip up a batch anytime the craving strikes or when friends come over. Trust me, they’ll be a hit, just like they were in my childhood home!
Ingredients List
Gathering the right ingredients is key to crafting the most delicious Ice Cream Sandwiches. Here’s what you’ll need:
- 2 cups all-purpose flour
- 1 cup unsweetened cocoa powder
- 1 teaspoon baking soda
- 1/2 teaspoon salt
- 1 cup unsalted butter, softened to room temperature
- 1 cup granulated sugar
- 1 cup packed brown sugar
- 2 large eggs
- 2 teaspoons vanilla extract
- 4 cups ice cream, any flavor you love
These simple yet essential ingredients come together to create an unforgettable treat that’s sure to impress. Make sure your butter is nice and soft so it creams perfectly with the sugars, and don’t forget to have fun choosing your favorite ice cream flavor for that creamy middle! Enjoy the process of mixing and blending these ingredients into something magical.
How to Prepare Ice Cream Sandwich
Making your own Ice Cream Sandwiches is a delightful adventure that brings all those childhood memories rushing back! Follow these steps, and you’ll have a batch of delicious treats ready to impress. Let’s dive in!
Preheat the Oven
The first step is to preheat your oven to 350°F (175°C). This is super important because a properly heated oven ensures your cookies bake evenly. You don’t want them to end up flat and sad, right? Preheating helps create that lovely, soft center with slightly crisp edges. So, while your oven warms up, take a moment to gather your ingredients and tools.
Mix Dry Ingredients
Now, in a medium bowl, whisk together 2 cups of all-purpose flour, 1 cup of unsweetened cocoa powder, 1 teaspoon of baking soda, and 1/2 teaspoon of salt. It’s essential to mix these dry ingredients thoroughly to ensure the cocoa and baking soda are evenly distributed. This helps the cookies rise beautifully and have that rich chocolate flavor in every bite. I love to use a whisk for this step; it makes everything blend together effortlessly!
Prepare the Butter Mixture
In a large mixing bowl, cream together 1 cup of softened unsalted butter, 1 cup of granulated sugar, and 1 cup of packed brown sugar until the mixture is smooth and fluffy. You’ll want to beat it for about 2-3 minutes. This step is crucial because the air you incorporate will make your cookies light and chewy. The mixture should look pale and creamy, almost like whipped butter. If it’s too grainy, just keep mixing until it reaches that perfect consistency!
Combine Wet and Dry Ingredients
Next, it’s time to bring it all together! Add 2 large eggs and 2 teaspoons of vanilla extract to your butter mixture, and mix until well combined. Then, gradually add the dry mixture to the wet one, stirring gently until just combined. Be careful not to overmix; you want to keep all that lovely air you whipped into the butter. A few flour streaks are perfectly okay! Just mix until you don’t see any more dry flour.
Shape the Cookies
Using a tablespoon or a cookie scoop, drop heaping tablespoonfuls of dough onto your prepared baking sheets. Make sure to space them about 2 inches apart because they will spread a little while baking. I like to give them a gentle press to flatten them slightly. This helps ensure they bake evenly and gives them a lovely shape!
Baking Process
Pop those trays in the oven and bake for 10-12 minutes. You’ll know they’re done when the edges look firm, and the centers are just set but still soft. Don’t worry if they seem a little underbaked; they’ll continue to firm up as they cool. Once they’re done, transfer the cookies to wire racks to cool completely. Patience is key here!
Assemble the Ice Cream Sandwich
Once your cookies are cool, it’s time for the fun part! Scoop a generous amount of your favorite ice cream onto the flat side of one cookie and gently press another cookie on top, flat side down. You want a nice balance of cookie to ice cream, so feel free to adjust the amount based on your preference. For a neat assembly, you can put a little bit of pressure to make sure it sticks, but be careful not to squish it too much!
Freezing the Sandwiches
Finally, wrap each Ice Cream Sandwich in plastic wrap and place them in the freezer for at least 1 hour. This step is crucial for achieving that perfect firmness, making them easy to bite into without everything melting everywhere! Trust me, the wait is worth it because you’ll have a delicious treat ready to enjoy!
Tips for Success
Creating the perfect Ice Cream Sandwich is all about the details! Here are some quick tips to ensure your sandwiches turn out absolutely delicious:
- Use Softened Butter: Make sure your butter is at room temperature before creaming. This helps achieve that light, fluffy texture.
- Chill Your Cookie Dough: If the dough feels too soft, pop it in the fridge for about 30 minutes before baking. This helps the cookies hold their shape better.
- Don’t Skip the Cooling Time: Allow your cookies to cool completely before assembling. This prevents the ice cream from melting too quickly.
- Experiment with Flavors: Don’t be afraid to mix and match cookie and ice cream flavors. A little creativity can lead to some fantastic combinations!
- Wrap Well: After assembling, wrap each sandwich tightly to keep them fresh and avoid freezer burn.
With these tips, you’ll be on your way to impressing everyone with your homemade Ice Cream Sandwiches!
Variations on the Ice Cream Sandwich
One of the best parts about making Ice Cream Sandwiches is the endless opportunity for creativity! You can customize them in so many ways to suit your taste buds or to impress your friends. Let’s explore some fun variations!
First off, think about switching up your cookies. Instead of the classic chocolate cookies, why not try snickerdoodle cookies for a cinnamon twist? Or go for peanut butter cookies for a rich and nutty flavor that pairs beautifully with chocolate or vanilla ice cream.
When it comes to ice cream, the sky’s the limit! You could use mint chocolate chip with chocolate cookies for a refreshing treat or strawberry ice cream with sugar cookies for a summery delight. Don’t forget about seasonal flavors, like pumpkin pie ice cream in the fall or peppermint during the holidays!
And let’s not overlook toppings! After assembling your sandwiches, roll the edges in mini chocolate chips, crushed nuts, or colorful sprinkles for an extra pop of fun. You could even drizzle some chocolate or caramel sauce over the assembled sandwiches for a decadent finish. The combinations are truly endless, and that’s what makes these treats so special!
Nutritional Information Section
When indulging in a delicious Ice Cream Sandwich, it’s always good to know what you’re treating yourself to! Here’s an estimated breakdown for one sandwich:
- Calories: 300
- Fat: 15g
- Saturated Fat: 9g
- Unsaturated Fat: 4g
- Trans Fat: 0g
- Cholesterol: 40mg
- Sodium: 150mg
- Carbohydrates: 40g
- Fiber: 2g
- Protein: 4g
- Sugar: 25g
Keep in mind that these values can vary based on the specific ingredients and flavors you choose. Enjoying these treats in moderation is key, but trust me, every bite is worth it!
FAQ Section
Got questions about Ice Cream Sandwiches? No worries, I’ve got you covered! Here are some common queries and my answers to help you whip up the perfect treat.
Can I use gluten-free flour for this recipe?
Absolutely! Just swap out the all-purpose flour for a good gluten-free blend. Make sure to check that your cocoa powder and other ingredients are also gluten-free to keep everything safe for your dietary needs.
What’s the best way to store Ice Cream Sandwiches?
After wrapping each sandwich in plastic wrap, store them in an airtight container in the freezer. This keeps them fresh and prevents freezer burn. They’ll last for about a week, but trust me, they won’t last that long!
Can I make the cookies ahead of time?
Definitely! You can bake the cookies a day or two in advance. Just let them cool completely, store them in an airtight container, and assemble them when you’re ready to enjoy. This is a great way to have everything ready for a party!
What’s your favorite ice cream flavor to use?
Oh, that’s a tough one! I love classic vanilla bean for its versatility, but mint chocolate chip with chocolate cookies is a close second. But honestly, you can’t go wrong with any flavor you love. Just have fun with it!
How can I make these sandwiches more festive?
For special occasions, consider rolling the edges in crushed candies, sprinkles, or even drizzling with melted chocolate. You can also use seasonal ice creams or fun cookie shapes to make them extra special!
Print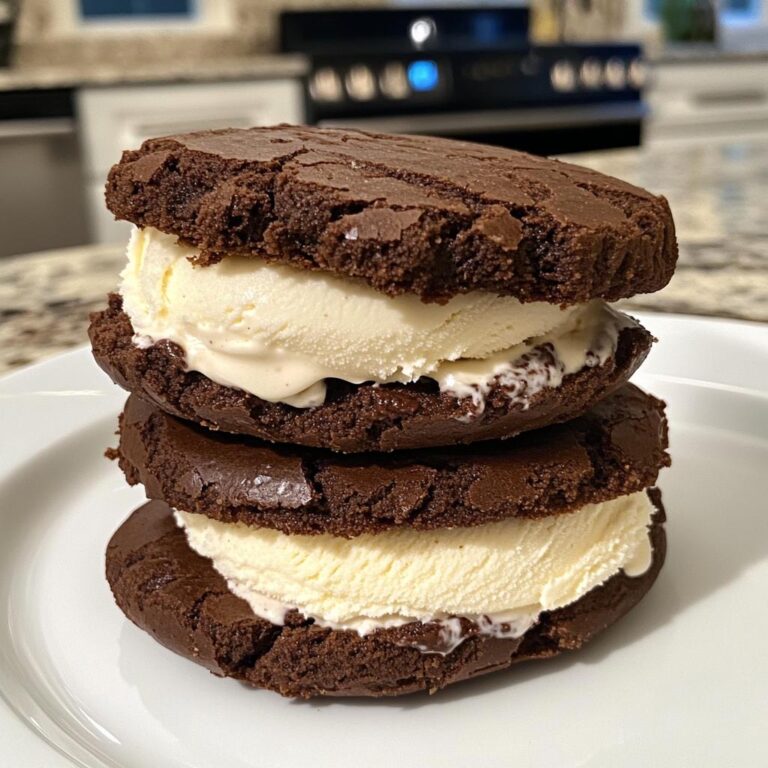
Ice Cream Sandwich: 7 Sweet Variations to Delight You
A delicious treat made of ice cream between two cookies.
- Total Time: 1 hour 32 minutes
- Yield: 12 sandwiches 1x
Ingredients
- 2 cups all-purpose flour
- 1 cup unsweetened cocoa powder
- 1 teaspoon baking soda
- 1/2 teaspoon salt
- 1 cup unsalted butter, softened
- 1 cup granulated sugar
- 1 cup brown sugar, packed
- 2 large eggs
- 2 teaspoons vanilla extract
- 4 cups ice cream, any flavor
Instructions
- Preheat the oven to 350°F (175°C).
- In a bowl, mix flour, cocoa powder, baking soda, and salt.
- In another bowl, cream butter, granulated sugar, and brown sugar until smooth.
- Add eggs and vanilla to the butter mixture, mix well.
- Gradually add the dry ingredients to the wet ingredients, mixing until combined.
- Drop tablespoonfuls of dough onto baking sheets.
- Bake for 10-12 minutes, then cool on racks.
- Once cooled, scoop ice cream onto one cookie and top with another cookie.
- Wrap in plastic and freeze for at least 1 hour.
Notes
- You can use any type of ice cream.
- Store sandwiches in the freezer.
- Customize with toppings like sprinkles or chocolate chips.
- Prep Time: 20 minutes
- Cook Time: 12 minutes
- Category: Dessert
- Method: Baking
- Cuisine: American
- Diet: Vegetarian
Nutrition
- Serving Size: 1 sandwich
- Calories: 300
- Sugar: 25g
- Sodium: 150mg
- Fat: 15g
- Saturated Fat: 9g
- Unsaturated Fat: 4g
- Trans Fat: 0g
- Carbohydrates: 40g
- Fiber: 2g
- Protein: 4g
- Cholesterol: 40mg
Keywords: Ice Cream Sandwich, dessert, cookies, ice cream