
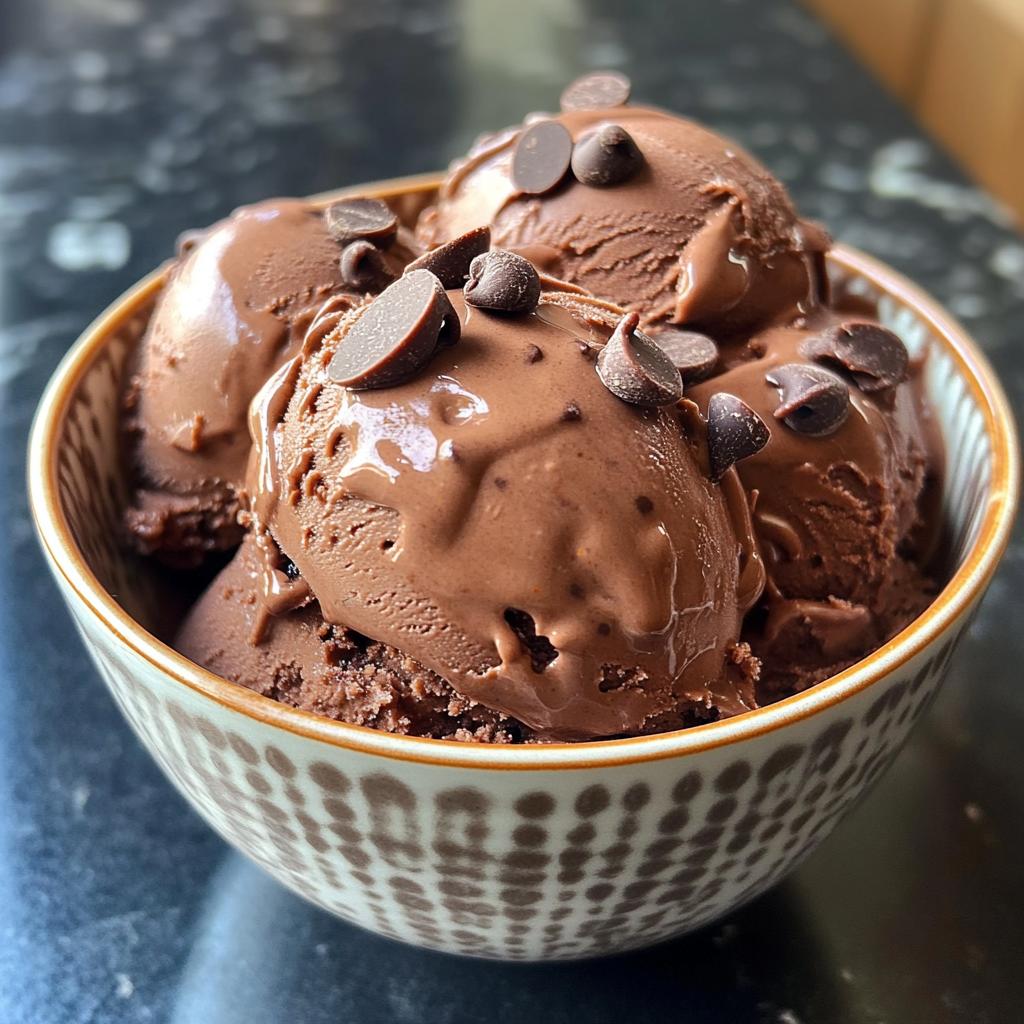
Oh boy, let me tell you about my love affair with homemade chocolate ice cream! There’s just something magical about whipping up a batch in my kitchen, especially on a warm summer day. I remember the first time I made it; I was a kid, eagerly waiting for the ice cream maker to whir its way to creamy perfection. The smell of rich cocoa filled the house, and I could hardly contain my excitement! This chocolate ice cream recipe is so simple and quick that it became a family favorite almost instantly. Trust me, nothing beats the joy of scooping out a bowl of velvety, homemade chocolate ice cream and watching your loved ones’ faces light up with delight. Plus, you can customize it however you like! Whether you want it rich and dark or light and fluffy, this recipe is your canvas to create something truly delicious.
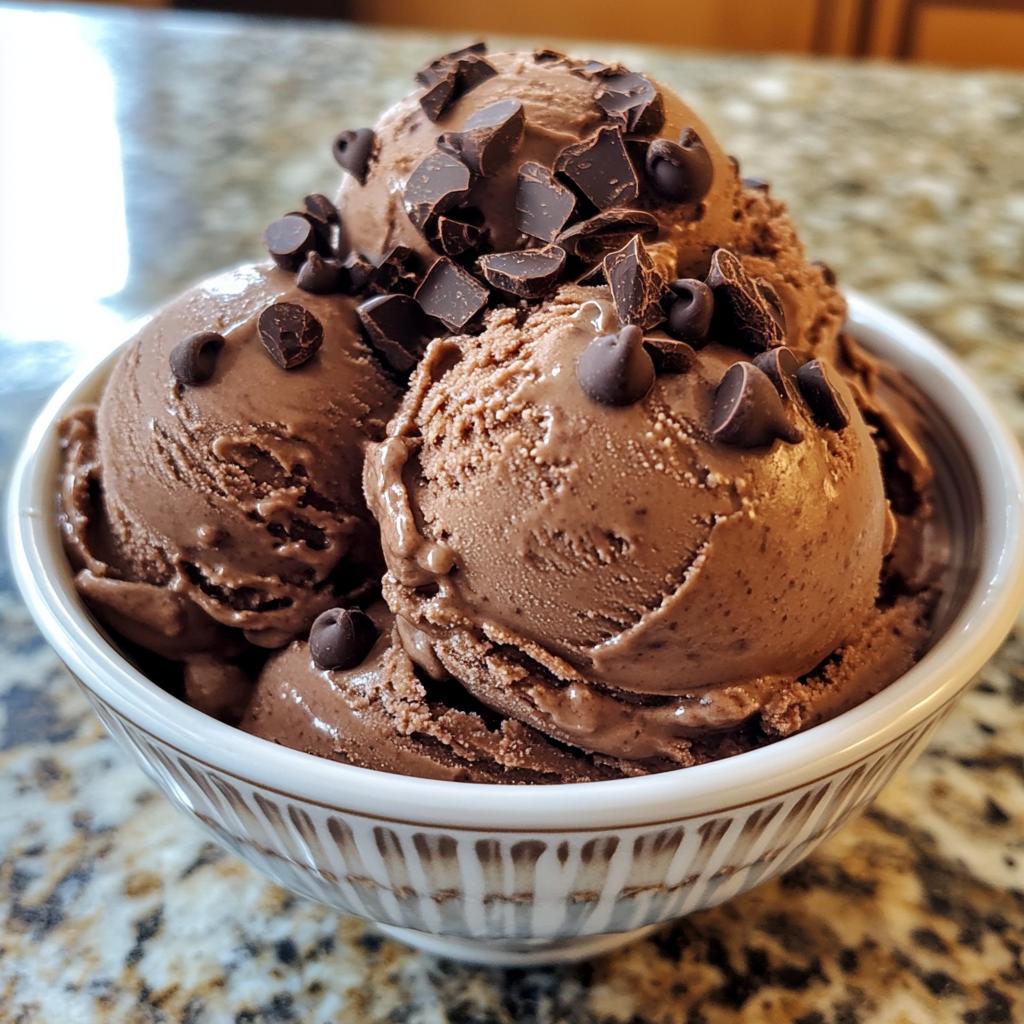
Ingredients for Chocolate Ice Cream
To make the creamiest, most delicious chocolate ice cream, you’ll need just a handful of simple ingredients that pack a flavorful punch. Here’s what you’ll need:
- 2 cups heavy cream
- 1 cup whole milk
- 3/4 cup granulated sugar
- 1/2 cup unsweetened cocoa powder
- 1 teaspoon vanilla extract
- 1/2 cup chocolate chips
Each ingredient plays a vital role in creating that rich, velvety texture and deep chocolate flavor. The heavy cream and whole milk combine for a luxurious base, while the cocoa powder gives it that unmistakable chocolatey goodness. Don’t skimp on the chocolate chips—they’re the delightful finishing touch that adds extra bursts of chocolate in every scoop!
How to Prepare Chocolate Ice Cream
Now, let’s get into the fun part—making your chocolate ice cream! Trust me, it’s easier than you think, and the results are absolutely worth it. Here’s a step-by-step guide to help you through the process:
- Whisk it all together: In a large bowl, take your heavy cream, whole milk, granulated sugar, unsweetened cocoa powder, and vanilla extract. Whisk everything together until it’s smooth and well combined. You want to make sure there are no lumps from the cocoa powder, as they can ruin the silky texture of your ice cream.
- Pour it into the ice cream maker: Once your mixture is smooth, pour it into your ice cream maker, making sure to follow the manufacturer’s instructions for your specific model. This is where the magic happens, so get ready!
- Churn, baby, churn: Start churning the mixture. Typically, this will take about 20-25 minutes. You’ll know it’s ready when the mixture thickens and resembles soft serve ice cream. Don’t forget to check in on it occasionally; it’s hard to resist that deliciousness!
- Add the chocolate chips: About 5 minutes before the churning process is complete, toss in the chocolate chips. This gives them just enough time to mix in without melting completely, leaving you with delightful chocolatey bites in every scoop.
- Freeze it up: Once your ice cream has reached the right consistency, transfer it to an airtight container. Smooth the top with a spatula and pop it in the freezer. You’ll want to freeze it for at least 4 hours, or until it’s firm enough to scoop. The waiting is the hardest part, but oh-so-worth it!
And there you have it! Making chocolate ice cream at home is not just simple; it’s a delightful experience. You’ll be rewarded with a creamy, rich treat that’s sure to impress family and friends alike!
Why You’ll Love This Recipe
There are so many reasons to fall in love with this homemade chocolate ice cream recipe! Here are just a few:
- Quick Preparation: With just a few simple steps, you can whip up a delicious batch in no time!
- Rich Flavor: Using high-quality cocoa powder and real chocolate chips gives you that deep, mouthwatering chocolate taste.
- Customizable: Want to add nuts, marshmallows, or different extracts? Go ahead! It’s your ice cream, your way.
- Family Fun: Making ice cream together is a fantastic bonding activity that everyone will enjoy.
Trust me, once you try it, you’ll be hooked on making your own chocolate ice cream!
Tips for Success with Chocolate Ice Cream
To ensure your homemade chocolate ice cream turns out absolutely divine, here are some essential tips you won’t want to skip!
- Use High-Quality Cocoa Powder: Trust me, the better the cocoa powder, the richer your ice cream will taste. Go for Dutch-processed or dark cocoa for a deeper chocolate flavor that’s irresistible.
- Chill Your Mixture: For the creamiest texture, let your ice cream mixture chill in the fridge for at least an hour before pouring it into the ice cream maker. This helps it churn better!
- Room Temperature Scoop: When you’re ready to scoop, let the ice cream sit at room temperature for about 5-10 minutes. This makes it easier to serve and ensures those perfect, luscious scoops.
- Experiment with Mix-ins: Don’t hesitate to get creative! Add crushed cookies, nuts, or even swirls of peanut butter for a delightful twist on the classic recipe.
Following these simple tips will elevate your chocolate ice cream game to a whole new level!
Nutritional Information for Chocolate Ice Cream
Now that you’re all set to enjoy your homemade chocolate ice cream, let’s talk about the nutritional side of things! Keep in mind that these values are estimates based on typical ingredient usage and can vary depending on specific brands or variations you might choose.
For a serving size of 1/2 cup, you can expect approximately:
- Calories: 300
- Fat: 20g
- Protein: 4g
- Carbohydrates: 30g
- Sugars: 24g
With all that creamy goodness, it’s a delightful treat worth indulging in every now and then! Enjoy every scoop, knowing you’ve created something truly special.
FAQ Section for Chocolate Ice Cream
If you’ve got questions about making your own chocolate ice cream, don’t worry—I’ve got answers! Let’s tackle some common queries:
- Can I make this chocolate ice cream without an ice cream maker? Absolutely! You can pour the mixture into a shallow dish and stir it every 30 minutes until it reaches a creamy consistency. It’ll take a bit longer, but the results are still delicious!
- How do I store leftovers? Store your chocolate ice cream in an airtight container in the freezer to keep it fresh. It’ll last about 2-3 weeks, but trust me, it won’t last that long!
- What can I substitute for the sugar? You could use coconut sugar or a sugar substitute, like stevia or erythritol, if you’re looking for a lower-calorie version. Just make sure to adjust the quantities according to the product’s sweetness!
- Can I use different flavors of cocoa powder? Yes! Feel free to experiment with flavored cocoa powders, like dark chocolate or even mint. It’ll add a unique twist to your chocolate ice cream!
Hopefully, these answers help you on your delicious ice cream-making journey. Enjoy every scoop!
Variations of Chocolate Ice Cream
Ready to shake things up with your chocolate ice cream? There are so many fun ways to customize this classic treat! Here are a few ideas to get your creative juices flowing:
- Nutty Delight: Add a handful of chopped nuts like almonds or pecans for a satisfying crunch.
- Mint Chocolate Chip: Mix in some peppermint extract and dark chocolate chips for a refreshing twist.
- Rocky Road: Throw in mini marshmallows and chopped walnuts for a delightful mix of textures.
- Chocolate Swirl: Drizzle in some caramel or fudge sauce during the last few minutes of churning for a decadent swirl effect.
- Fruit Fusion: Fold in fresh raspberries or strawberries for a fruity contrast to the rich chocolate flavor.
With these variations, you can create a new flavor sensation with every batch, making your homemade chocolate ice cream an exciting adventure!
Storage & Reheating Instructions for Chocolate Ice Cream
Storing your homemade chocolate ice cream is super simple! Just transfer any leftovers into an airtight container, making sure to smooth the top to minimize air exposure. This helps keep it fresh and prevents ice crystals from forming. It’ll stay delicious in the freezer for about 2-3 weeks, but I doubt it’ll last that long!
If you find it’s become too hard to scoop, don’t panic! Just let the ice cream sit at room temperature for about 5-10 minutes before serving. This little tip makes it easier to scoop and ensures you get those perfect, creamy portions every time!
Print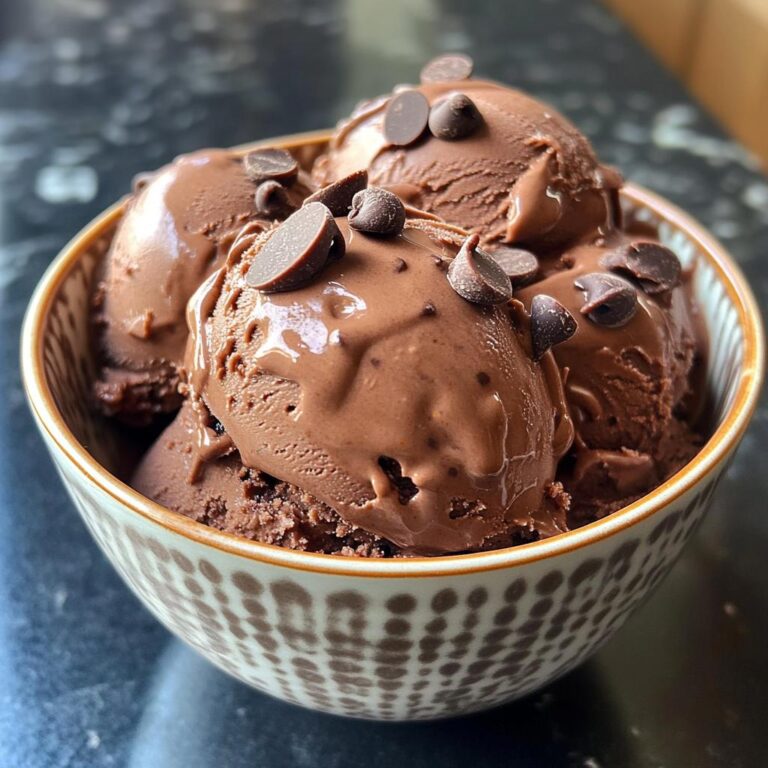
Chocolate Ice Cream: 5 Simple Steps to Pure Delight
Delicious homemade chocolate ice cream.
- Total Time: 4 hours 15 minutes
- Yield: 4 servings 1x
Ingredients
- 2 cups heavy cream
- 1 cup whole milk
- 3/4 cup granulated sugar
- 1/2 cup unsweetened cocoa powder
- 1 teaspoon vanilla extract
- 1/2 cup chocolate chips
Instructions
- In a bowl, whisk together the cream, milk, sugar, cocoa powder, and vanilla until smooth.
- Pour the mixture into an ice cream maker.
- Churn according to the manufacturer’s instructions until it thickens.
- Add chocolate chips during the last few minutes of churning.
- Transfer to an airtight container and freeze for at least 4 hours.
Notes
- For a richer flavor, use dark chocolate cocoa powder.
- Let the ice cream sit at room temperature for a few minutes before scooping.
- Prep Time: 15 minutes
- Cook Time: 0 minutes
- Category: Dessert
- Method: Ice Cream Maker
- Cuisine: American
- Diet: Vegetarian
Nutrition
- Serving Size: 1/2 cup
- Calories: 300
- Sugar: 24g
- Sodium: 50mg
- Fat: 20g
- Saturated Fat: 12g
- Unsaturated Fat: 8g
- Trans Fat: 0g
- Carbohydrates: 30g
- Fiber: 2g
- Protein: 4g
- Cholesterol: 80mg
Keywords: Chocolate Ice Cream, Homemade Ice Cream, Dessert