
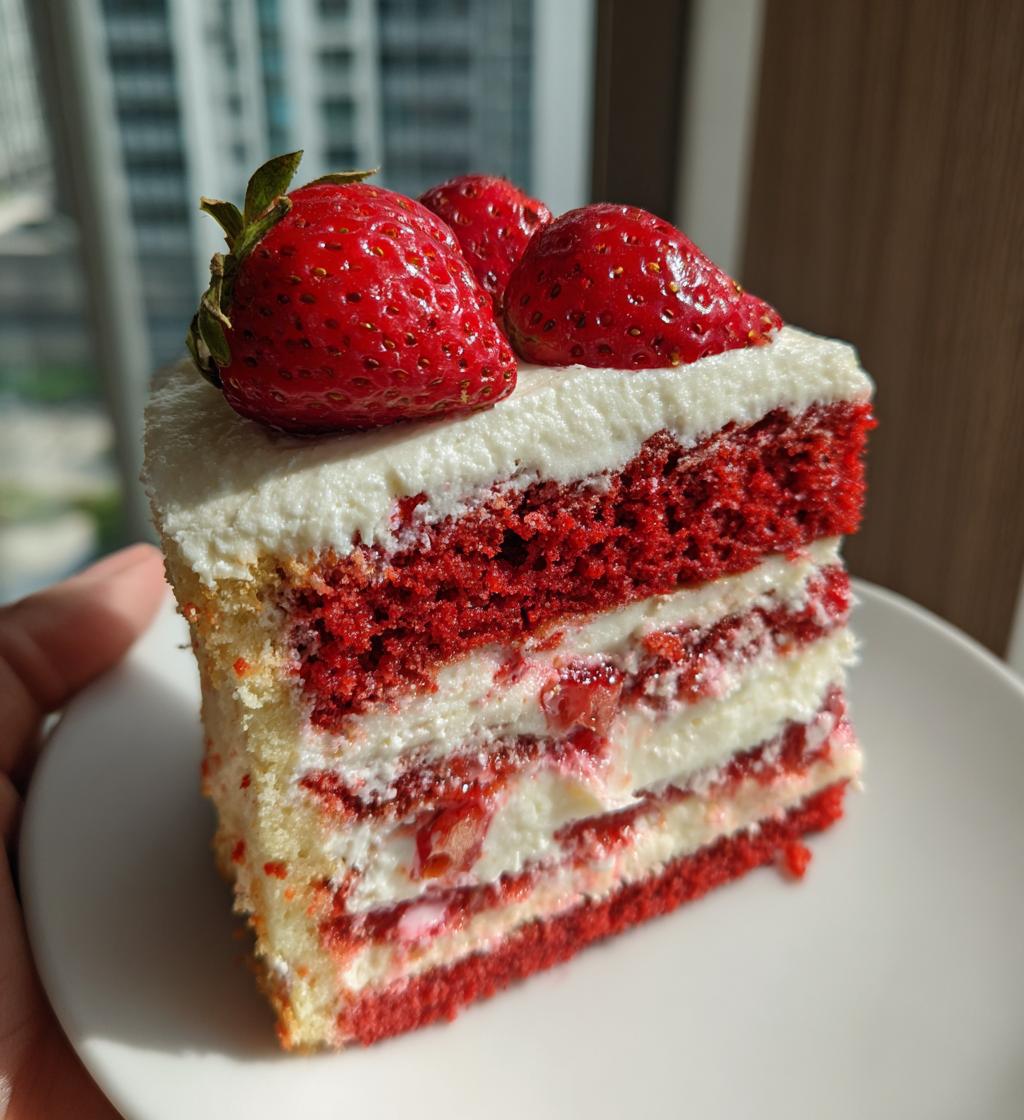
There’s something truly magical about a *Valentine’s Day cake*. It’s not just a dessert; it’s a heartfelt gesture that speaks volumes of love and affection. Every time I bake this cake, I can’t help but feel the excitement in the air. The vibrant red hue, the creamy frosting, and the delightful aroma that fills the kitchen all blend together to create a moment of pure joy. I remember the first time I made this cake for my partner; the look on their face when they saw it was priceless! It was like I had captured all the sweetness of our relationship in one delicious slice.
This cake isn’t just for couples, either; it’s perfect for friends, family, or anyone you want to show appreciation for. Sharing a slice over a cozy dinner or enjoying it during a movie night adds to the love-filled atmosphere. Plus, the process of making it together can be just as special as the cake itself! So, whether you’re planning a romantic dinner or simply want to spread some love, this *Valentine’s Day cake* is sure to bring smiles and sweet memories to anyone who gets to taste it.
Why You’ll Love This Recipe
This *Valentine’s Day cake* isn’t just a treat; it’s an experience that brings joy and warmth! Here’s why you’ll absolutely adore it:
- Deliciously Moist: The combination of butter and eggs gives this cake a rich, moist texture that simply melts in your mouth.
- Perfectly Sweet: With just the right amount of sugar, it strikes a beautiful balance that’s sweet but not overpowering.
- Visually Stunning: The vibrant red color makes it a showstopper, guaranteeing it will steal the spotlight on your table.
- Easy to Customize: You can easily add your favorite flavors or decorations to make it uniquely yours!
- Memorable Moments: Baking and sharing this cake creates unforgettable memories with your loved ones.
Trust me, this cake will have everyone asking for seconds while they savor the love baked right into every slice!
Ingredients List
Gathering the right ingredients is the first step toward creating your delicious *Valentine’s Day cake*. Here’s what you’ll need:
- 2 cups all-purpose flour: This forms the base of your cake, providing structure and a lovely crumb.
- 1 ½ cups sugar: The sweetness that balances beautifully with the cake’s flavors.
- 1 cup unsalted butter: Make sure it’s room temperature for easy creaming; it adds richness and moisture.
- 4 large eggs: These are essential for binding and adding moisture to the cake.
- 1 cup milk: Whole milk works best for a rich texture, but you can use any milk you prefer!
- 2 teaspoons vanilla extract: This adds a warm, sweet flavor that enhances the overall taste.
- 1 ½ teaspoons baking powder: This is your leavening agent, giving the cake that wonderful rise.
- ½ teaspoon salt: Just a pinch to enhance all the flavors in the cake.
- Red food coloring: A few drops to achieve that beautiful, romantic red hue that makes this cake special.
- 1 cup cream cheese frosting: The perfect finishing touch, creamy and tangy to complement the sweetness of the cake.
Having everything ready will make the baking process smooth and enjoyable. Trust me, you’re going to love the way these ingredients come together!
How to Prepare Instructions
Preheat and Prepare
First things first, you’ll want to preheat your oven to 350°F (175°C). This step is crucial because a properly heated oven ensures your cake bakes evenly. While that’s warming up, grab your two 9-inch round cake pans and grease them generously with butter. Then, dust them lightly with flour to prevent sticking. I like to tap out any excess flour; it makes for a cleaner release!
Mixing the Batter
Now, let’s dive into the fun part! In a large mixing bowl, cream together the unsalted butter and sugar using a hand mixer or stand mixer until it’s light and fluffy—about 3-5 minutes should do the trick. Trust me, the fluffiness is key! Next, add the eggs one at a time, mixing well after each addition. This helps them incorporate smoothly into the batter. Then, stir in the milk and vanilla extract until everything is just combined. In a separate bowl, whisk together the flour, baking powder, and salt. Gradually add this dry mixture to your wet ingredients, mixing gently until no dry streaks remain. Now comes the fun part—add a few drops of red food coloring! Mix until you reach your desired shade of romantic red. I often start with a small amount, as it’s easier to add more than to take it away!
Baking the Cake
Time to pour that beautiful batter into your prepared pans! Divide it evenly, and give the pans a gentle tap on the counter to release any air bubbles. Pop them into your preheated oven and bake for 25-30 minutes. Keep an eye on them, as oven times can vary! You’ll know they’re done when a toothpick inserted in the center comes out clean or with just a few moist crumbs. It’s always a good idea to test a couple of spots just to be sure.
Cooling and Frosting
Once baked, let the cakes cool in the pans for about 10 minutes before transferring them to a wire rack. This cooling step is crucial; it prevents the cakes from becoming soggy. After they’ve cooled completely, it’s time to frost! Spread a generous layer of cream cheese frosting on top of one cake, place the other on top, and then frost the entire cake. Don’t worry if it’s not perfect—beautifully imperfect is what makes it homemade! Feel free to get creative with your decorations, too!
Nutritional Information
While this *Valentine’s Day cake* is a delightful treat, keep in mind that nutritional values can vary based on the specific ingredients and brands you use. The information shared here is a general estimate and may not reflect exact values. To get a better idea of what you’re enjoying, consider checking the labels of your ingredients. Enjoy every delicious slice without worry, and savor the love baked into this cake!
Tips for Success
To ensure your *Valentine’s Day cake* turns out as perfect as can be, I’ve got a few pro tips that I swear by:
- Use Room Temperature Ingredients: Make sure your butter, eggs, and milk are at room temperature before you start. This helps create a smooth batter and results in a fluffier cake.
- Measure Accurately: Baking is a science, so use measuring cups and spoons to get the proportions just right. Too much flour or sugar can throw off the texture!
- Don’t Overmix: When combining the dry and wet ingredients, mix until just combined. Overmixing can lead to a dense cake, and we want it light and airy!
- Rotate Your Pans: If your oven has hot spots, rotate the pans halfway through baking. This ensures even cooking and prevents one side from getting too brown.
- Cool Completely: Allow your cakes to cool completely before frosting. This prevents the frosting from melting and sliding off, keeping your masterpiece intact!
With these tips in your back pocket, you’ll be well on your way to impressing everyone with your delicious *Valentine’s Day cake*! Happy baking!
Variations
One of the best parts about this *Valentine’s Day cake* is how easy it is to switch things up and make it your own! Here are some fun variations to consider:
- Flavor Infusions: Why not add a splash of almond extract or orange zest to the batter for a delightful twist? These flavors complement the sweetness beautifully!
- Chocolate Lovers: For a decadent touch, fold in mini chocolate chips or replace some of the flour with cocoa powder to create a chocolate version. Chocolate and cream cheese frosting? Yes, please!
- Fruit Additions: Toss in some fresh raspberries or strawberries into the batter for a fruity burst. They’ll add a lovely surprise and extra moisture!
- Decorative Touches: Get creative with your frosting! Use a piping bag to create beautiful designs or top the cake with edible flowers, sprinkles, or even heart-shaped candies for that perfect romantic vibe.
These variations will make your *Valentine’s Day cake* even more delightful and tailored to your taste. Enjoy experimenting!
Storage & Reheating Instructions
To keep your *Valentine’s Day cake* fresh and delicious, store any leftovers in an airtight container at room temperature for up to three days. If you need to keep it longer, refrigerate it, but be sure to let it sit at room temperature for about 30 minutes before serving. This helps bring back its lovely texture! When it comes to reheating, gently warm individual slices in the microwave for about 10-15 seconds. Just enough to take the chill off without melting the frosting! Enjoy every delightful bite!
FAQ Section
Got questions about making the perfect *Valentine’s Day cake*? I’ve got you covered! Here are some common queries and my answers:
- Can I use a different frosting? Absolutely! While cream cheese frosting is a classic pairing, you can swap it for buttercream, whipped cream, or even a ganache for a richer flavor. Just make sure it complements the sweetness of the cake.
- Can I make this cake ahead of time? Yes! This *Valentine’s Day cake* can be baked a day in advance. Just store it in an airtight container to keep it fresh. Frost it right before serving for the best presentation!
- What can I do if my cake is too dry? If you find your cake is drier than expected, try serving it with a scoop of ice cream or a drizzle of warm sauce. It adds moisture and makes for a delightful combination!
- Is this cake suitable for kids? Definitely! The vibrant color and sweet flavor make it a hit with kids too. Just keep an eye on the food coloring amount if you’re concerned about it being too intense.
- Can I freeze leftovers? Yes! You can freeze slices of your *Valentine’s Day cake*. Just wrap them tightly in plastic wrap and place them in an airtight container. When you’re ready to enjoy, thaw them at room temperature for a few hours.
With these tips, you’ll be well-prepared to bake and enjoy this lovely cake for any occasion!
Print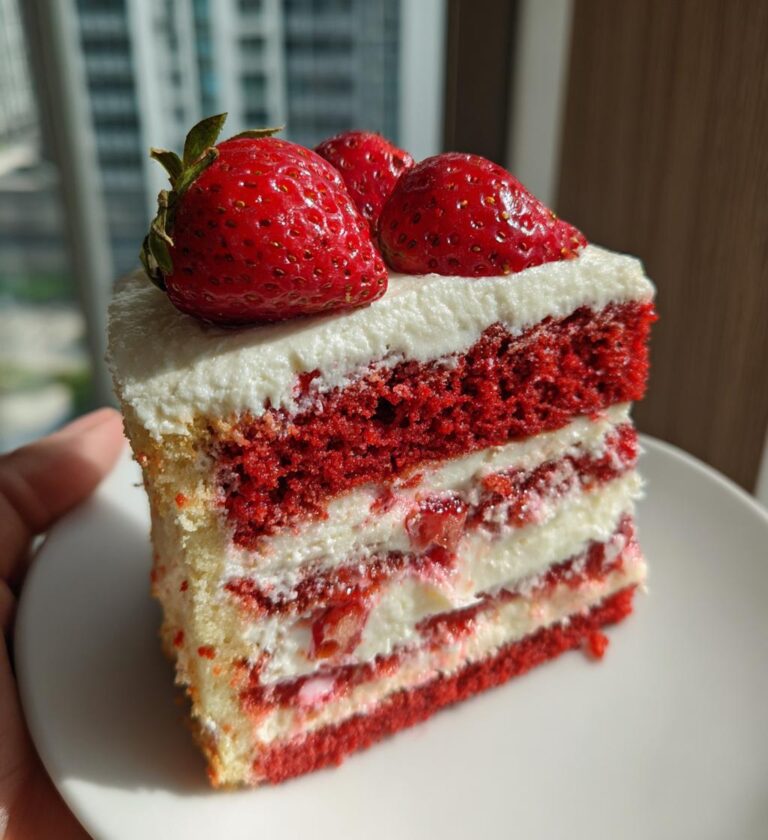
Valentine’s Day Cake: 5 Secrets for an Unforgettable Treat
A delicious cake perfect for Valentine’s Day.
- Total Time: 50 minutes
- Yield: 12 servings 1x
Ingredients
- 2 cups all-purpose flour
- 1 ½ cups sugar
- 1 cup unsalted butter
- 4 large eggs
- 1 cup milk
- 2 teaspoons vanilla extract
- 1 ½ teaspoons baking powder
- ½ teaspoon salt
- Red food coloring
- 1 cup cream cheese frosting
Instructions
- Preheat your oven to 350°F (175°C).
- Grease and flour two 9-inch round cake pans.
- In a bowl, cream together the butter and sugar until light and fluffy.
- Add the eggs one at a time, mixing well after each addition.
- Stir in the milk and vanilla extract.
- In another bowl, combine the flour, baking powder, and salt.
- Gradually add the dry ingredients to the wet mixture.
- Mix in red food coloring to achieve desired color.
- Pour the batter evenly into prepared pans.
- Bake for 25-30 minutes or until a toothpick comes out clean.
- Let the cakes cool before frosting with cream cheese frosting.
Notes
- Store the cake in a cool place.
- Use a heart-shaped cake pan for a festive look.
- Decorate with fresh strawberries for added appeal.
- Prep Time: 20 minutes
- Cook Time: 30 minutes
- Category: Dessert
- Method: Baking
- Cuisine: American
- Diet: Vegetarian
Nutrition
- Serving Size: 1 slice
- Calories: 350
- Sugar: 30g
- Sodium: 200mg
- Fat: 15g
- Saturated Fat: 9g
- Unsaturated Fat: 4g
- Trans Fat: 0g
- Carbohydrates: 50g
- Fiber: 1g
- Protein: 3g
- Cholesterol: 80mg
Keywords: valentines day cake, romantic cake, dessert for couples