
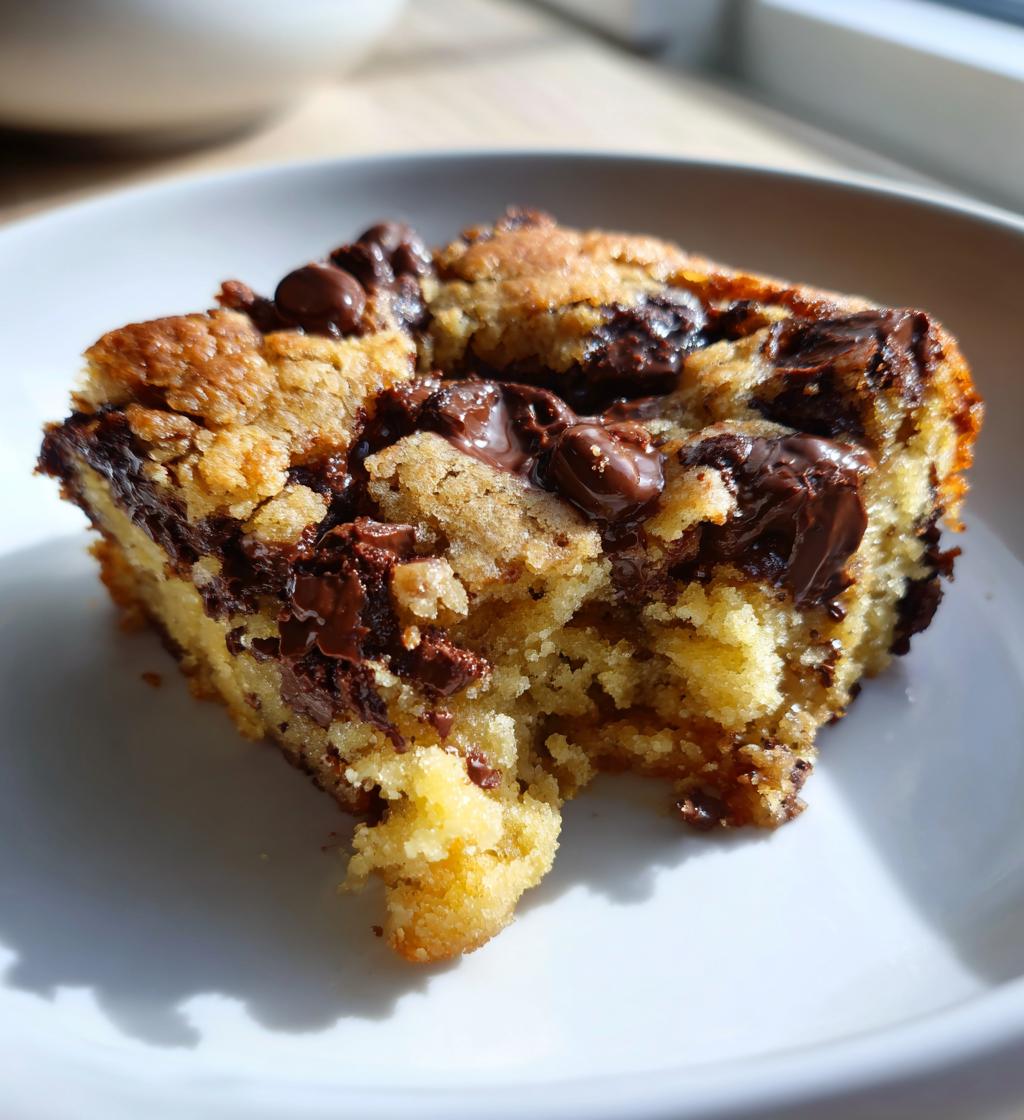
Valentine’s Day is just around the corner, and there’s nothing quite like the joy of baking for your loved ones! There’s something magical about whipping up sweet treats that not only taste amazing but also show just how much you care. This Valentine’s Day bakery recipe is the perfect way to impress your special someone or simply spread some love to friends and family. Imagine the aroma of warm chocolate wafting through your kitchen as you create delicious bites that will make hearts flutter and faces light up with joy!
These delightful treats are simple to make and are sure to be a hit at any celebration. With just a handful of ingredients, you can whip up something truly special that will bring smiles all around. So, grab your mixing bowl and let’s dive into the sweet world of baking for Valentine’s Day!
Ingredients List
- 2 cups all-purpose flour
- 1 cup granulated sugar
- 1/2 cup unsalted butter, softened
- 2 large eggs
- 1 cup whole milk
- 1 tsp pure vanilla extract
- 1 tsp baking powder
- 1/2 tsp salt
- 1 cup semi-sweet chocolate chips
How to Prepare Instructions
Getting started on these delightful treats is a breeze! Let’s walk through the steps together, and trust me, you’ll have a delicious batch ready in no time.
- Preheat your oven: First things first, preheat your oven to 350°F (175°C). This ensures your treats bake evenly and beautifully!
- Mix the dry ingredients: In a medium bowl, whisk together the 2 cups of all-purpose flour, 1 tsp of baking powder, and 1/2 tsp of salt. This step is crucial for fluffiness, so give it a good mix!
- Cream the butter and sugar: In a large bowl, cream together 1/2 cup of softened unsalted butter and 1 cup of granulated sugar until the mixture is light and fluffy. You’ll want to beat it for about 2-3 minutes, so it gets that lovely airy texture.
- Add in the eggs and vanilla: Crack in the 2 large eggs, and pour in 1 tsp of pure vanilla extract. Mix until everything is well combined and smooth.
- Combine wet and dry ingredients: Now it’s time to alternate adding the flour mixture and 1 cup of whole milk to the butter mixture. Start with a third of the flour, mix gently, then add half the milk. Repeat this until all ingredients are combined, finishing with the flour. Don’t overmix; just stir until you see no dry flour!
- Stir in chocolate chips: Gently fold in the 1 cup of semi-sweet chocolate chips. This is my favorite part! The more chocolate, the better, right?
- Pour into the pan: Pour the batter into a greased baking pan, making sure to spread it out evenly. I like to use a spatula for this – it really helps get every last bit of goodness out!
- Bake to perfection: Pop the pan into your preheated oven and bake for about 25-30 minutes. You’ll know they’re ready when a toothpick inserted into the center comes out clean. Make sure to keep an eye on them during the last few minutes!
- Cool before serving: Once baked, let the treats cool in the pan for about 10 minutes before transferring them to a wire rack to cool completely. This helps them set just right!
And there you have it! Each step is simple, and soon you’ll have a tray full of chocolatey goodness ready to impress! Enjoy the sweet aroma filling your kitchen as you prepare these lovely Valentine’s Day treats!
Why You’ll Love This Recipe
- Quick Preparation: You can whip up these delicious treats in just 15 minutes of prep time, making them perfect for last-minute baking adventures!
- Easy to Make: With simple steps and common ingredients, even novice bakers can create something truly special without any fuss.
- Delicious Flavors: The combination of rich chocolate and buttery goodness creates a melt-in-your-mouth experience that will have everyone coming back for seconds!
- Perfect for Sharing: Whether it’s a romantic evening or a friendly gathering, these treats are ideal for sharing with loved ones, spreading joy and sweetness all around.
- Versatile Treat: You can easily dress them up with icing or sprinkles for a festive touch, making them suitable for any celebration!
Tips for Success
Making these Valentine’s Day treats is a piece of cake, but a few handy tips can help guarantee that your baking turns out absolutely perfect every time!
- Room Temperature Ingredients: Make sure your butter and eggs are at room temperature before you start. This helps them blend together more smoothly, giving you that light and fluffy texture we all love!
- Measure Flour Correctly: When measuring your flour, avoid scooping it directly from the bag, as this can pack it down and lead to too much flour in your mix. Instead, spoon the flour into your measuring cup and level it off with a knife for accuracy.
- Don’t Overmix: It might be tempting to keep mixing once everything is combined, but overmixing can lead to dense treats. Just stir until the ingredients are combined and a few flour streaks remain. Trust me, your treats will be much lighter!
- Check for Doneness: Ovens can vary, so keep an eye on your treats as they bake. Start checking for doneness a few minutes before the timer goes off. If the toothpick comes out with a few moist crumbs, you’re golden!
- Cool Properly: Allowing your treats to cool in the pan for about 10 minutes before transferring them to a wire rack helps them set properly. This step prevents them from falling apart when you remove them!
- Experiment with Add-ins: Feel free to get creative! Consider adding nuts, dried fruit, or even a sprinkle of sea salt on top before baking for an exciting twist!
By keeping these tips in mind, you’ll be well on your way to impressing everyone with your baking skills. Happy baking, and enjoy those delicious treats!
Variations
Now, let’s talk about how to keep things exciting in the kitchen! This basic recipe is super versatile, and you can easily switch it up to create new flavors and textures that will wow your loved ones. Here are some fun ideas to inspire your creativity:
- Nutty Delight: Add 1/2 cup of chopped walnuts or pecans into the batter for a delightful crunch. They complement the chocolate beautifully and add a lovely earthy flavor.
- Fruit Fusion: Mix in 1 cup of fresh raspberries or strawberries for a fruity twist. Just be sure to gently fold them in to avoid crushing the berries, and watch for that burst of flavor in every bite!
- Minty Fresh: Add a teaspoon of peppermint extract to the batter for a refreshing minty flavor that pairs wonderfully with chocolate. You can even top your treats with crushed peppermint candies after baking for a festive look!
- Citrus Zing: Incorporate the zest of one orange or lemon into the batter for a bright, zesty flavor. This adds a lovely contrast to the richness of the chocolate and makes your treats feel extra special.
- Decadent Swirls: Before baking, swirl in some softened cream cheese mixed with a bit of sugar and vanilla for a cheesecake-inspired treat. It’s rich, creamy, and oh-so-delicious!
- Spicy Kick: For those who like a little heat, try adding a pinch of cayenne pepper or cinnamon to the batter. It adds a surprising kick that pairs well with the sweetness of the chocolate.
With these variations, you can easily personalize your Valentine’s Day bakery treats to suit any taste. Don’t be afraid to experiment and make them your own. Happy baking, and enjoy the delicious results!
Storage & Reheating Instructions
Once you’ve baked these delightful treats, you might be wondering how to keep them fresh and tasty! Storing them properly is key to enjoying their deliciousness for days to come.
To store leftovers, let your treats cool completely on a wire rack. Once they’re cool, place them in an airtight container. This will help retain their moisture and prevent them from drying out. If you have a lot, you can separate layers with parchment paper to avoid sticking. They’ll stay fresh at room temperature for up to 3 days, or you can pop them in the fridge for up to a week.
If you want to keep them even longer, consider freezing them! Just wrap each piece tightly in plastic wrap and then place them in a freezer-safe bag. They can last for about 2-3 months in the freezer. When you’re ready to enjoy them, simply take them out and let them thaw at room temperature.
Now, for reheating, I recommend the microwave for a quick fix. Just pop a piece in for about 10-15 seconds to warm it up and bring back that fresh-baked taste. If you prefer a little crispiness, you can use the oven! Preheat your oven to 350°F (175°C), place the treats on a baking sheet, and warm them for about 5-7 minutes. This method will give you that lovely texture, making them taste like they just came out of the oven!
So, whether you’re enjoying these on the same day or saving them for later, these tips will help you savor every last bite of your Valentine’s Day bakery treats!
Nutritional Information
Each delicious piece of these Valentine’s Day treats contains approximately:
- Calories: 200
- Sugar: 15g
- Sodium: 150mg
- Fat: 8g
- Saturated Fat: 5g
- Unsaturated Fat: 2g
- Trans Fat: 0g
- Carbohydrates: 30g
- Fiber: 1g
- Protein: 3g
- Cholesterol: 30mg
Please note that nutritional values may vary based on the specific ingredients and brands you use, so these figures are approximate and should be taken as a general guide. Adjustments in portion size or ingredient swaps can also change the overall nutrition, so feel free to customize based on your preferences! Enjoy baking and indulging in these delightful treats!
FAQ Section
Q1. Can I use different types of chocolate in this recipe?
Absolutely! While I love semi-sweet chocolate chips, you can switch it up with dark chocolate, milk chocolate, or even white chocolate chips for a unique flavor twist. Each type adds its special touch to these Valentine’s Day bakery treats!
Q2. How can I make these treats gluten-free?
You can easily make this recipe gluten-free by substituting the all-purpose flour with a gluten-free flour blend. Just make sure to use one that’s designed for baking, and you should get delicious results without any issues!
Q3. Can I make the batter ahead of time?
Sure thing! You can prepare the batter ahead of time and store it in the refrigerator for up to 24 hours. Just give it a good stir before pouring it into the baking pan and popping it in the oven. This way, you can enjoy fresh-baked treats with minimal fuss!
Q4. What’s the best way to decorate these treats for Valentine’s Day?
The sky’s the limit when it comes to decorating! You can drizzle melted chocolate or white chocolate over the top, sprinkle with colorful sprinkles, or even add a simple dusting of powdered sugar. For an extra festive touch, consider using heart-shaped cookie cutters to create fun shapes!
Q5. How do I know when my treats are done baking?
Keep an eye on them during the last few minutes of baking! You’ll know they’re done when a toothpick inserted into the center comes out clean or with just a few moist crumbs. Also, the edges should slightly pull away from the pan. Trust your senses, and you’ll have perfectly baked treats!
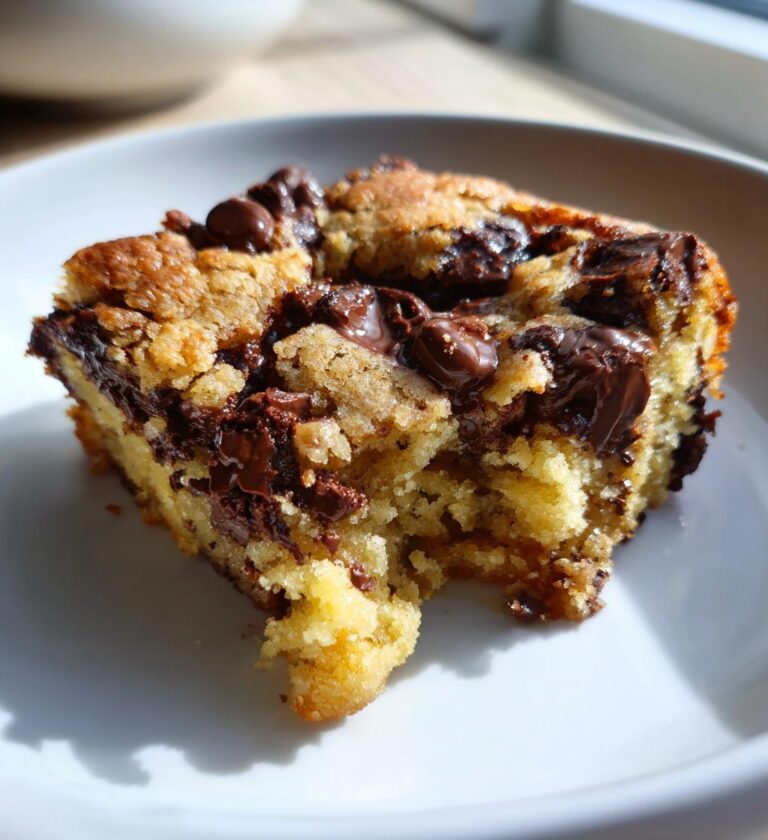
Valentines Day Bakery: 7 Sweet Treats to Melt Hearts
Delicious treats perfect for Valentine’s Day.
- Total Time: 45 minutes
- Yield: 12 servings 1x
Ingredients
- 2 cups all-purpose flour
- 1 cup sugar
- 1/2 cup butter
- 2 large eggs
- 1 cup milk
- 1 tsp vanilla extract
- 1 tsp baking powder
- 1/2 tsp salt
- 1 cup chocolate chips
Instructions
- Preheat your oven to 350°F (175°C).
- In a bowl, mix flour, baking powder, and salt.
- In another bowl, cream butter and sugar together.
- Add eggs and vanilla to the butter mixture.
- Gradually add the flour mixture and milk, alternating between them.
- Stir in chocolate chips.
- Pour the batter into a greased baking pan.
- Bake for 25-30 minutes or until a toothpick comes out clean.
- Let it cool before serving.
Notes
- Store in an airtight container.
- Can be decorated with icing for a festive look.
- Great for sharing with loved ones.
- Prep Time: 15 minutes
- Cook Time: 30 minutes
- Category: Dessert
- Method: Baking
- Cuisine: American
- Diet: Vegetarian
Nutrition
- Serving Size: 1 piece
- Calories: 200
- Sugar: 15g
- Sodium: 150mg
- Fat: 8g
- Saturated Fat: 5g
- Unsaturated Fat: 2g
- Trans Fat: 0g
- Carbohydrates: 30g
- Fiber: 1g
- Protein: 3g
- Cholesterol: 30mg
Keywords: valentines day bakery, dessert, sweet treats