
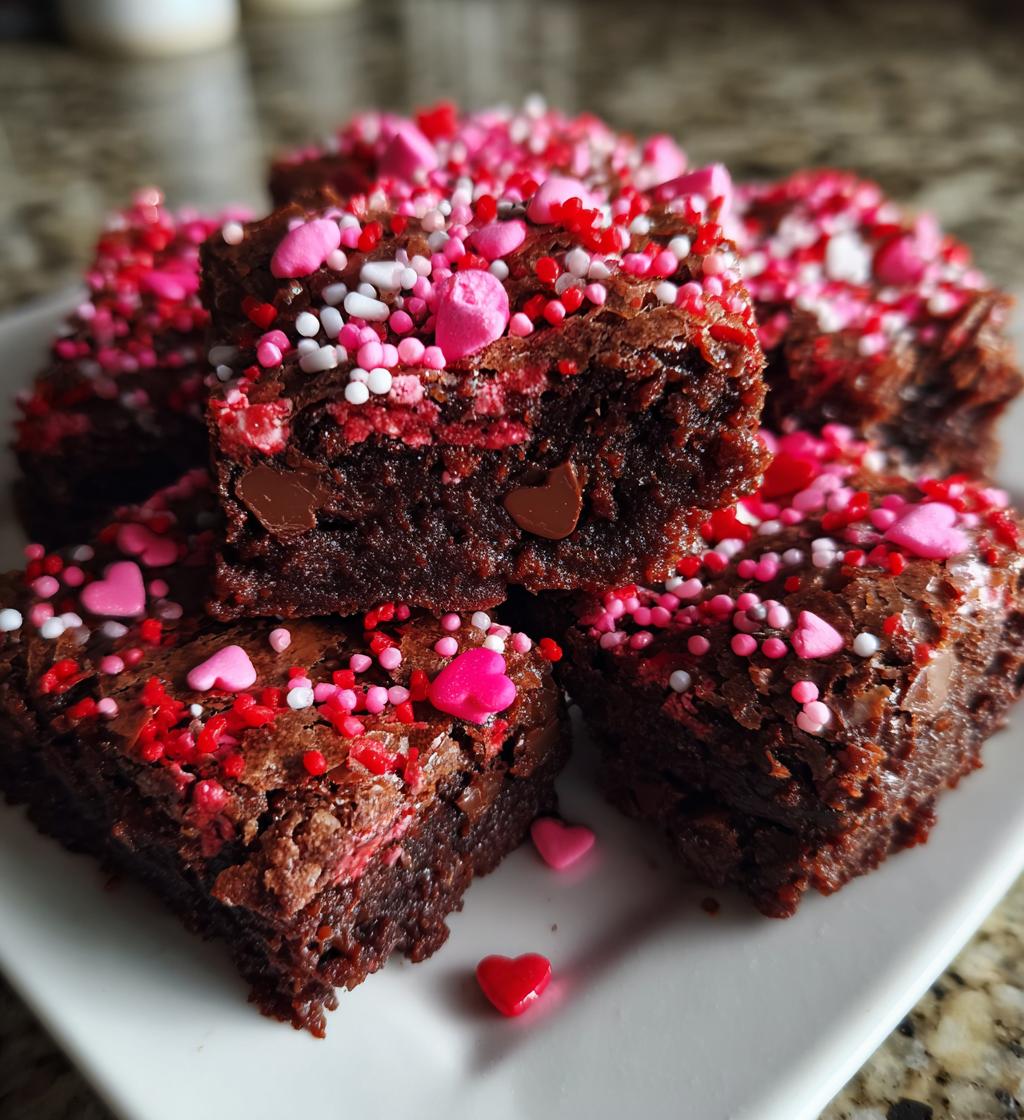
Oh, the joy of baking for Valentine’s Day! There’s something so special about whipping up treats that not only taste amazing but also spread love and cheer. I can still remember my first bake sale during Valentine’s Day at school. The excitement of sharing my goodies, wrapped up in cute little boxes, made my heart sing! This recipe is perfect for that very occasion—a Valentine’s Day bake sale that’ll leave everyone craving more.
Imagine the aroma of warm chocolate wafting through your kitchen as these delicious treats bake to perfection. They’re soft, fudgy, and just the right amount of sweet, making them a hit for all ages. Plus, they’re so easy to make! Seriously, you’ll want to keep this recipe close at hand for every bake sale, party, or cozy night in. So, grab your apron and let’s dive into creating these delectable squares that are sure to impress!
Ingredients List
Gather these simple yet essential ingredients to create your incredible Valentine’s Day treats:
- 2 cups all-purpose flour
- 1 cup sugar
- 1/2 cup unsweetened cocoa powder
- 1 teaspoon baking soda
- 1/2 teaspoon salt
- 1 cup milk
- 1/2 cup vegetable oil
- 2 large eggs
- 1 teaspoon vanilla extract
- 1 cup chocolate chips
Make sure to measure everything accurately for the best results. Trust me, you’ll want those fudgy, chocolatey squares to come out just right!
How to Prepare Instructions
Ready to bring those delightful squares to life? Follow these easy steps, and you’ll have a batch of mouthwatering treats in no time!
- Preheat the Oven: Start by preheating your oven to 350°F (175°C). This is a crucial step, so don’t skip it! A properly heated oven ensures even baking for those fudgy squares.
- Mix the Dry Ingredients: In a large mixing bowl, combine the flour, sugar, cocoa powder, baking soda, and salt. Stir them together until well blended. This step makes sure every bite is packed with flavor!
- Add the Wet Ingredients: Pour in the milk, vegetable oil, eggs, and vanilla extract. Mix everything together until the batter is smooth and lovely—this might take about a minute or so. Don’t worry if a few lumps remain; that’s perfectly fine!
- Fold in the Chocolate Chips: Now comes the best part! Gently fold in the chocolate chips. I always sneak a few extra in for good measure. Who can resist more chocolate, right?
- Prepare the Baking Dish: Grease your baking dish with a little oil or butter to prevent sticking. You can use a 9×13 inch pan for these delicious squares.
- Pour and Bake: Pour the batter into your greased baking dish, spreading it evenly. Slide it into the preheated oven and bake for about 30 minutes. You’ll know they’re ready when a toothpick inserted into the center comes out clean, or with just a few moist crumbs.
- Cool Down: Once baked, remove the dish from the oven and let it cool for a bit in the pan. Then, transfer the squares to a wire rack to cool completely before cutting them into squares. This helps them set perfectly and makes for easier slicing!
And there you have it! Simple, straightforward steps that lead to heavenly chocolate squares perfect for your Valentine’s Day bake sale or any sweet occasion. Get ready to impress!
Why You’ll Love This Recipe
This recipe is not just a hit for your taste buds; it’s a total game changer for your baking routine! Here’s why you’ll absolutely adore making these treats:
- Quick Preparation: With only 15 minutes of prep time, you’ll have these delectable squares on your table in no time. Perfect for last-minute bake sales or surprise gatherings!
- Delicious Flavor: The rich chocolate flavor combined with that fudgy texture is simply irresistible. You’ll find yourself sneaking bites long after they’ve cooled!
- Perfect for Sharing: These squares are easy to cut and share, making them ideal for a Valentine’s Day bake sale. Everyone will want to take a piece home!
- Customizable: While they’re scrumptious as is, you can easily add your favorite mix-ins or toppings to make them even more special. Think nuts, marshmallows, or a drizzle of caramel!
- Kid-Friendly: These treats are a hit with kids and adults alike! You’ll love hearing the oohs and ahhs as everyone takes their first bite.
Trust me, once you try these, they’ll become a staple in your baking repertoire! You’ll be the star of every bake sale and gathering!
Tips for Success
Alright, friends! Let’s make sure your chocolate squares turn out as amazing as possible. Here are my top tips to help you achieve that perfect bake:
- Measure Accurately: Baking is a science, so precision is key! Use dry measuring cups for flour and cocoa powder, and liquid measuring cups for milk and oil. A little extra flour can lead to dry squares, and we definitely don’t want that!
- Mix Gently: When you add the wet ingredients to the dry, mix until just combined. Overmixing can develop gluten and make your squares tough. We want them soft and fudgy, not chewy!
- Check for Doneness: Ovens can vary, so start checking your squares a couple of minutes before the 30-minute mark. Insert a toothpick into the center; it should come out clean or with a few moist crumbs. If it’s wet, give it a couple more minutes, but be careful not to overbake!
- Cooling Time is Crucial: Once you take them out of the oven, let the squares cool in the pan for about 10-15 minutes. This helps them set up nicely. Then, transfer them to a wire rack to cool completely before cutting. This prevents them from getting too crumbly and helps maintain that lovely texture.
- Use Quality Chocolate Chips: Not all chocolate chips are created equal! Go for high-quality chocolate chips for the best flavor. You won’t regret it when those melty bits come into play!
With these tips in your back pocket, you’re all set for bake sale success! I can’t wait for you to taste these little bites of joy!
Variations
Ready to take your chocolate squares to the next level? There are so many fun and delicious ways to mix things up! Here are some of my favorite variations that’ll keep your Valentine’s Day bake sale exciting and fresh:
- Different Types of Chocolate: Swap out the semi-sweet chocolate chips for milk chocolate or even dark chocolate for a richer flavor. You could also use white chocolate chips for a sweet contrast!
- Nutty Goodness: Add in 1 cup of chopped walnuts or pecans for a delightful crunch. The nuttiness pairs beautifully with the chocolate and adds a wonderful texture to the squares!
- Minty Twist: Incorporate 1 teaspoon of peppermint extract into the batter for a refreshing mint chocolate flavor. You could even top the squares with crushed peppermint candies before baking for a festive touch!
- Fruit Infusion: Toss in some dried cherries or cranberries for a fruity burst of flavor. They offer a nice tartness that balances out the sweetness of the chocolate!
- Swirls of Peanut Butter: For a creamy twist, drop spoonfuls of peanut butter into the batter before baking. Use a knife to swirl it through the mixture for a delightful peanut butter-chocolate combo!
- Caramel Surprise: Drizzle caramel sauce over the batter before baking for a gooey, sweet surprise in the center. You could also sprinkle some caramel bits in for an extra treat!
Feel free to get creative and experiment with your favorite flavors and textures. Each variation brings its own charm, ensuring that your treats will be the talk of the bake sale! Happy baking!
Storage & Reheating Instructions
Once you’ve baked up a delicious batch of these chocolate squares, you’ll want to make sure they stay fresh and tasty for as long as possible! Here’s how to store your delightful treats effectively:
- Store in an Airtight Container: Once the squares are completely cooled, transfer them to an airtight container. This keeps them from drying out and helps maintain that soft, fudgy texture. You can layer parchment paper between the squares to prevent them from sticking together.
- Room Temperature Storage: If you plan to eat them within a few days, they can be stored at room temperature for up to 3-4 days. Just make sure they’re in a cool, dry place away from direct sunlight!
- Refrigeration: For longer storage, pop the container in the fridge. They’ll stay good for about a week this way. Just be aware that refrigeration can make them a bit firmer, so you might want to let them sit out for a bit before enjoying.
- Freezing for Future Treats: Want to save some for later? You can freeze the squares! Wrap them tightly in plastic wrap, then place them in a freezer-safe bag or container. They’ll keep well for up to 3 months. When you’re ready to indulge, simply thaw them in the fridge or at room temperature.
If you find yourself with leftover squares (though I doubt it!), here’s how to reheat them for that fresh-out-of-the-oven taste:
- Microwave Method: Place a square on a microwave-safe plate and cover it with a damp paper towel. Heat for about 10-15 seconds, checking to see if it’s warm enough. This method will give you that gooey chocolate goodness back!
- Oven Method: Preheat your oven to 350°F (175°C). Place the squares on a baking sheet and cover with foil to prevent drying out. Heat for about 5-10 minutes. This method is perfect if you’re reheating a larger batch!
With these storage and reheating tips, you can enjoy your scrumptious chocolate squares for days to come. Happy snacking!
Nutritional Information Section
Curious about what you’re indulging in? Here’s a breakdown of the estimated nutritional values for each delicious square of our chocolate treats:
- Calories: 200
- Fat: 8g
- Saturated Fat: 2g
- Unsaturated Fat: 6g
- Trans Fat: 0g
- Cholesterol: 30mg
- Sodium: 150mg
- Carbohydrates: 30g
- Fiber: 2g
- Sugar: 15g
- Protein: 3g
Keep in mind, these values are estimates and can vary based on specific ingredients used. But hey, knowing these numbers makes it easier to enjoy your treats guilt-free, right? Happy baking and happy indulging!
FAQ Section
Got questions about this scrumptious recipe perfect for your Valentine’s Day bake sale? I’ve got answers! Here are some common inquiries and my tips to make sure you’re all set to bake up a storm:
Q1: Can I use whole wheat flour instead of all-purpose flour?
Absolutely! You can substitute up to half of the all-purpose flour with whole wheat flour for a slightly healthier version. Just keep in mind that it might alter the texture a bit, making it a tad denser, but still delicious!
Q2: How can I make these squares gluten-free?
You can use a gluten-free all-purpose flour blend in place of regular flour. Just make sure it has a binding agent like xanthan gum in it to help keep everything together. Your squares will still be tasty and perfect for sharing!
Q3: My batter seems too thick. Is that normal?
Yes, it’s perfectly normal for the batter to be somewhat thick! It should pour easily but not be overly runny. If it seems too thick to your liking, you can add a splash more milk to loosen it up a bit.
Q4: Can I omit the chocolate chips?
Sure! If you want to keep it simple, you can leave out the chocolate chips. You could even substitute them with chopped nuts or dried fruit for a different flavor profile. Just remember, no chocolate means a different taste, but it’ll still be delicious!
Q5: What if I don’t have a baking dish? Can I use a different type of pan?
Absolutely! You can use any oven-safe pan, like a cast iron skillet or a square cake pan. Just be sure to adjust the baking time as needed, since different materials can affect how quickly your treats bake.
Q6: How do I know when the squares are done baking?
The toothpick test is your best friend here! Insert a toothpick into the center of the squares; if it comes out clean or with a few moist crumbs, they’re ready. If it comes out wet, give it a couple more minutes, but keep an eye on them!
Q7: Can I add frosting to these squares?
Absolutely! A simple buttercream or cream cheese frosting can elevate these squares to another level. Just let them cool completely before frosting for the best results!
If you have any other questions or need more tips, feel free to reach out. I’m here to help you make the best treats for your Valentine’s Day bake sale! Happy baking!
Print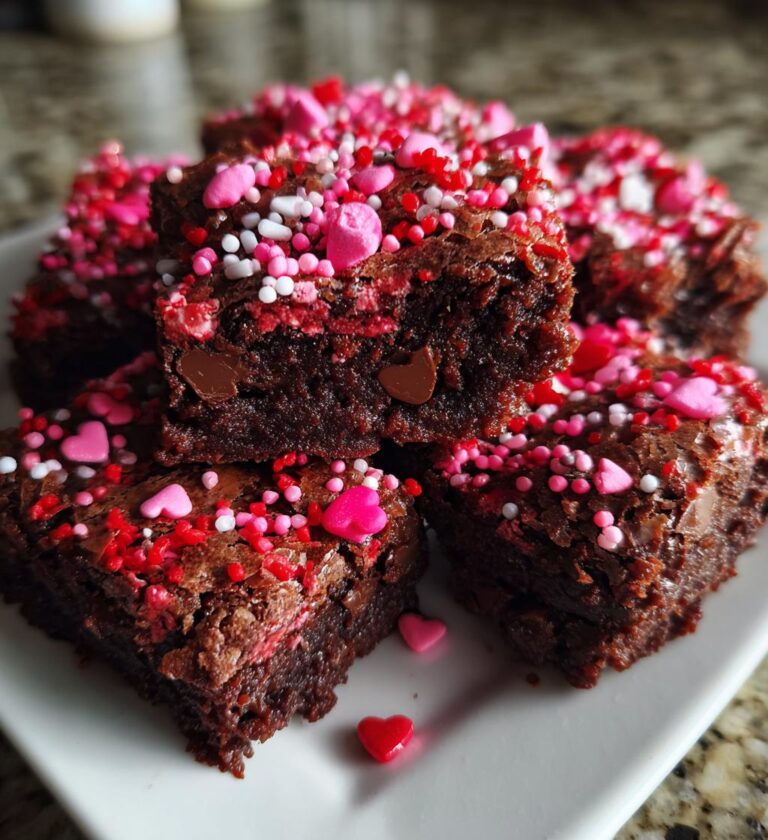
Valentine’s Day Bake Sale: 7 Treats to Melt Hearts
Delicious treats perfect for a Valentine’s Day bake sale.
- Total Time: 45 minutes
- Yield: 24 servings 1x
Ingredients
- 2 cups all-purpose flour
- 1 cup sugar
- 1/2 cup unsweetened cocoa powder
- 1 teaspoon baking soda
- 1/2 teaspoon salt
- 1 cup milk
- 1/2 cup vegetable oil
- 2 large eggs
- 1 teaspoon vanilla extract
- 1 cup chocolate chips
Instructions
- Preheat the oven to 350°F (175°C).
- In a bowl, mix flour, sugar, cocoa powder, baking soda, and salt.
- Add milk, oil, eggs, and vanilla. Mix until smooth.
- Fold in chocolate chips.
- Pour batter into greased baking dish.
- Bake for 30 minutes or until a toothpick comes out clean.
- Let cool before cutting into squares.
Notes
- Store in an airtight container.
- Decorate with icing for a festive touch.
- Use pink or red sprinkles for Valentine’s Day.
- Prep Time: 15 minutes
- Cook Time: 30 minutes
- Category: Dessert
- Method: Baking
- Cuisine: American
- Diet: Vegetarian
Nutrition
- Serving Size: 1 square
- Calories: 200
- Sugar: 15g
- Sodium: 150mg
- Fat: 8g
- Saturated Fat: 2g
- Unsaturated Fat: 6g
- Trans Fat: 0g
- Carbohydrates: 30g
- Fiber: 2g
- Protein: 3g
- Cholesterol: 30mg
Keywords: valentines day bake sale