
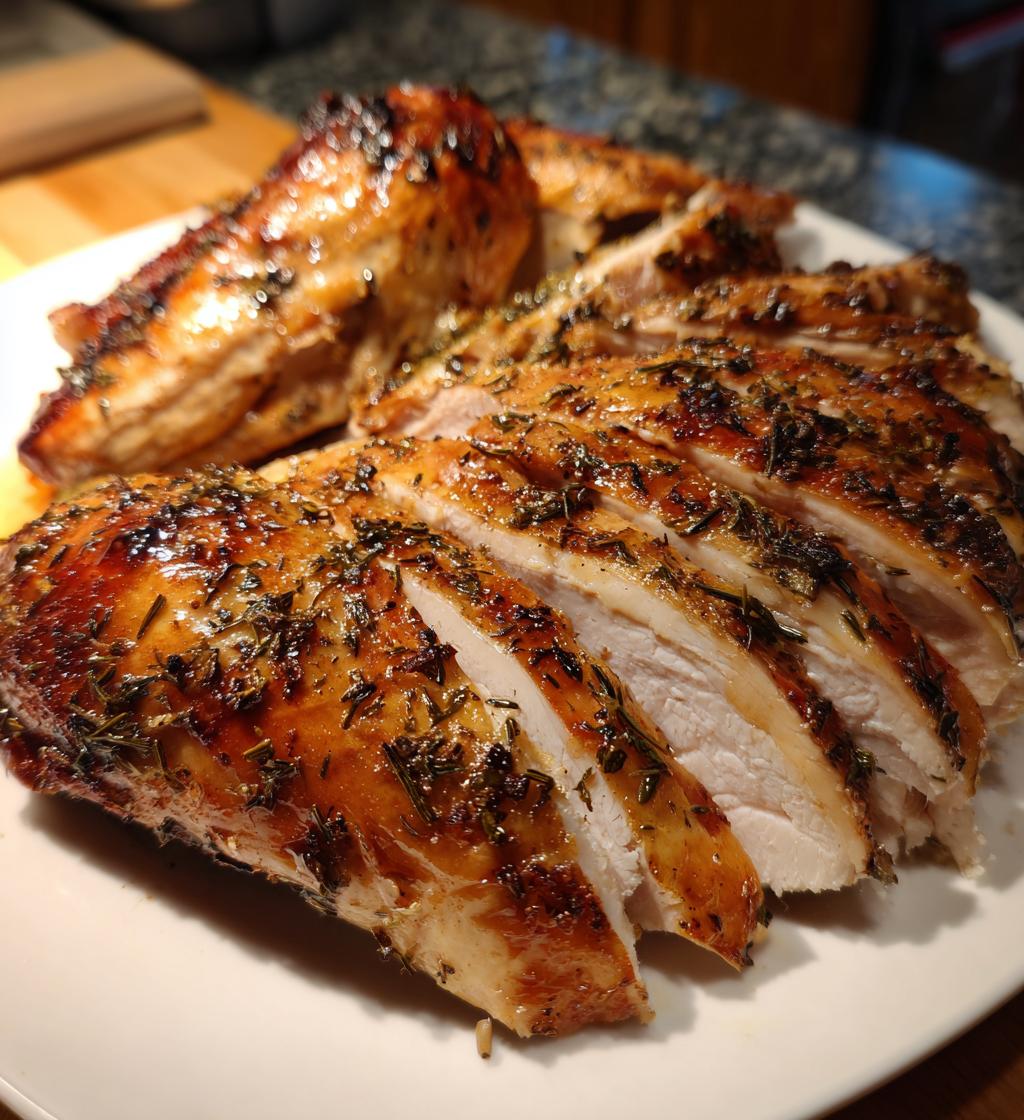
Ah, the holidays! There’s something so magical about gathering around the table with family and friends, isn’t there? One dish that always steals the show is the turkey. Learning how to cook a turkey for holidays has been a cherished tradition in my family, and I can’t wait to share my secrets with you! The aroma of a perfectly roasted turkey fills the house and sets the stage for laughter, stories, and heartwarming memories.
Growing up, I remember my mom standing in the kitchen, carefully prepping the turkey, making sure every detail was just right. She’d take such pride in her cooking, and it always showed in the flavor. I’ve carried that passion into my own kitchen, and I love to keep things simple yet delicious. Trust me, with a little love and the right techniques, you can create a turkey that’s not just a main dish but a centerpiece that everyone will rave about. So, roll up your sleeves and let’s dive into how to cook a turkey for holidays that will leave your guests asking for seconds (and thirds)!
Ingredients List
Before we jump into the cooking process, let’s gather everything you’ll need to create the most delightful holiday turkey! Here’s a comprehensive list of ingredients that will ensure your turkey turns out juicy, flavorful, and simply irresistible.
- 1 whole turkey (12-14 lbs): Make sure it’s thawed if frozen – I usually plan ahead and move it to the fridge a couple of days before cooking.
- 1/2 cup unsalted butter, softened: This is key for that rich flavor and moisture. You’ll want it nice and spreadable.
- 2 tablespoons salt: Essential for seasoning the turkey and bringing out all those delicious flavors.
- 1 tablespoon black pepper: Freshly ground is best for that extra kick!
- 1 tablespoon garlic powder: It adds great depth to the turkey’s flavor profile.
- 1 tablespoon onion powder: This gives a lovely sweetness and aroma.
- 2 cups chicken broth: This will keep your turkey moist while roasting and adds flavor to the drippings.
- Fresh herbs (rosemary, thyme, sage): These will provide that classic holiday aroma and flavor. I love using a mix, but feel free to pick your favorites!
Having these ingredients prepped and ready will make the cooking process smooth and enjoyable. Remember, a well-prepared turkey is the heart of your holiday feast! Now, let’s get cooking!
How to Cook a Turkey for Holidays
Cooking a turkey for the holidays might seem daunting, but with the right steps, it can be a breeze! Let’s break it down together, step by step. I promise you’ll feel like a pro by the time it’s all done. Follow these instructions, and your turkey will be golden brown and bursting with flavor!
Prepping the Turkey
First things first, if your turkey is frozen, you’ll want to start thawing it in the refrigerator about 2-3 days before cooking. This slow thawing helps keep the meat juicy and safe. Remember, don’t rush this part! The last thing you want is a frozen bird on cooking day.
Once your turkey is thawed, take it out of the packaging. Give it a good pat dry with paper towels – this helps the skin get that beautiful crispy texture when roasting. You can even flip it upside down to dry the cavity; just be careful! Make sure to remove the neck and giblets from inside the turkey. I usually set them aside to make a delicious stock later on. Now, your turkey is ready to be seasoned!
Seasoning and Stuffing
Here comes the fun part! Grab that softened butter and start rubbing it all over the turkey. I love to get under the skin as well; it’s where the magic happens. This not only adds flavor but keeps the meat incredibly moist. Don’t be shy – use your hands!
Now, it’s time to season! Sprinkle the salt, black pepper, garlic powder, and onion powder generously over your turkey. I usually make sure to get some seasoning inside the cavity too, where I’ll also add in those fresh herbs. I like to stuff a mix of rosemary, thyme, and sage – the aroma will be heavenly! Feel free to be creative; sometimes I toss in a halved lemon for an extra zing.
Roasting Instructions
Preheat your oven to 325°F (165°C). This is the sweet spot for roasting turkey! Place your seasoned turkey breast-side up in a roasting pan. Pour the chicken broth into the bottom of the pan; this will keep the bird moist and create lovely drippings for gravy!
Roast the turkey for about 3 to 4 hours, depending on its size. A good rule of thumb is about 13-15 minutes per pound. Every 30 minutes, take a moment to baste your turkey with the pan juices. It’s like giving it a spa treatment! This helps achieve that beautiful golden skin. As it cooks, keep an eye on it and if the skin starts to brown too quickly, you can cover it loosely with aluminum foil.
To check for doneness, insert a meat thermometer into the thickest part of the thigh. It should read 165°F (74°C). Once that temperature is hit, you’re in the clear! But, don’t forget – let’s not rush the next step!
Resting and Carving
Once your turkey is out of the oven, let it rest for 20-30 minutes before carving. This is crucial! Resting allows the juices to redistribute throughout the meat, so you don’t end up with a dry turkey. Cover it loosely with foil while it rests – it’ll keep warm and cozy.
When it’s time to carve, I like to start by removing the legs and thighs first. Then, I slice the breast meat against the grain for perfectly tender pieces. Be sure to have a good sharp knife on hand; it makes all the difference! Once carved, arrange the slices on a platter and don’t forget to drizzle some of those amazing drippings over the top for added flavor. Voila! Your holiday turkey is ready to shine on the table!
Tips for Success
Now that you’re on your way to becoming a turkey-cooking master, let’s talk about some pro tips that will elevate your holiday turkey to the next level! With just a bit of attention to detail, you can ensure that your turkey is not only delicious but also the star of the meal.
Meat Thermometer Magic
First off, investing in a good meat thermometer is a game changer. Trust me, it takes all the guesswork out of cooking! Insert it into the thickest part of the thigh, avoiding the bone, to get an accurate reading. When it hits 165°F (74°C), you can breathe easy knowing your turkey is cooked to perfection. I always double-check a few spots just to be sure. It’s a little peace of mind that goes a long way!
Basting Bliss
Basting your turkey is such a fun part of the process! Every 30 minutes, take a moment to open that oven and baste the turkey with the pan juices. This not only keeps it moist but also helps develop that gorgeous golden-brown skin we all love. If you’re feeling adventurous, you can mix in a splash of white wine or apple cider with the juices for a little extra flavor. Just remember, every time you open the oven, the cooking time can increase, so be quick and efficient!
Saving Those Drippings
Don’t forget about those precious drippings at the bottom of the roasting pan! They’re a treasure trove of flavor for making gravy. Once the turkey is done and resting, carefully pour the drippings into a fat separator (or a bowl if you don’t have one) and let it sit for a few minutes. The fat will rise to the top, allowing you to keep the flavorful juices below. Just whisk in some flour or cornstarch to thicken it up, and you’ve got a delicious gravy that pairs perfectly with your turkey!
Practice Makes Perfect
Finally, don’t be afraid to practice. If you can, try cooking a turkey outside of the holidays. Each time you do, you’ll learn something new—whether it’s the best way to carve or how to season just right. Plus, you’ll impress your family and friends when they see your turkey skills grow!
With these tips in your back pocket, you’ll be well on your way to creating a stunning holiday turkey that your loved ones will rave about for years to come. Happy cooking!
Nutritional Information
As we celebrate the holidays, it’s always good to know what we’re serving on the table! Here’s an estimated breakdown of the nutritional values for a slice of this delicious holiday turkey:
- Calories: 250
- Fat: 15g
- Saturated Fat: 5g
- Unsaturated Fat: 8g
- Trans Fat: 0g
- Sodium: 500mg
- Carbohydrates: 0g
- Fiber: 0g
- Protein: 30g
- Cholesterol: 80mg
Keep in mind that these values are estimates and can vary based on the exact size of your turkey and how you prepare it. But no matter the numbers, the joy of sharing this turkey with family and friends far outweighs any calorie counting! Enjoy every flavorful bite and the wonderful memories made around the table!
FAQ Section
Q1: How long does it take to cook a turkey for holidays?
The cooking time really depends on the size of your turkey. As a general rule, you’ll want to roast it for about 13-15 minutes per pound at 325°F (165°C). For a 12-14 pound turkey, that usually means 3 to 4 hours. Just make sure to keep an eye on the internal temperature, which should reach 165°F (74°C) in the thickest part of the thigh.
Q2: Can I stuff the turkey?
Absolutely! Stuffing the turkey can add flavor, but if you do, make sure the stuffing also reaches 165°F (74°C) for safety. Keep in mind that stuffing the turkey might increase the cooking time, so plan accordingly. If you prefer, you can always serve the stuffing on the side to ensure everything cooks evenly!
Q3: What’s the best way to thaw a frozen turkey?
The safest way to thaw a frozen turkey is in the refrigerator. Plan for about 24 hours of thawing time for every 4-5 pounds of turkey, so a 12-pound turkey will need about 3 days in the fridge. This method keeps the turkey at a safe temperature while it thaws, ensuring juicy meat when it’s time to cook!
Q4: How do I know when my turkey is done?
Using a meat thermometer is the best way to check if your turkey is done. Insert it into the thickest part of the thigh without touching the bone, and look for a temperature of 165°F (74°C). If you don’t have a thermometer, another sign is when the juices run clear, not pink, if you cut into the thigh.
Q5: Can I make gravy from the drippings?
Yes! The drippings from your roasting pan are packed with flavor and perfect for making gravy. After your turkey has rested, pour the drippings into a fat separator to remove excess fat. Then, whisk in some flour or cornstarch to thicken it up, and you’ll have a delicious gravy to serve with your turkey!
Why You’ll Love This Recipe
- Simple Steps: Even if you’re a beginner, this recipe breaks down the process into easy-to-follow steps that will boost your confidence in the kitchen!
- Flavorful and Juicy: With the perfect blend of seasoning, butter, and fresh herbs, your turkey will be bursting with flavor and incredibly moist.
- Perfect for Gatherings: This turkey recipe serves a generous amount, making it ideal for family gatherings and holiday feasts. You’ll have enough to feed a crowd!
- Classic Holiday Aroma: The delightful scent of roasting turkey and herbs will fill your home and create a warm, inviting atmosphere for your loved ones.
- Tradition at Its Best: Cooking this turkey recipe can become a cherished tradition in your family, just like it is for mine. It’s the kind of meal that brings everyone together!
Storage & Reheating Instructions
After the holiday feast, you might be left with some delicious turkey leftovers – and trust me, you’ll want to savor every last bite! Properly storing and reheating your turkey is key to keeping it flavorful and juicy. Here’s how I do it:
Storing Leftover Turkey
First things first, make sure to let your turkey cool down to room temperature before storing it. This step helps prevent condensation in your storage containers, which can lead to sogginess. Once it’s cooled, carve any leftover meat from the bones, as this helps it cool faster and makes reheating easier.
Place the leftover turkey in airtight containers or wrap it tightly with aluminum foil or plastic wrap. I prefer using shallow containers because they allow the turkey to cool quickly in the fridge. If you have a lot of turkey, consider dividing it into smaller portions. This way, you can easily grab just what you need later!
Store the turkey in the refrigerator for up to 3-4 days. If you want to keep it longer, you can freeze it! Just make sure to use freezer-safe containers or bags, and remove as much air as possible to prevent freezer burn. Frozen turkey can last up to 2-6 months, but the sooner you use it, the better the flavor will be!
Reheating Turkey
When it comes time to enjoy those leftovers, reheating properly is essential to maintain the turkey’s deliciousness. I recommend reheating turkey in the oven for the best results. Preheat your oven to 325°F (165°C). Place the turkey slices in a baking dish and add a splash of chicken broth or gravy to keep it moist. Cover the dish with aluminum foil to prevent the turkey from drying out.
Heat for about 20-30 minutes, or until the turkey reaches an internal temperature of 165°F (74°C). If you’re in a hurry, you can use the microwave, but be careful! Microwave reheating can make the turkey rubbery if you’re not cautious. Place the turkey on a microwave-safe plate, cover it with a damp paper towel, and heat in short intervals. Check frequently to avoid overcooking.
Once it’s warmed through, feel free to enjoy your turkey as is or transform it into a delicious turkey sandwich or salad! There’s nothing quite like turning those holiday leftovers into new culinary delights. Happy reheating!
Print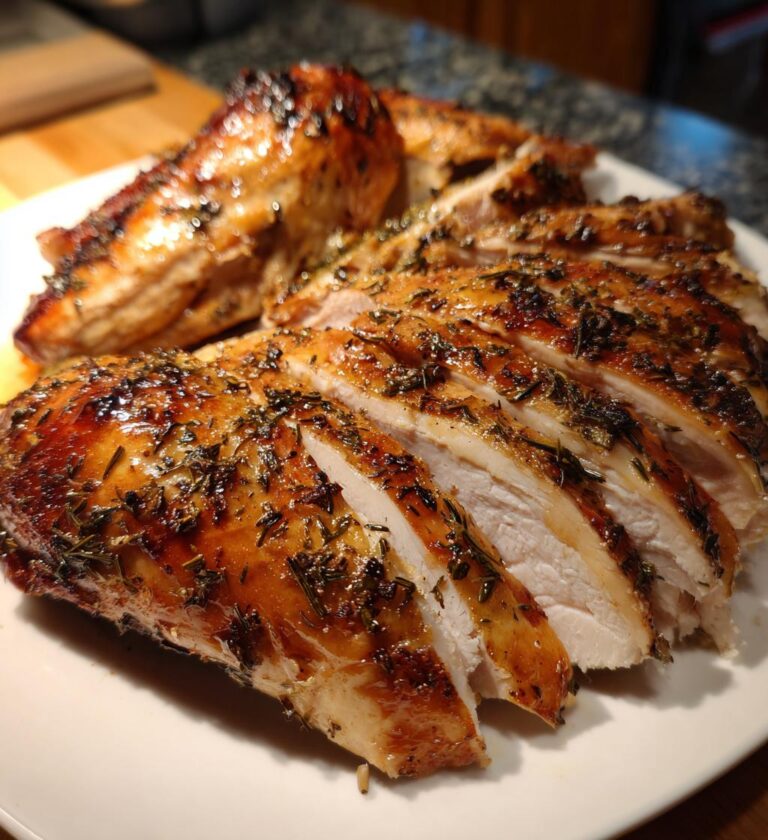
how to cook a turkey for holidays: 5 Secrets For Juicy Success
Learn how to cook a turkey for holidays with this simple guide.
- Total Time: 4 hours
- Yield: 8-10 servings 1x
Ingredients
- 1 whole turkey (12–14 lbs)
- 1/2 cup unsalted butter, softened
- 2 tablespoons salt
- 1 tablespoon black pepper
- 1 tablespoon garlic powder
- 1 tablespoon onion powder
- 2 cups chicken broth
- Fresh herbs (rosemary, thyme, sage)
Instructions
- Preheat your oven to 325°F (165°C).
- Remove the turkey from packaging and pat it dry with paper towels.
- Rub the softened butter all over the turkey, including under the skin.
- Season the turkey with salt, pepper, garlic powder, and onion powder.
- Place fresh herbs inside the turkey cavity.
- Pour chicken broth into the roasting pan.
- Roast the turkey for about 3 to 4 hours, basting every 30 minutes.
- Check the internal temperature; it should reach 165°F (74°C) in the thickest part.
- Let the turkey rest for 20-30 minutes before carving.
Notes
- Thaw the turkey in the refrigerator if frozen.
- Use a meat thermometer for accuracy.
- Save the drippings for gravy.
- Prep Time: 30 minutes
- Cook Time: 3.5 hours
- Category: Main Dish
- Method: Roasting
- Cuisine: American
- Diet: Gluten Free
Nutrition
- Serving Size: 1 slice
- Calories: 250
- Sugar: 0g
- Sodium: 500mg
- Fat: 15g
- Saturated Fat: 5g
- Unsaturated Fat: 8g
- Trans Fat: 0g
- Carbohydrates: 0g
- Fiber: 0g
- Protein: 30g
- Cholesterol: 80mg
Keywords: how to cook a turkey for holidays, turkey recipe, holiday turkey cooking