
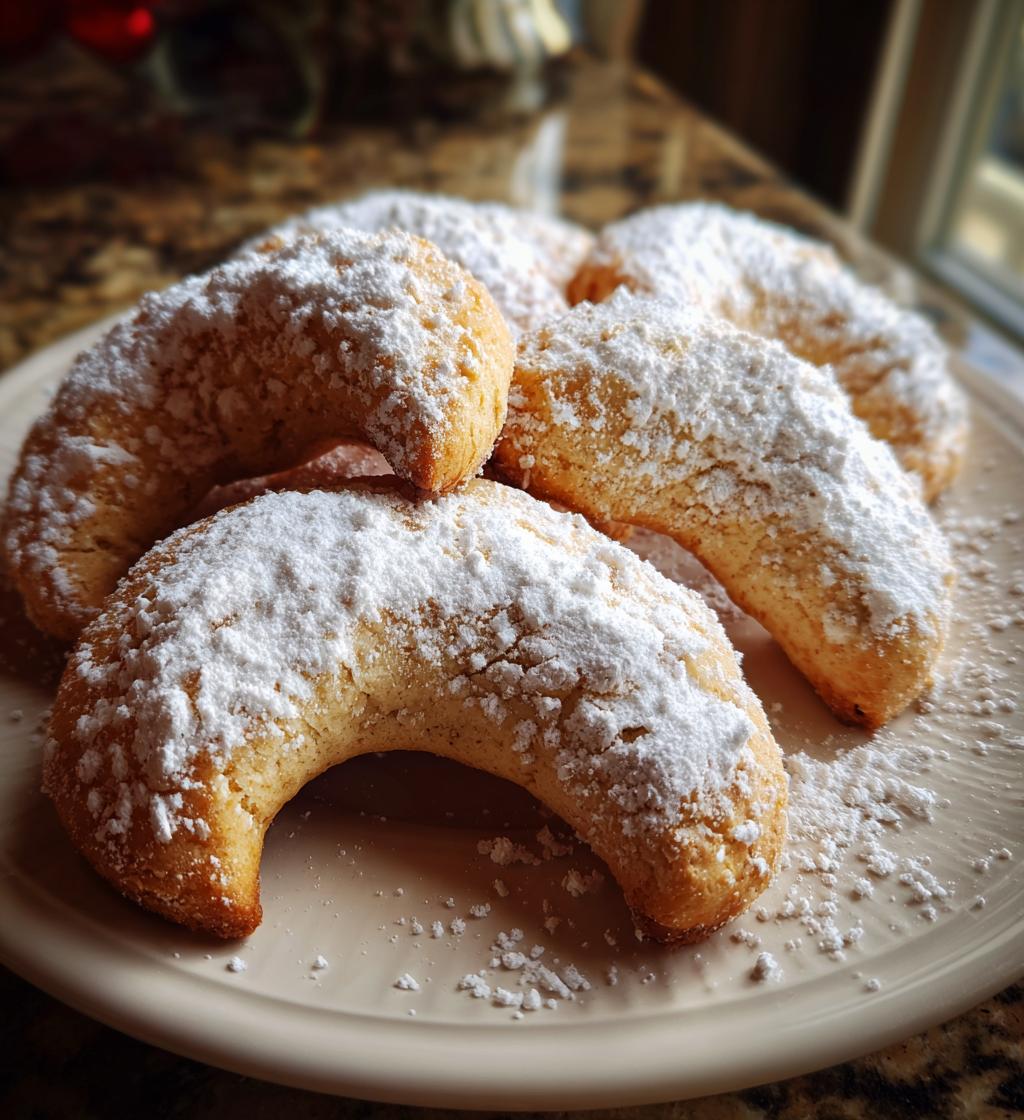
Ah, the magic of the holiday season! There’s just something about the aroma of freshly baked cookies that fills the air and wraps you in warmth. Every year, I look forward to making my beloved crescent cookies for holidays, a family tradition that never fails to bring a smile. The moment I pull these delicate, buttery bites from the oven, I’m transported back to my childhood, where my family gathered around the kitchen table, laughter and joy filling the room. These crescent-shaped cookies are not just desserts; they’re small pieces of happiness that hold memories of gathering with loved ones and sharing sweet moments. Trust me, once you taste the tender, melt-in-your-mouth texture dusted with powdered sugar, you’ll understand why they’re a holiday staple in my home. So, roll up your sleeves and let’s create some delicious crescent cookies that will surely sweeten your holiday celebrations!
Ingredients List
To whip up these delightful crescent cookies for holidays, you’ll need the following ingredients:
- 2 cups all-purpose flour – this is the foundation of our cookie dough.
- 1 cup unsalted butter, softened – go for the real deal; this is what makes them melt in your mouth!
- 1/2 cup powdered sugar – we want that sweetness and a touch of that classic buttery flavor.
- 1 teaspoon vanilla extract – it really elevates the flavors, trust me!
- 1/2 cup chopped nuts (walnuts or pecans) – adds a lovely crunch and nutty depth.
- 1/4 teaspoon salt – just enough to enhance all those beautiful flavors.
- Additional powdered sugar for dusting – because a little sweetness on top is always a good idea!
Make sure you measure everything carefully, and you’ll be on your way to baking a batch of cookies that are sure to impress your family and friends!
How to Prepare Crescent Cookies for Holidays
Getting ready to bake these crescent cookies for holidays is a breeze! Follow these simple steps, and you’ll have a delightful batch in no time.
Step 1: Preheat the Oven
First things first, preheat your oven to 350°F (175°C). Preheating is crucial because it ensures that the cookies bake evenly, giving them that perfect golden color and tender texture. Trust me, you don’t want to skip this step!
Step 2: Cream the Butter and Sugar
In a mixing bowl, cream together the softened butter and powdered sugar until it’s nice and smooth. This means mixing them until they’re well combined and fluffy, almost like a soft cloud! You’re looking for a light and airy texture here. It usually takes about 2 to 3 minutes with a hand mixer. This step is key because it helps to incorporate air, making your cookies tender!
Step 3: Mix in Vanilla
Next, add the vanilla extract into the creamed mixture. This little splash of magic enhances all the flavors and gives your cookies that warm, inviting aroma. It’s amazing how a teaspoon of vanilla can transform the whole batch!
Step 4: Combine Dry Ingredients
Now it’s time to gradually mix in the flour, salt, and chopped nuts. I like to do this in parts—start by adding a little flour, then the salt, and the nuts, mixing gently until everything is just combined. You want the dough to come together without overworking it, so be gentle. It should be soft but not sticky!
Step 5: Shape the Cookies
Take a small piece of dough—about a tablespoon—and roll it into a crescent shape. Aim for a size that’s about 2 inches long. I love making them a bit thicker for that melt-in-your-mouth feel! Place them on a lined baking sheet, leaving some space for them to expand.
Step 6: Bake the Cookies
Bake your cookies in the preheated oven for 15-20 minutes, or until they’re lightly golden. Keep an eye on them; they can go from perfect to overdone quickly! You want them to look like little golden crescents of joy!
Step 7: Cool and Dust
Once baked, take them out of the oven and let them cool on the baking sheet for a few minutes. This helps them firm up a bit. Then, transfer them to a wire rack to cool completely. When they’re cool, dust them generously with powdered sugar. This step is what gives them that festive look and a sweet finish. You’ll want to serve them while they’re fresh for the best taste!
Tips for Success with Crescent Cookies for Holidays
To ensure your crescent cookies for holidays turn out perfectly every time, here are my favorite tips!
- Chill the Dough: If the dough feels too soft to shape, pop it in the fridge for about 30 minutes. This makes it easier to handle and helps the cookies hold their shape while baking.
- Uniform Sizes: For even baking, try to shape your cookies into similar sizes. Using a small cookie scoop can help you get consistent portions.
- Storage: Store your cookies in an airtight container at room temperature. They’ll keep fresh for about a week, but I bet they won’t last that long!
- Freezing: You can freeze the unbaked shaped cookies on a baking sheet, then transfer them to a zip-top bag. They’ll be ready to bake straight from the freezer—just add a couple of extra minutes to the baking time!
Following these tips will make your baking experience smoother and more enjoyable, so you can focus on creating delicious memories with your loved ones!
Nutritional Information Disclaimer
When it comes to the nutritional information for my crescent cookies for holidays, it’s important to remember that these values can vary based on the specific ingredients and brands you use. The numbers I provide are estimates and serve as a general guideline. Things like the type of butter or nuts can change the calorie count slightly. If you’re tracking your nutrition closely, I recommend checking the nutrition labels on your ingredients for the most accurate information. Baking is all about enjoying the process and the end result, so don’t stress too much over the numbers—just savor each delicious bite!
FAQ About Crescent Cookies for Holidays
Can I freeze crescent cookies for holidays?
Absolutely! You can freeze these crescent cookies for holidays, and they freeze beautifully. If you want to freeze them, I recommend doing it before baking. Simply shape the cookies and place them on a baking sheet in a single layer. Once they’re frozen solid, transfer them to a zip-top bag or an airtight container. They can be kept in the freezer for up to three months! When you’re ready to bake them, just pop them in the oven straight from the freezer, adding a couple of extra minutes to the baking time. It’s a fantastic way to have freshly baked cookies ready at a moment’s notice!
What nuts can I use in this recipe?
You can use a variety of nuts in these crescent cookies! Walnuts and pecans are my go-to favorites for their rich flavor and crunch, but feel free to swap them out for your personal preference. Almonds, hazelnuts, or even macadamia nuts can make delightful substitutions. If you’re dealing with nut allergies, you can easily omit the nuts altogether or replace them with chocolate chips for a sweet twist. Trust me, they’ll still be delicious!
How can I make these cookies chocolate-flavored?
If you want to add a chocolate twist to these crescent cookies, it’s super easy! You can replace the chopped nuts with chocolate chips for a tasty variation. If you prefer a deeper chocolate flavor, you can incorporate a couple of tablespoons of unsweetened cocoa powder into the dry ingredients. Just be sure to adjust the flour slightly to keep the dough from getting too dry. Either way, you’ll end up with a rich and indulgent chocolate treat that’s perfect for the holidays!
Why You’ll Love Crescent Cookies for Holidays
Trust me, once you make these crescent cookies for holidays, you’ll find yourself reaching for this recipe time and time again. Here are just a few reasons why they’re a must-bake during the festive season:
- Quick Preparation: With just a simple mix, shape, and bake process, you can whip up these cookies in under an hour. Perfect for when unexpected guests arrive!
- Delightful Flavor: The buttery goodness, combined with the crunch of nuts and the sweetness of powdered sugar, creates a flavor explosion that’s simply irresistible.
- Adaptable for Different Occasions: While they’re perfect for the holidays, these cookies are great for any gathering. Change up the nuts or swap in chocolate chips for a fun twist!
- Melt-in-Your-Mouth Texture: The tender, crumbly texture of these cookies will have everyone coming back for seconds. Seriously, they’re like little bites of happiness!
- Family Tradition: Baking these crescent cookies is a wonderful way to create lasting memories with loved ones during the holiday season. They’ll become a cherished part of your family traditions!
With all these fantastic reasons, it’s easy to see why crescent cookies are a holiday favorite in my kitchen. I can’t wait for you to experience the joy they bring!
Serving Suggestions
These delightful crescent cookies for holidays are perfect on their own, but let me tell you, they shine even brighter when paired with the right treats! Serve them alongside a warm cup of spiced chai or hot cocoa for a cozy afternoon treat. The rich flavors of the cookies complement the creamy beverages beautifully. You could also arrange them on a festive platter with your favorite holiday treats like peppermint bark or gingerbread cookies for a delightful dessert spread. Don’t forget to add a sprinkle of cinnamon on top of your drinks for an extra festive touch! These cookies are sure to be the star of any holiday gathering!
Print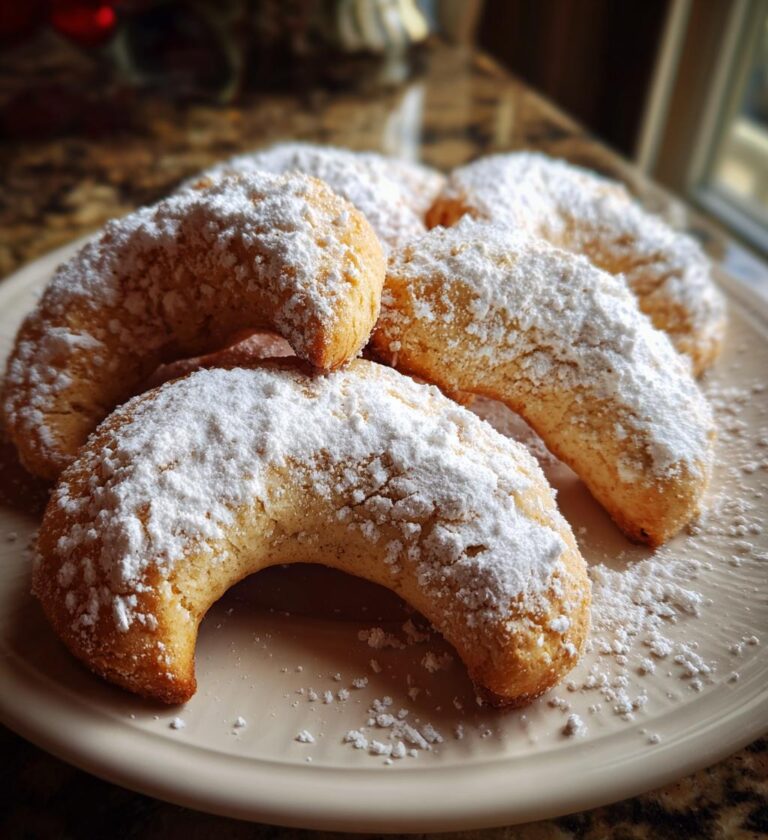
Crescent Cookies for Holidays: 7 Steps to Sweet Joy
Delicious crescent-shaped cookies perfect for holiday gatherings.
- Total Time: 40 minutes
- Yield: 24 cookies 1x
Ingredients
- 2 cups all-purpose flour
- 1 cup unsalted butter, softened
- 1/2 cup powdered sugar
- 1 teaspoon vanilla extract
- 1/2 cup chopped nuts (walnuts or pecans)
- 1/4 teaspoon salt
- Additional powdered sugar for dusting
Instructions
- Preheat your oven to 350°F (175°C).
- In a mixing bowl, cream the softened butter and powdered sugar until smooth.
- Add the vanilla extract and mix well.
- Gradually mix in the flour, salt, and chopped nuts until a dough forms.
- Shape the dough into small crescent shapes and place them on a baking sheet.
- Bake for 15-20 minutes or until lightly golden.
- Remove from the oven and let cool slightly.
- Dust with powdered sugar before serving.
Notes
- Store cookies in an airtight container.
- These cookies can be frozen for up to 3 months.
- You can substitute nuts with chocolate chips for variation.
- Prep Time: 20 minutes
- Cook Time: 20 minutes
- Category: Dessert
- Method: Baking
- Cuisine: American
- Diet: Vegetarian
Nutrition
- Serving Size: 1 cookie
- Calories: 120
- Sugar: 2g
- Sodium: 50mg
- Fat: 7g
- Saturated Fat: 4g
- Unsaturated Fat: 2g
- Trans Fat: 0g
- Carbohydrates: 14g
- Fiber: 1g
- Protein: 2g
- Cholesterol: 20mg
Keywords: crescent cookies for holidays