
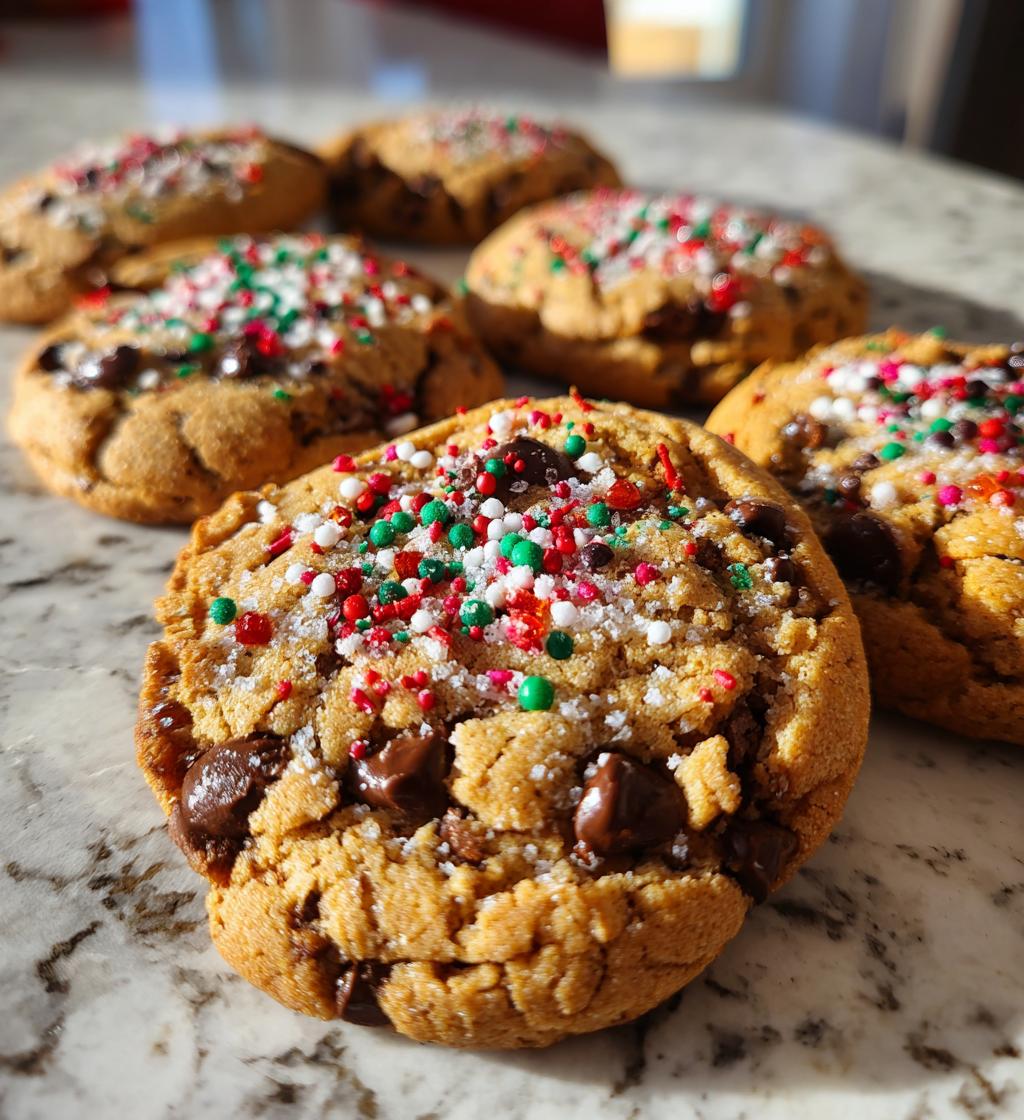
Oh, the magic of baking during the holidays! There’s something so heartwarming about filling your kitchen with the sweet aroma of freshly baked cookies. These *cookies for the holidays* are not just a treat; they’re little bites of joy that bring family and friends together. Imagine the laughter and stories shared around the table as you enjoy these delicious cookies, warm from the oven. I can almost hear the crunch of the chocolate chips melting in your mouth! Whether you’re making them for a festive gathering or just to enjoy with a cup of hot cocoa, these cookies are guaranteed to create special moments. So, roll up your sleeves, and let’s dive into this delightful recipe that’s sure to become a holiday tradition in your home!
Ingredients List
Gathering the right ingredients is the first step to baking these delightful cookies for the holidays! Here’s what you’ll need:
- 2 cups all-purpose flour
- 1 cup unsalted butter, softened to room temperature
- 1 cup granulated sugar
- 1 cup packed brown sugar
- 2 large eggs
- 1 teaspoon vanilla extract
- 1/2 teaspoon salt
- 1 teaspoon baking soda
- 2 cups chocolate chips (I prefer semi-sweet, but feel free to mix it up!)
Make sure your butter is nice and soft for easy mixing, and don’t skimp on the chocolate chips—trust me, they’re the star of the show! If you want to get creative, you can even add your favorite nuts or festive sprinkles. Happy baking!
How to Prepare Cookies for the Holidays
Let’s get those festive cookies baking! Follow these simple steps, and you’ll have a batch of warm, delicious cookies for the holidays in no time!
Preheat the Oven
First things first: preheat your oven to 350°F (175°C). Preheating is super important because it ensures that your cookies bake evenly and rise beautifully. Think of it like warming up before a run; your oven needs to be ready for action too! While it heats up, you can get everything else prepared.
Creaming the Butter and Sugars
Now, grab your softened butter and toss it into a mixing bowl along with the granulated and brown sugars. Using a hand mixer or a sturdy wooden spoon, cream them together until the mixture is light and fluffy. This step usually takes about 2-3 minutes. You want to see it turn a lovely pale color—trust me, this is where the magic starts! The air you’re incorporating will give your cookies that perfect texture.
Mixing in Eggs and Vanilla
Next, it’s time to add the eggs and vanilla extract. Crack in the two large eggs and pour in the vanilla, then mix until everything is combined and smooth. You want to make sure the eggs are fully incorporated, so there are no streaks left. This adds richness and flavor to your cookies, making every bite heavenly!
Preparing the Dry Ingredients
In a separate bowl, whisk together the all-purpose flour, salt, and baking soda. This is where we get a little science-y! Mixing these dry ingredients ensures that the baking soda is evenly distributed, which helps your cookies rise just right. A good whisking will also break up any lumps in the flour—no one wants a floury bite!
Combining Wet and Dry Ingredients
Now comes the fun part! Gradually add the dry ingredients to your wet mixture. I like to do this in three parts, alternating with a little bit of the flour and mixing gently. You want to combine everything without overmixing—just until you don’t see any more flour. Overmixing can lead to tough cookies, and we definitely don’t want that!
Adding Chocolate Chips
Time to fold in those glorious chocolate chips! You can use a spatula or spoon for this. Gently mix them into the dough, making sure they’re evenly distributed. I usually find that the more chocolate, the merrier! If you want to get fancy, feel free to mix in some nuts or even dried fruit for a festive twist.
Baking the Cookies
Using a spoon or cookie scoop, drop rounded tablespoons of dough onto ungreased baking sheets, leaving space between each cookie because they’ll spread while baking. Pop them in your preheated oven and bake for about 10-12 minutes, or until the edges are golden brown. Don’t worry if they look a tad underbaked in the center; they’ll firm up while cooling!
Cooling the Cookies
Once they’re out of the oven, let the cookies cool on the baking sheets for about 5 minutes before transferring them to a wire rack. This cooling process is essential to maintain that soft, chewy texture we all love. Plus, it gives you a chance to enjoy the delightful aroma wafting through your kitchen. Trust me; you’ll want to savor this moment!
Nutritional Information
Here’s a quick look at the estimated nutritional data for these delicious cookies for the holidays. Keep in mind that these values can vary based on specific ingredients and portion sizes, but this should give you a good idea:
- Serving Size: 1 cookie
- Calories: 150
- Fat: 7g
- Saturated Fat: 4g
- Unsaturated Fat: 2g
- Trans Fat: 0g
- Cholesterol: 15mg
- Sodium: 100mg
- Carbohydrates: 20g
- Fiber: 1g
- Protein: 2g
- Sugar: 10g
These cookies are a delightful indulgence that balances sweetness and richness while still keeping the joy of the holidays in mind. Enjoy them in moderation, and don’t forget to share with family and friends!
Tips for Success
Getting those cookies just right is all about a few simple tricks that I’ve learned over the years! First off, accurate measurements are key. I always use a kitchen scale when possible, especially for flour. Too much flour can lead to dry cookies, and nobody wants that! If you’re using measuring cups, make sure to spoon the flour into the cup and level it off with a knife—no scooping directly from the bag!
Next, ingredient quality matters more than you might think. I recommend using real butter instead of margarine for that rich flavor and perfect texture. And don’t skimp on the chocolate chips; they’re the star of the show, after all! If you can, use high-quality chocolate for a truly decadent treat.
Lastly, pay attention to your baking time. Every oven is a little different, so start checking your cookies a minute or two before the recommended time. They should look slightly underbaked in the center when you take them out—this ensures they stay soft and chewy as they cool. Remember, practice makes perfect, so don’t stress if they’re not perfect the first time around! Happy baking!
Variations
One of the best things about these *cookies for the holidays* is how versatile they are! You can easily customize them to suit your taste or to impress your guests. Here are a few fun ideas to get those creative juices flowing:
- Different Types of Chocolate: Try swapping out semi-sweet chocolate chips for dark chocolate or even white chocolate for a sweeter twist. You could also mix different types of chocolate for a delightful surprise in every bite!
- Nuts for Crunch: If you love a bit of crunch, consider adding chopped nuts like walnuts, pecans, or almonds. They add great texture and a nutty flavor that pairs perfectly with the sweetness of the cookies. Just be sure to chop them roughly so they’re not overwhelming!
- Spice It Up: Why not add a bit of holiday cheer with spices? A teaspoon of cinnamon or nutmeg can elevate the flavor profile and bring a warm, cozy vibe to your cookies. You could even experiment with a pinch of ginger for a little kick!
- Dried Fruits: For a festive touch, try folding in some dried cranberries or cherries. They add a lovely tartness that contrasts beautifully with the sweetness of the chocolate chips.
- Festive Sprinkles: If you’re feeling extra festive, sprinkle some colorful holiday-themed sprinkles on top of the cookies before baking. It’s an easy way to add a cheerful holiday flair to your treats!
Feel free to mix and match these ideas to create your own unique version of these holiday cookies. The possibilities are endless, and the best part? You get to enjoy delicious cookies no matter how you tweak the recipe! Happy baking!
Storage & Reheating Instructions
To keep those delicious cookies for the holidays fresh and tasty, proper storage is key! Once your cookies have cooled completely, you can store them in an airtight container. This helps to maintain their chewy texture and prevents them from drying out. I usually layer them with parchment paper in between to keep them from sticking together. If you’re feeling generous, you can also share some with friends or family—trust me, they’ll appreciate it!
If you find yourself with leftover cookies (which is rare but can happen!), you can keep them at room temperature for about a week. Just make sure they’re in a cool, dry place away from direct sunlight. If you want to extend their life, you can pop them in the freezer! Just wrap each cookie individually in plastic wrap and then place them in a freezer-safe bag. They’ll stay fresh for up to three months.
When you’re ready to enjoy a cookie again, simply take it out of the freezer and let it thaw at room temperature for about 15-20 minutes. If you want to bring back that freshly baked warmth, you can reheat them in the oven at 350°F (175°C) for about 5 minutes or in the microwave for about 10-15 seconds. Just be careful not to overheat them, or they could become a bit tough!
With these storage and reheating tips, you can savor every bite of your holiday cookies for days to come. Happy indulging!
Why You’ll Love This Recipe
These *cookies for the holidays* are truly a delightful addition to any festive celebration! Here’s why you’ll fall in love with this recipe:
- Quick and Easy: With just 20 minutes of prep time and 12 minutes of baking, you can whip up a batch of cookies that will impress everyone!
- Irresistible Flavor: The combination of rich butter, brown sugar, and gooey chocolate chips creates a flavor explosion that’s simply divine.
- Festive Vibes: Perfect for holiday gatherings, these cookies bring joy and warmth to any occasion, making them a must-have treat.
- Customizable: With endless variations to try, you can easily make these cookies your own, ensuring every batch is unique.
- Family Tradition: Baking these cookies can become a cherished holiday tradition, bringing family and friends together for sweet moments.
Once you bake these cookies, I promise they’ll become a favorite in your household, creating sweet memories year after year!
FAQ Section
Q1. Can I substitute the butter with margarine?
While you can use margarine, I highly recommend sticking with unsalted butter for the best flavor and texture. Butter gives these cookies that rich, melt-in-your-mouth quality that margarine just can’t replicate!
Q2. What if I don’t have brown sugar?
If you’re out of brown sugar, you can make your own by mixing granulated sugar with a bit of molasses. For every cup of brown sugar needed, just combine 1 cup of granulated sugar with 1 tablespoon of molasses. This will give you a similar flavor and moisture!
Q3. How should I store leftover cookies?
To keep your cookies fresh, store them in an airtight container at room temperature. They’ll stay delicious for about a week. If you want to keep them longer, freeze them wrapped individually in plastic wrap and placed in a freezer-safe bag for up to three months.
Q4. Can I add nuts or dried fruits to the cookie dough?
Absolutely! Feel free to mix in your favorite nuts like walnuts or pecans, or even dried fruits like cranberries or cherries. They add a delightful twist and make the cookies even more festive!
Q5. What’s the best way to reheat cookies?
To enjoy your cookies warm again, simply reheat them in the oven at 350°F (175°C) for about 5 minutes or pop them in the microwave for 10-15 seconds. Just be careful not to overheat them, or they might get tough!
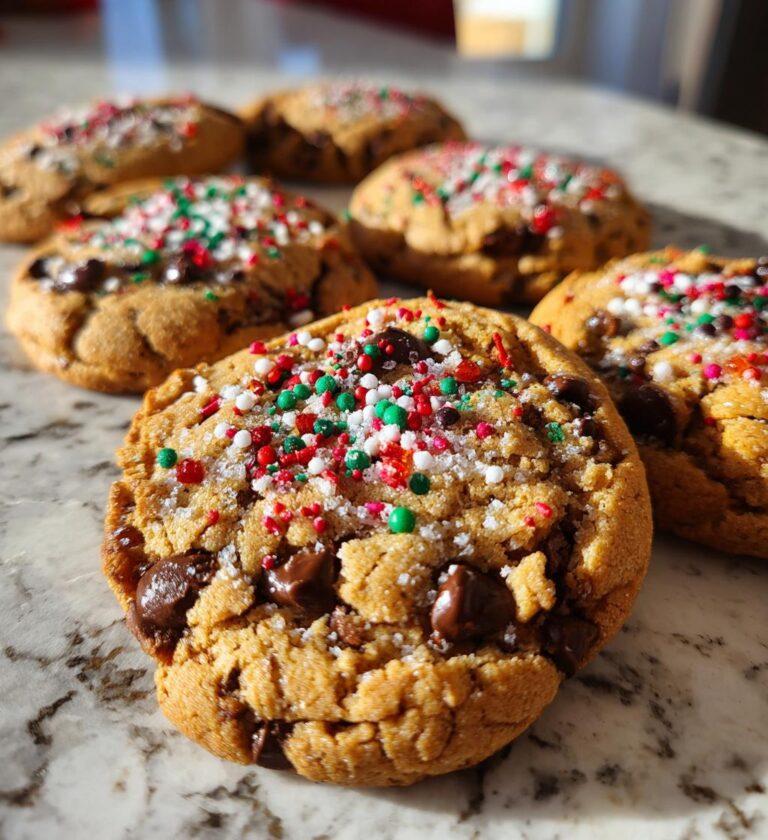
Cookies for the Holidays: 5 Ways to Create Sweet Joy
Delicious cookies perfect for the holidays.
- Total Time: 32 minutes
- Yield: 24 cookies 1x
Ingredients
- 2 cups all-purpose flour
- 1 cup unsalted butter, softened
- 1 cup granulated sugar
- 1 cup brown sugar, packed
- 2 large eggs
- 1 tsp vanilla extract
- 1/2 tsp salt
- 1 tsp baking soda
- 2 cups chocolate chips
Instructions
- Preheat your oven to 350°F (175°C).
- In a bowl, cream together the butter, granulated sugar, and brown sugar.
- Add eggs and vanilla extract; mix well.
- In another bowl, whisk together flour, salt, and baking soda.
- Gradually add dry ingredients to the wet mixture.
- Stir in chocolate chips.
- Drop spoonfuls of dough onto baking sheets.
- Bake for 10-12 minutes until golden brown.
- Let cookies cool on a wire rack.
Notes
- Store cookies in an airtight container.
- Use festive cookie cutters for shapes.
- Try adding nuts for extra crunch.
- Prep Time: 20 minutes
- Cook Time: 12 minutes
- Category: Dessert
- Method: Baking
- Cuisine: American
- Diet: Vegetarian
Nutrition
- Serving Size: 1 cookie
- Calories: 150
- Sugar: 10g
- Sodium: 100mg
- Fat: 7g
- Saturated Fat: 4g
- Unsaturated Fat: 2g
- Trans Fat: 0g
- Carbohydrates: 20g
- Fiber: 1g
- Protein: 2g
- Cholesterol: 15mg
Keywords: cookies for the holidays