
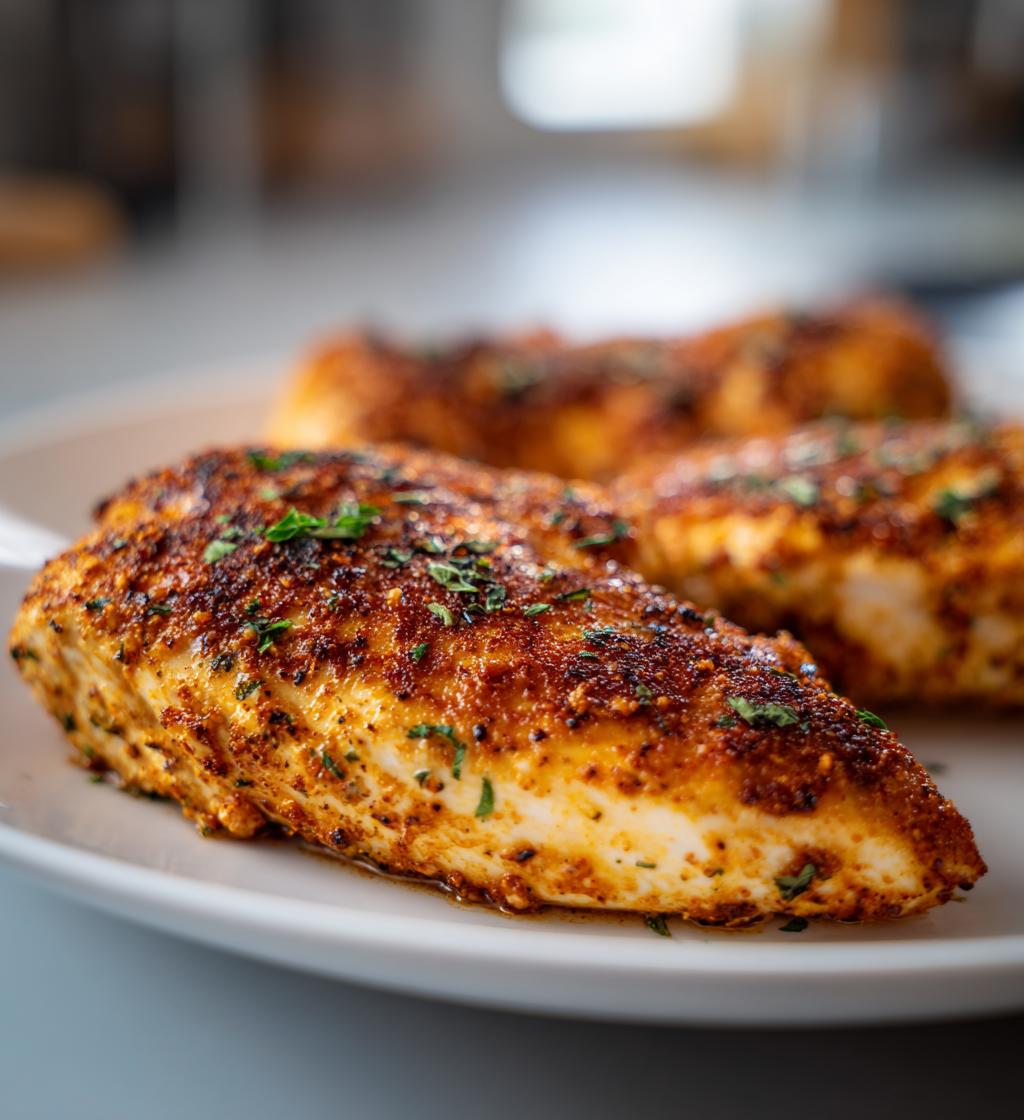
Have you ever wanted to whip up a delicious, juicy chicken breast without spending hours in the kitchen? Well, let me tell you, the Air Fryer Classic Chicken Breast is your new best friend! Cooking chicken in an air fryer is a game changer; it’s not only quick but also locks in all that mouthwatering juiciness. You can have perfectly cooked chicken on your table in just 25 minutes, which means more time for you to relax or enjoy with family. The air fryer gives the chicken a beautiful golden-brown exterior while keeping the inside tender and moist – it’s like magic! Plus, using an air fryer means you’re cutting back on oil, making this a healthier option without skimping on flavor. So, if you’re ready to elevate your weeknight dinners, let’s dive into the secrets of making the most amazing Air Fryer Classic Chicken Breast!
Ingredients for Air Fryer Classic Chicken Breast
Gathering the right ingredients is key to making the best Air Fryer Classic Chicken Breast. Here’s what you’ll need:
- 2 boneless chicken breasts: Choose fresh, high-quality chicken breasts for the juiciest results. If they’re particularly thick, consider butterflying them for even cooking.
- 1 tablespoon olive oil: This helps the seasoning stick to the chicken and keeps it moist. Extra virgin olive oil is my go-to for that lovely flavor!
- 1 teaspoon garlic powder: This adds a wonderful depth of flavor. Feel free to use fresh minced garlic if you prefer, but garlic powder is super convenient.
- 1 teaspoon paprika: Not only does this give a beautiful color, but it also adds a mild sweetness and smoky taste. You can use smoked paprika for an extra kick!
- Salt and pepper to taste: Essential for enhancing the flavors. I always recommend using kosher salt for better distribution and freshly cracked pepper for that extra zing.
With these simple yet flavorful ingredients, you’re well on your way to creating a chicken dish that’s not just easy, but absolutely delicious!
How to Prepare Air Fryer Classic Chicken Breast
Now that you’ve got your ingredients ready, let’s dive into the step-by-step process of preparing the most succulent Air Fryer Classic Chicken Breast!
- Preheat your air fryer: Start by preheating your air fryer to 400°F (200°C). This step is crucial because a hot air fryer ensures the chicken cooks evenly and develops that lovely golden-brown crust.
- Pat the chicken breasts dry: Use paper towels to gently pat the chicken breasts dry. This helps the seasoning stick better and promotes that beautiful browning we all love.
- Rub the chicken with olive oil: Drizzle 1 tablespoon of olive oil over the chicken breasts and rub it in thoroughly. This not only adds flavor but also keeps the chicken juicy while it cooks.
- Season the chicken: Sprinkle garlic powder, paprika, salt, and pepper on both sides of the chicken breasts. Don’t be shy here; this seasoning is what gives your chicken its delicious flavor!
- Place in the air fryer: Carefully place the seasoned chicken breasts in the air fryer basket in a single layer. Make sure they aren’t touching to allow for even cooking.
- Cook the chicken: Cook for 12-15 minutes, flipping the chicken halfway through. This ensures both sides get that perfect crispiness. If your chicken breasts are thicker, you might need a couple of extra minutes, but keep an eye on them!
- Check for doneness: Use a meat thermometer to check if the internal temperature reaches 165°F (74°C). This is the magic number for safe, juicy chicken!
- Let it rest: Once done, remove the chicken from the air fryer and let it rest for about 5 minutes before slicing. This step allows the juices to redistribute, making every bite tender and flavorful.
And there you have it! With these simple steps, you’ll have perfectly cooked chicken breasts that are juicy, flavorful, and ready to take center stage on your dinner table. Trust me, you’ll be amazed at how easy and delicious air frying can be!
Why You’ll Love This Recipe
- Quick Preparation: With just 10 minutes of prep time and a total cooking time of around 15 minutes, this recipe gets you from kitchen to table in no time!
- Healthy Cooking Method: The air fryer uses significantly less oil than traditional frying, making this a deliciously healthier option without sacrificing flavor.
- Juicy and Tender Chicken: The air fryer locks in moisture, ensuring your chicken breasts come out juicy and full of flavor every single time.
- Versatile and Customizable: Feel free to switch up the seasonings or add your favorite marinades for a personalized touch – this recipe is a fantastic base!
- Minimal Cleanup: Cooking in an air fryer means fewer dishes to clean up, so you can enjoy your meal without the hassle of a messy kitchen.
Trust me, once you try this Air Fryer Classic Chicken Breast, you’ll be raving about it and making it a regular on your dinner rotation!
Tips for Success with Air Fryer Classic Chicken Breast
To ensure your Air Fryer Classic Chicken Breast turns out juicy and flavorful every time, I’ve gathered some pro tips that’ll help you avoid common pitfalls and elevate your cooking game. Let’s dive in!
- Don’t Skip the Drying Step: Patting the chicken dry before seasoning is crucial. It helps the oil and spices adhere better, leading to a crispier exterior. Moisture on the surface can create steam, which isn’t what we want!
- Use a Meat Thermometer: Investing in a good meat thermometer is a game changer! It takes the guesswork out of cooking chicken. Pull it out when the internal temperature hits 165°F (74°C) to guarantee juicy chicken every time.
- Let It Rest: After cooking, resist the urge to slice right away! Letting the chicken rest for about 5 minutes allows the juices to redistribute, ensuring each bite is tender and packed with flavor.
- Experiment with Marinades: While the basic seasoning is delicious, marinating the chicken for a few hours (or overnight) can add extra depth of flavor. Try a simple mix of olive oil, lemon juice, and your favorite herbs!
- Don’t Overcrowd the Basket: For the best results, cook the chicken breasts in a single layer without overcrowding. This allows the hot air to circulate around each piece, giving you that perfect crispy finish.
With these handy tips in your back pocket, you’ll be well on your way to mastering the art of air frying chicken! Enjoy the journey and the delicious results!
Nutritional Information for Air Fryer Classic Chicken Breast
Staying mindful of what we eat is important, and I’m excited to share the nutritional breakdown for the Air Fryer Classic Chicken Breast! Here’s a typical estimate based on the ingredients provided:
- Serving Size: 1 chicken breast
- Calories: 250
- Fat: 10g
- Saturated Fat: 2g
- Unsaturated Fat: 8g
- Trans Fat: 0g
- Cholesterol: 120mg
- Sodium: 300mg
- Carbohydrates: 0g
- Fiber: 0g
- Sugar: 0g
- Protein: 40g
These nutritional values are estimates and can vary based on the specific ingredients and portion sizes you use. But no matter how you slice it, you’re getting a lean, protein-packed meal that’s perfect for a healthy lifestyle!
FAQ about Air Fryer Classic Chicken Breast
Got questions about making the perfect Air Fryer Classic Chicken Breast? Don’t worry, I’ve got you covered! Here are some common queries that might pop up while you’re cooking:
- Can I use frozen chicken breasts for this recipe? Absolutely! Just be sure to thaw them completely before cooking. If you’re in a pinch, you can cook them from frozen, but you’ll need to increase the cooking time by about 10-15 minutes. Always check for that internal temperature of 165°F (74°C) to ensure they’re fully cooked!
- What can I serve with Air Fryer Classic Chicken Breast? This chicken pairs wonderfully with a variety of sides! Try it with roasted vegetables, a fresh salad, or some quinoa for a balanced meal. You can also slice it up and toss it in wraps or on top of pasta for a delicious twist.
- How do I store leftovers from this recipe? If you have any leftovers (which is rare because it’s so good!), let the chicken cool completely, then store it in an airtight container in the fridge for up to 3 days. You can also freeze it for longer storage; just make sure to wrap it tightly!
- Can I use different seasonings? Definitely! This recipe is super versatile. Feel free to experiment with your favorite herbs and spices. Lemon pepper, Italian seasoning, or even a bit of cayenne for heat can all elevate the flavor!
- Why is my chicken breast dry? Dry chicken can happen if it’s overcooked or if it was too thin to begin with. Make sure to use a meat thermometer for perfect doneness, and consider pounding the chicken to an even thickness for consistent cooking.
If you have any more questions or tips, feel free to drop a comment! I love hearing from fellow cooking enthusiasts!
Storage & Reheating Instructions for Air Fryer Classic Chicken Breast
Storing and reheating your Air Fryer Classic Chicken Breast properly is essential to enjoy those delicious leftovers while keeping them juicy and flavorful! Here’s how you can do it:
- Storing Leftovers: Once your chicken has cooled to room temperature, place it in an airtight container. This keeps out any unwanted moisture and helps maintain its flavor. You can store it in the fridge for up to 3 days. If you want to keep it longer, go ahead and freeze it! Just wrap it tightly in plastic wrap or aluminum foil, then pop it in a freezer-safe bag. It’ll keep well for up to 3 months.
- Thawing Frozen Chicken: When you’re ready to enjoy your frozen chicken, transfer it to the fridge the night before to thaw slowly. If you’re in a rush, you can use the defrost setting on your microwave, but be careful not to start cooking it!
- Reheating Instructions: To reheat the chicken and keep it juicy, I recommend using your air fryer again! Preheat it to 350°F (175°C), then place the chicken in the basket for about 5-8 minutes. This will help restore that delicious crispiness on the outside while keeping the inside moist. Alternatively, you can reheat it in the oven at the same temperature for about 10-15 minutes. Just cover it with foil to retain moisture.
- Microwave Option: If you’re in a hurry, you can use the microwave, but this method may result in drier chicken. Place the chicken on a microwave-safe plate, cover it with a damp paper towel, and heat in 30-second intervals until warmed through.
With these simple storage and reheating tips, you’ll ensure that your Air Fryer Classic Chicken Breast remains as delicious as the day you made it. Enjoy your meal, even on busy nights!
Serving Suggestions for Air Fryer Classic Chicken Breast
Now that you’ve got your perfectly cooked Air Fryer Classic Chicken Breast, it’s time to think about what to serve alongside it! Here are some delicious and straightforward ideas that will complement your chicken beautifully:
- Steamed Vegetables: A medley of steamed broccoli, carrots, and green beans makes for a colorful and nutritious side. The freshness of the veggies balances the richness of the chicken.
- Quinoa Salad: A light quinoa salad with cherry tomatoes, cucumber, and a squeeze of lemon adds a refreshing touch. It’s protein-packed and super easy to throw together!
- Garlic Mashed Potatoes: Creamy mashed potatoes with a hint of garlic are a classic pairing! They soak up any juices from the chicken and add that comforting element to your meal.
- Cauliflower Rice: For a low-carb option, serve your chicken over cauliflower rice sautéed with herbs. It’s a great way to add some extra veggies while keeping things light!
- Simple Green Salad: A crisp green salad with mixed greens, avocado, and a light vinaigrette is always a hit. It adds crunch and freshness that perfectly complements the juicy chicken.
- Homemade BBQ Sauce: Drizzle a bit of your favorite homemade BBQ sauce or a tangy honey mustard sauce over the chicken for an extra burst of flavor. It’s a fun way to change things up!
These serving suggestions are not only easy to prepare but will elevate your Air Fryer Classic Chicken Breast into a wholesome, satisfying meal. Enjoy experimenting and finding your favorite combinations!
Call to Action
I hope you’re as excited to try this Air Fryer Classic Chicken Breast recipe as I am to share it with you! If you give it a go, I’d absolutely love to hear how it turned out for you. Did you make any tweaks or try a new seasoning? Please leave a comment below and let me know your thoughts! Your feedback not only makes my day but also helps fellow cooking enthusiasts find inspiration in their kitchens.
And hey, if you enjoyed this recipe, don’t forget to rate it! Your ratings help spread the love and make it easier for others to discover this juicy, flavorful dish. Let’s keep this cooking journey together—share your experiences, ask questions, and let’s celebrate the joy of good food!
Print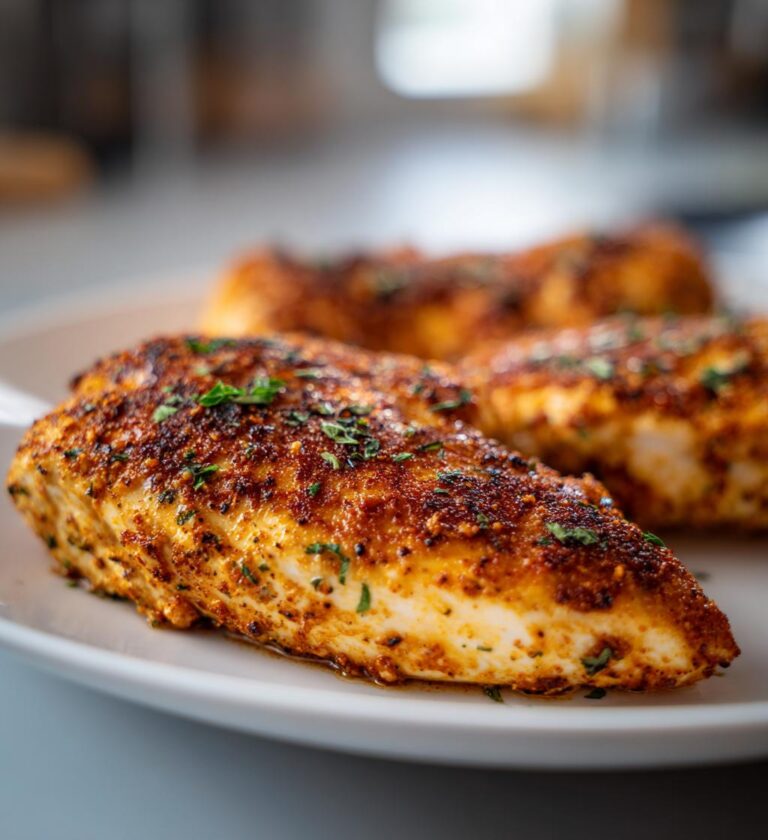
Air Fryer Classic Chicken Breast: 7 Simple Steps to Juicy Bliss
Cook tender and juicy chicken breasts in an air fryer.
- Total Time: 25 minutes
- Yield: 2 servings 1x
Ingredients
- 2 boneless chicken breasts
- 1 tablespoon olive oil
- 1 teaspoon garlic powder
- 1 teaspoon paprika
- Salt and pepper to taste
Instructions
- Preheat your air fryer to 400°F (200°C).
- Pat the chicken breasts dry with paper towels.
- Rub olive oil over the chicken breasts.
- Season both sides with garlic powder, paprika, salt, and pepper.
- Place the chicken breasts in the air fryer basket.
- Cook for 12-15 minutes, flipping halfway through.
- Check for an internal temperature of 165°F (74°C).
- Remove from air fryer and let rest for 5 minutes before slicing.
Notes
- Adjust cooking time based on the thickness of the chicken breasts.
- You can marinate the chicken for extra flavor.
- Serve with your favorite side dishes.
- Prep Time: 10 minutes
- Cook Time: 15 minutes
- Category: Main Course
- Method: Air Frying
- Cuisine: American
- Diet: Low Fat
Nutrition
- Serving Size: 1 chicken breast
- Calories: 250
- Sugar: 0g
- Sodium: 300mg
- Fat: 10g
- Saturated Fat: 2g
- Unsaturated Fat: 8g
- Trans Fat: 0g
- Carbohydrates: 0g
- Fiber: 0g
- Protein: 40g
- Cholesterol: 120mg
Keywords: Air Fryer Classic Chicken Breast