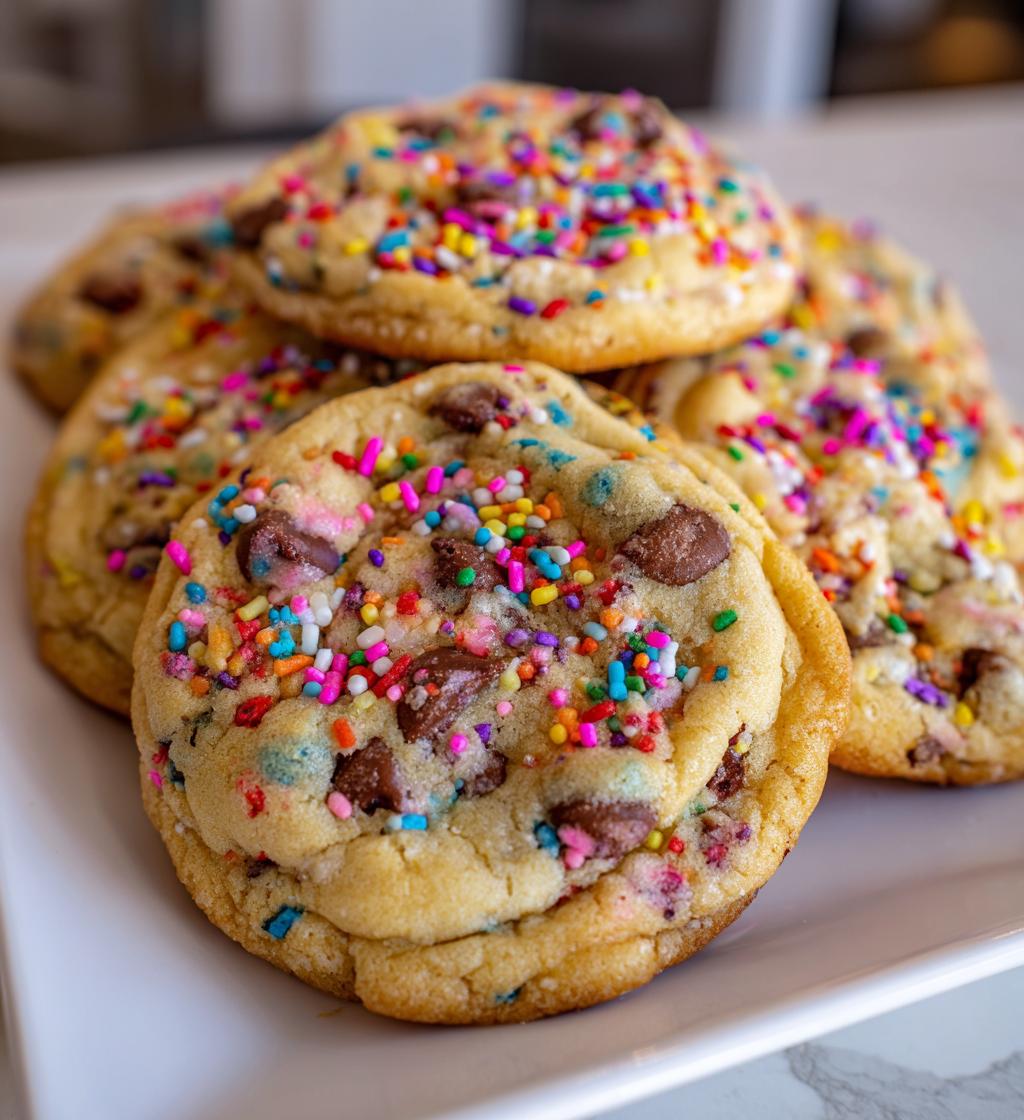
There’s something truly magical about whipping up Valentine’s Day treats for students! I mean, who doesn’t love a sweet surprise that brings smiles and joy? These easy-to-make cookies not only taste delicious but fill your kitchen with the most delightful aroma. Picture this: warm, gooey chocolate chips melting in your mouth, beautifully decorated with colorful sprinkles. It’s an instant hit for any classroom celebration or just to show some love to your favorite little ones. Trust me, once you try this recipe, you’ll want to make these treats every year! Let’s dive into the fun of baking together!
Ingredients for Valentine’s Day Treats for Students
Here’s what you’ll need to create these delightful Valentine’s Day treats for students. I promise, they’re all simple ingredients that you probably have in your pantry already!
- 1 cup of sugar: This sweet base adds just the right amount of sweetness to your cookies.
- 1/2 cup of butter: Make sure it’s softened! This is key to achieving that creamy texture.
- 2 cups of all-purpose flour: This forms the backbone of your cookies, giving them structure.
- 1/2 teaspoon of baking powder: This little bit helps your cookies rise just enough for a soft bite.
- 1/4 teaspoon of salt: A pinch of salt enhances the sweetness and balances the flavors.
- 1 egg: This binds everything together and adds moisture to your dough.
- 1 teaspoon of vanilla extract: Trust me, this adds a lovely depth of flavor!
- 1 cup of chocolate chips: Semi-sweet or milk chocolate, whichever you prefer; they’re the star of the show!
- Sprinkles for decoration: Go wild with colors! They make these treats extra festive and fun.
How to Prepare Valentine’s Day Treats for Students
Now that you have all your ingredients ready, let’s get baking! I promise this process is straightforward and oh-so-fun. Follow these steps, and you’ll have delicious Valentine’s Day treats in no time!
Preheat the Oven
First things first, preheat your oven to 350°F (175°C). This step is super important because starting with a hot oven ensures your cookies bake evenly, giving them that perfect golden color. Trust me, you don’t want to skip this part!
Cream the Sugar and Butter
In a large mixing bowl, combine the sugar and softened butter. Grab your trusty mixer or a wooden spoon, and mix until the mixture is creamy and light. This typically takes about 2-3 minutes. Creaming these two ingredients well is crucial—it creates air pockets that give your cookies that wonderful light texture!
Combine Wet Ingredients
Next, add in the egg and vanilla extract. Mix thoroughly until everything looks well combined. You want to ensure the egg is fully incorporated, as it helps bind your cookies together and adds moisture, making them chewy and delicious.
Prepare the Dry Ingredients
In a separate bowl, whisk together the all-purpose flour, baking powder, and salt. This step helps to evenly distribute the baking powder and salt throughout the flour, ensuring your cookies rise perfectly without any salty surprises!
Mix Wet and Dry Ingredients
Now, it’s time to bring it all together! Gradually add the dry mixture to your wet ingredients, stirring gently. I like to do this in three parts—add a little flour, mix, then add more. This method keeps the batter from becoming too dense and helps achieve that lovely texture we all crave!
Add Chocolate Chips
Once everything is combined, it’s time for the star of the show—stir in those chocolate chips! You can go wild here; if you’re feeling adventurous, substitute some chocolate chips with nuts or dried fruits for a fun twist!
Form the Cookies
Using a spoon or cookie scoop, drop rounded spoonfuls of dough onto a baking sheet lined with parchment paper. Leave some space between each cookie because they will spread a bit while baking. Don’t forget to sprinkle colorful decorations on top for that festive touch!
Bake the Cookies
Pop the baking sheet into your preheated oven and bake for about 10-12 minutes. Keep an eye on them—you want the edges to be golden, but the centers should still look slightly soft. They’ll firm up as they cool!
Cool Before Serving
Once baked, remove the cookies from the oven and let them cool on the baking sheet for a few minutes before transferring them to a wire rack. This step is vital because it allows the cookies to set properly. Trust me, letting them cool enhances the flavor and texture, making them even more irresistible!
Why You’ll Love This Recipe
You’re going to adore this recipe for Valentine’s Day treats for students because it checks all the boxes: quick, easy, and oh-so-delicious! With just a handful of simple ingredients and minimal prep time, you’ll have a batch of warm, gooey cookies in no time. Plus, they’re a fantastic way to get the kids involved in the kitchen! Imagine their smiles as they help mix, scoop, and decorate these delightful cookies. Whether you’re celebrating in the classroom or at home, these treats are sure to spread joy and create sweet memories that everyone will cherish!
Tips for Success with Valentine’s Day Treats for Students
To make sure your Valentine’s Day treats for students turn out perfectly, here are some handy tips! First, always measure your ingredients accurately. Baking is a science, and even a slight variation can change the outcome. I recommend using a kitchen scale for precision, especially when it comes to flour.
Next, use fresh ingredients. Old baking powder can lose its potency, resulting in cookies that don’t rise as they should. Trust me, checking the expiration dates on your baking supplies can save you a lot of frustration!
Also, don’t forget that butter should be softened but not melted. This is crucial for achieving that creamy texture we love. Lastly, have fun with the sprinkles! They really make your cookies pop and add a festive touch that students will adore. Enjoy the process, and don’t be afraid to experiment a little!
Nutritional Information
Each of these delightful Valentine’s Day treats for students packs a sweet punch with an estimated nutritional profile! Per cookie, you can expect around 150 calories, which is perfect for a little indulgence without going overboard. They contain about 7 grams of fat, including 4 grams of saturated fat, and 10 grams of sugar, making them a treat that satisfies that sweet tooth. You’ll also get about 2 grams of protein—great for fueling those little bodies during a busy school day! Just remember, these values can vary slightly depending on the specific ingredients you use, so feel free to adjust as needed!
FAQ about Valentine’s Day Treats for Students
Can I use alternative sweeteners?
Absolutely! If you’re looking to swap out sugar for a healthier option, you can use alternatives like honey, maple syrup, or agave nectar. Just remember that these sweeteners can add moisture, so you may need to adjust the amount of flour a bit to maintain the right dough consistency. Generally, you can use about 3/4 cup of liquid sweetener for every cup of sugar, but be sure to reduce the liquid ingredients slightly to keep your cookies from becoming too wet!
How can I store these cookies?
To keep your Valentine’s Day treats for students fresh, store them in an airtight container at room temperature. They should stay delicious for about 4-5 days. If you want to extend their life, consider refrigerating them, which can keep them fresh for up to a week. Just let them come to room temperature before serving, so they’re nice and soft again!
Can I use different mix-ins?
Definitely! This recipe is super versatile. Instead of chocolate chips, feel free to swap in chopped nuts, dried fruits like cranberries or raisins, or even white chocolate chips for a fun twist. You can also add a mix of these ingredients! Get creative and make these treats your own!
What if I don’t have baking powder?
No worries! If you’re out of baking powder, you can create a substitute by combining 1/4 teaspoon of baking soda with 1/2 teaspoon of vinegar or lemon juice for each teaspoon of baking powder needed. This combination will give your cookies the lift they need without compromising flavor.
How long do these cookies last?
When stored properly in an airtight container, these cookies can last about 4-5 days at room temperature. If you want to keep them even longer, you can freeze them! Just place them in a freezer-safe bag or container, and they’ll stay fresh for up to three months. When you’re ready to enjoy them, let them thaw at room temperature, and they’ll taste just as good as the day you baked them!
Serving Suggestions for Valentine’s Day Treats for Students
When it comes to serving these delightful Valentine’s Day treats for students, the possibilities are endless! Pair them with a tall glass of cold milk for that classic combo that everyone loves. If you want to get a little fancy, consider serving them alongside a hot cup of cocoa or a fun fruit punch for a festive touch. You can even create a mini dessert platter with fresh strawberries and whipped cream to dip those cookies in—what a treat! These cookies are perfect for classroom parties or at-home celebrations, spreading love and sweetness with every bite!
Print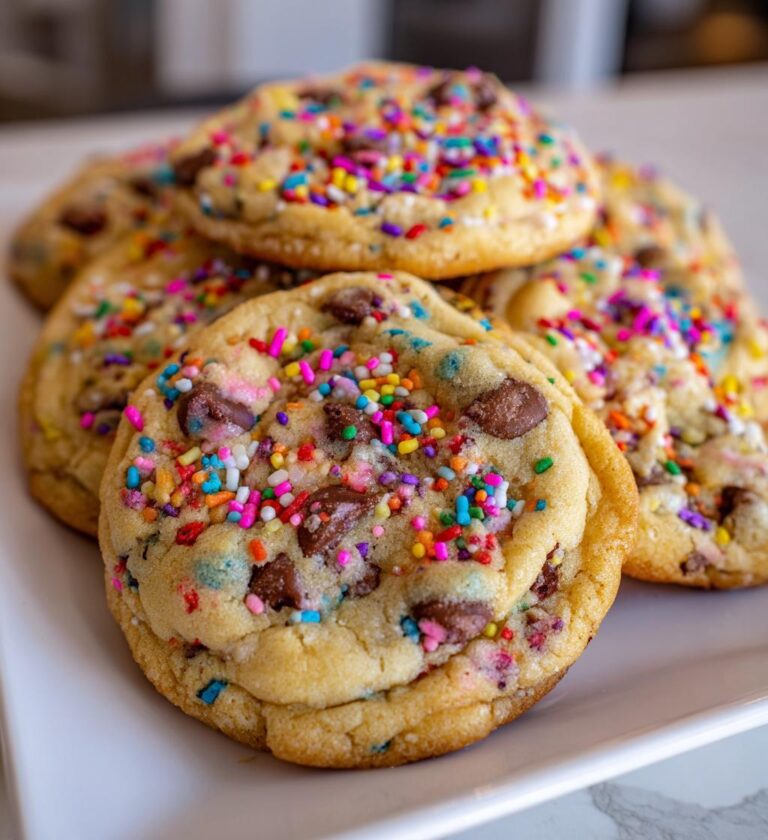
Valentine’s Day Treats for Students: 7 Sweet Surprises
Delicious and easy-to-make Valentine’s Day treats for students.
- Total Time: 27 minutes
- Yield: 24 cookies 1x
Ingredients
- 1 cup of sugar
- 1/2 cup of butter
- 2 cups of all-purpose flour
- 1/2 teaspoon of baking powder
- 1/4 teaspoon of salt
- 1 egg
- 1 teaspoon of vanilla extract
- 1 cup of chocolate chips
- Sprinkles for decoration
Instructions
- Preheat your oven to 350°F (175°C).
- In a bowl, mix sugar and butter until creamy.
- Add egg and vanilla, mix well.
- Combine flour, baking powder, and salt in another bowl.
- Gradually add the dry mixture to the wet mixture.
- Stir in chocolate chips.
- Drop spoonfuls of dough onto a baking sheet.
- Sprinkle with decorations.
- Bake for 10-12 minutes.
- Let cool before serving.
Notes
- Use colored sprinkles for a festive touch.
- Store in an airtight container.
- Can substitute chocolate chips with nuts or dried fruits.
- Prep Time: 15 minutes
- Cook Time: 12 minutes
- Category: Dessert
- Method: Baking
- Cuisine: American
- Diet: Vegetarian
Nutrition
- Serving Size: 1 cookie
- Calories: 150
- Sugar: 10g
- Sodium: 50mg
- Fat: 7g
- Saturated Fat: 4g
- Unsaturated Fat: 2g
- Trans Fat: 0g
- Carbohydrates: 20g
- Fiber: 1g
- Protein: 2g
- Cholesterol: 20mg
Keywords: valentines day treats for students