
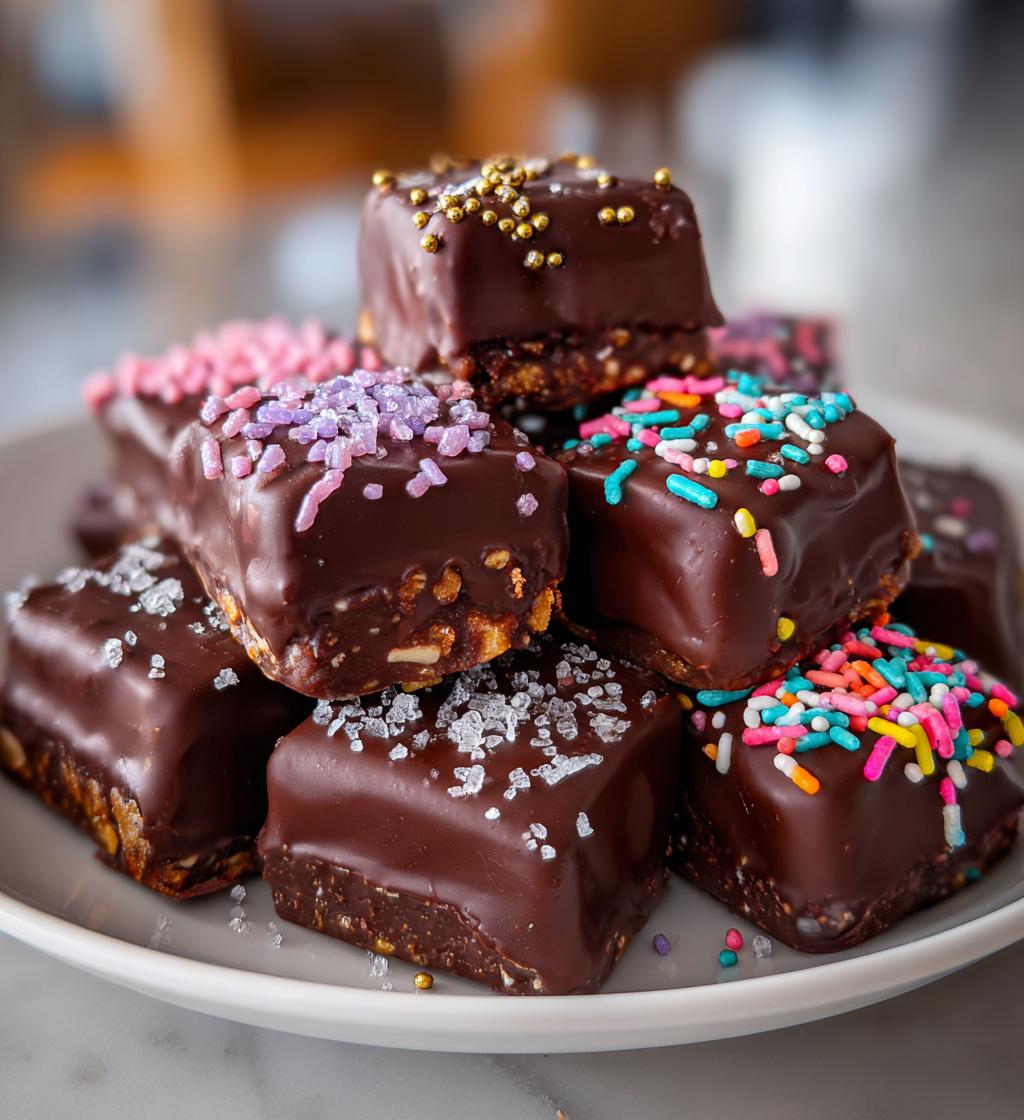
Ah, Valentine’s Day! The perfect occasion to express love through the irresistible allure of *valentines day chocolates aesthetic*. Picture this: beautifully crafted chocolates, each one a tiny work of art, just waiting to be gifted to your special someone. There’s something magical about creating these delightful treats – they’re not just chocolates; they’re little tokens of affection wrapped in sweetness. I remember the first time I made chocolates for my partner. I decorated each piece with vibrant sprinkles and a sprinkle of sea salt, and the look on their face was absolutely priceless. It’s such a simple gesture, but it speaks volumes, don’t you think?
This recipe is all about bringing that magic to your kitchen. With just a few ingredients and some creativity, you can whip up a batch of chocolates that not only taste divine but look stunning too. So grab your molds, and let’s dive into making these gorgeous chocolates that will surely impress anyone you choose to share them with. Trust me, once you try it, you’ll want to make them for every occasion!
Ingredients List
- 1 cup dark chocolate chips – rich and smooth, perfect for that deep chocolate flavor.
- 1 cup milk chocolate chips – adds a creamy sweetness that balances the bitterness of dark chocolate.
- 1/2 cup heavy cream – this will create that luxurious, velvety texture in your chocolates.
- 1 teaspoon vanilla extract – just a touch to enhance the overall flavor profile.
- 1/2 cup assorted toppings – think sprinkles, nuts, sea salt, or anything your heart desires to make them pop!
How to Prepare Instructions
Making these delightful chocolates is easier than you might think! Follow my step-by-step guide, and you’ll be a chocolatier in no time. Just remember, the key is to take your time and enjoy the process!
Step-by-Step Guide
- Start by heating the heavy cream in a medium saucepan over medium heat. Keep an eye on it, and let it simmer gently – you don’t want it to boil over! This should only take a few minutes.
- Once you see those lovely bubbles forming around the edges, remove the saucepan from the heat. Now, it’s time to add your chocolate chips! Pour in both the dark and milk chocolate chips, stirring gently until they’re fully melted and the mixture is beautifully smooth. This is where the magic begins!
- Next, add the teaspoon of vanilla extract. Stir it into the chocolate mixture, and take a moment to inhale that heavenly aroma – it’s pure bliss!
- Now, pour the luscious chocolate mixture into your chosen molds or a baking dish. Don’t worry if it’s a bit messy – that just adds to the charm!
- Here comes the fun part: sprinkle your assorted toppings over the chocolate. Be creative! This is your chance to make each piece unique.
- Finally, pop the molds or baking dish into the refrigerator. Let them chill for at least 2 hours until they’re firm and ready to be enjoyed. Patience is key, but I promise it’s worth the wait!
- Once set, carefully remove the chocolates from the molds or cut them into pieces if using a baking dish. Now, they’re ready to impress! Serve them up and watch the smiles unfold.
Why You’ll Love This Recipe
- Quick Preparation: You can whip up these chocolates in just 15 minutes of active time! With minimal cooking involved, you’ll have delicious treats ready in no time.
- Customizable Flavors: Feel free to mix and match your favorite chocolate types and toppings. Want a nutty crunch? Go for chopped almonds! Craving a fruity twist? Try adding dried fruit. The possibilities are endless!
- Visually Appealing: These chocolates are not just tasty; they’re a feast for the eyes too! With vibrant toppings and a glossy finish, they make a stunning centerpiece for any celebration.
- Perfect for Gifting: Whether it’s Valentine’s Day, birthdays, or any special occasion, these homemade chocolates are a heartfelt gift. Package them in cute boxes or jars, and you’ve got a sweet surprise that anyone would adore!
Tips for Success
To make sure your chocolates turn out absolutely perfect, I’ve got some tried-and-true tips that’ll help you nail it every time. Trust me, these little secrets can elevate your chocolate-making game!
Use high-quality chocolate
First and foremost, always opt for high-quality chocolate. The taste difference is incredible! Brands that use real cocoa butter and avoid artificial ingredients will give you a richer flavor and smoother texture. You want your chocolates to shine, and using the best ingredients is the way to do it!
Be precise with your measurements
When it comes to chocolate-making, precision is key. Make sure to measure your chocolate chips and heavy cream accurately. Too much cream can make your chocolates too soft, while too little can lead to a crumbly texture. So grab that measuring cup and get it just right!
Experiment with toppings
Don’t be afraid to get creative with your toppings! While sprinkles and nuts are classic choices, think outside the box. Crushed freeze-dried fruits, flaky sea salt, or even edible flowers can transform your chocolates into a stunning work of art. Mix and match to create your own signature aesthetic!
Chill the chocolate properly
Patience is a virtue! When you pop your chocolates in the fridge, let them chill for at least 2 hours. If you’re in a rush, don’t try to speed up the process by using the freezer – it can cause the chocolate to seize or crack. Just let it set at its own pace for that perfect, glossy finish.
Test a small batch first
If you’re trying out a new topping or flavor combo, start with a small batch. It’s a great way to test your ideas without committing to a full batch. Plus, it’s a fun way to experiment and discover new flavors you love!
By following these tips, you’ll be well on your way to creating chocolates that not only taste amazing but look stunning too. Happy chocolate-making!
Variations
One of the best things about making your own chocolates is the endless possibilities for variations! You can easily switch up flavors and aesthetics to match any occasion or personal preference. Here are some delightful ideas to inspire your creativity:
Different Types of Chocolate
- White Chocolate: Swap out the milk or dark chocolate for white chocolate for a creamy, sweet alternative. Just remember, white chocolate can be a bit temperamental, so keep an eye on the melting process!
- Ruby Chocolate: Looking to impress? Ruby chocolate adds a fruity berry flavor and a stunning pink hue. It’s perfect for a romantic touch on Valentine’s Day.
- Flavored Chocolate: Opt for chocolate chips infused with flavors like mint, orange, or even espresso. These will add a unique twist and surprise your taste buds!
Creative Toppings
- Fresh Fruit: Top your chocolates with slices of strawberries, raspberries, or even a sprinkle of zest from citrus fruits for a refreshing burst of flavor.
- Herbs and Spices: Try adding a dash of sea salt with a hint of rosemary or a sprinkle of cinnamon for an unexpected flavor combination that will wow anyone!
- Crunchy Bits: Experiment with different nuts such as pistachios, hazelnuts, or even caramelized pecans for a delightful crunch that complements the smooth chocolate.
Layering Flavors
Why not create layered chocolates? Pour a layer of dark chocolate into your mold, let it set slightly, then add a layer of milk chocolate or flavored chocolate. This not only looks beautiful but also offers a delicious combination of flavors in every bite!
With these variations, you can tailor your chocolates to fit any theme or preference. The best part? Each batch can be a new adventure in flavor and aesthetics! So, don’t hesitate to get creative and make these chocolates your own. Happy experimenting!
Storage & Reheating Instructions
Once you’ve created your beautiful chocolates, you’ll want to make sure they stay fresh and maintain their delightful shape. Proper storage is key to enjoying them at their best!
To store your chocolates, place them in an airtight container. This prevents any moisture from getting in and keeps them away from strong odors in the fridge. If you’re stacking them, I recommend placing a piece of parchment paper between layers to avoid any sticking. Keep them in a cool, dry place or in the refrigerator if your kitchen tends to get warm.
These chocolates are best enjoyed within two weeks, but trust me, they probably won’t last that long! If you happen to have any left over, make sure to check them for signs of melting or condensation. If they look a bit sad, gently bring them back to room temperature before serving.
Now, if you need to reheat any chocolates for a special creation, do it gently! Place the chocolates in a microwave-safe bowl and heat in 10-15 second intervals, stirring in between until smooth. Be careful not to overheat, or you’ll end up with a grainy texture. Just a little patience goes a long way!
With these simple storage and reheating tips, you can keep your chocolates looking and tasting their best, ready to impress whenever you decide to share them. Enjoy every bite!
Nutritional Information Section
When you indulge in these delightful chocolates, it’s nice to know what you’re treating yourself to! Here’s a quick rundown of the estimated nutritional values per serving (1 piece):
- Calories: 100
- Sugar: 10g
- Fat: 6g
- Saturated Fat: 4g
- Unsaturated Fat: 2g
- Trans Fat: 0g
- Carbohydrates: 10g
- Fiber: 1g
- Protein: 1g
- Cholesterol: 5mg
- Sodium: 5mg
Keep in mind, these values are estimates and can vary based on the specific ingredients you choose. But regardless, each bite is packed with love and sweetness, making them the perfect treat for any occasion!
FAQ Section
Q1. Can I use different types of chocolate for these Valentine’s Day chocolates?
Absolutely! You can mix and match any types of chocolate you love. Dark, milk, white, or even ruby chocolate can all create beautiful and delicious results. Just keep in mind that each type may have a different melting point, so adjust your melting time accordingly!
Q2. How do I make my chocolates look aesthetically pleasing?
Presentation is key! Use vibrant toppings like colorful sprinkles, crushed nuts, or edible flowers to make your chocolates pop. You can also drizzle contrasting chocolate over the top or layer different types of chocolate for an eye-catching effect. Remember, it’s all about letting your creativity shine!
Q3. What can I use if I don’t have chocolate molds?
No problem at all! You can use a baking dish lined with parchment paper instead. Just pour the chocolate mixture in, let it set, and then cut it into pieces once it’s firm. It’s a fun way to create unique shapes and sizes without needing specialized equipment!
Q4. How should I store my chocolates to keep them fresh?
Store your chocolates in an airtight container to keep them fresh and prevent them from absorbing any unwanted odors. If you live in a warm climate, it’s best to keep them in the refrigerator. Just be sure to let them come to room temperature before serving for the best taste!
Q5. Can I make these chocolates in advance for Valentine’s Day?
Definitely! These chocolates can be made up to two weeks in advance. Just follow the storage tips to ensure they stay fresh and delicious. This way, you can enjoy the day without any last-minute stress!
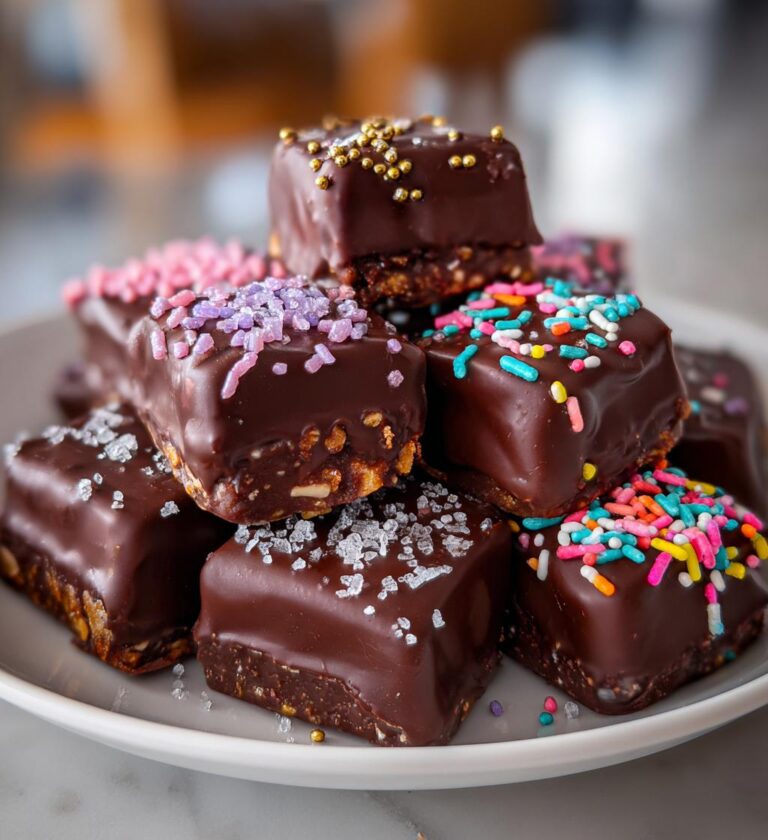
valentines day chocolates aesthetic: 7 Sweet Reasons to Love
A collection of beautifully crafted chocolates perfect for Valentine’s Day.
- Total Time: 2 hours 20 minutes
- Yield: 12 pieces 1x
Ingredients
- 1 cup dark chocolate chips
- 1 cup milk chocolate chips
- 1/2 cup heavy cream
- 1 teaspoon vanilla extract
- 1/2 cup assorted toppings (sprinkles, nuts, sea salt)
Instructions
- Heat the heavy cream in a saucepan over medium heat until it begins to simmer.
- Remove from heat and add the dark and milk chocolate chips.
- Stir until the chocolate is fully melted and smooth.
- Add the vanilla extract and mix well.
- Pour the chocolate mixture into molds or a baking dish.
- Sprinkle your chosen toppings over the chocolate.
- Refrigerate for at least 2 hours until set.
- Remove from molds and serve.
Notes
- Use high-quality chocolate for the best flavor.
- Experiment with different toppings to customize your chocolates.
- Store in a cool place to maintain shape.
- Prep Time: 15 minutes
- Cook Time: 5 minutes
- Category: Dessert
- Method: Chilling
- Cuisine: American
- Diet: Vegetarian
Nutrition
- Serving Size: 1 piece
- Calories: 100
- Sugar: 10g
- Sodium: 5mg
- Fat: 6g
- Saturated Fat: 4g
- Unsaturated Fat: 2g
- Trans Fat: 0g
- Carbohydrates: 10g
- Fiber: 1g
- Protein: 1g
- Cholesterol: 5mg
Keywords: valentines day chocolates aesthetic