
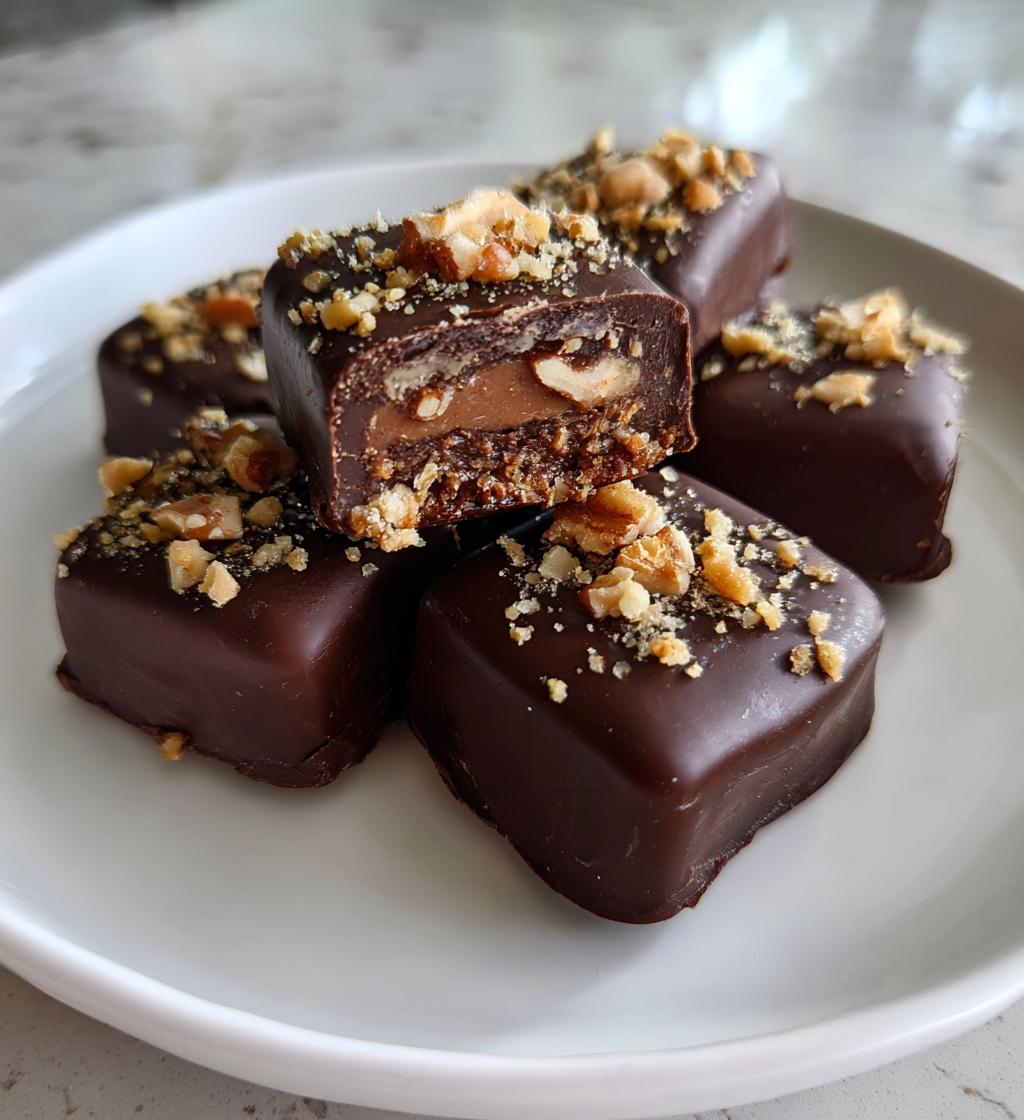
There’s something truly magical about making your own valentines chocolates. Every year, as Valentine’s Day approaches, I find myself bubbling with excitement at the thought of crafting these sweet little delights. Picture this: rich, velvety chocolate that melts in your mouth, infused with the warmth of love and care. It’s not just about the taste; it’s about the joy of sharing something homemade with those you cherish. Gifting your own chocolates feels personal, like a sweet hug wrapped in shiny foil!
When I whip up a batch of these chocolates, I can’t help but think of all the smiles they’ll bring. Each piece is infused with that special touch only homemade treats can offer. Whether it’s for your partner, friends, or family, nothing says “I care” quite like a box of chocolates made with your own hands. Plus, you can customize them just the way you like! Want to add a sprinkle of sea salt or mix in some dried fruits? Go for it! So, let’s dive into this delightful adventure of creating valentines chocolates that are sure to capture hearts and taste buds alike!
Ingredients List
To create your own delicious valentines chocolates, gather the following ingredients:
- 200g dark chocolate
- 100g milk chocolate
- 50g butter
- 100g sugar
- 1 tsp vanilla extract
- 1/2 cup chopped nuts (your choice, like almonds or walnuts)
- 1/4 cup dried fruits (try cranberries or apricots for a sweet twist)
Make sure to use high-quality chocolate for the best flavor! It really makes a difference in your final creation. And don’t hesitate to get creative with the nuts and fruits – this is your chance to personalize these chocolates just the way you like them!
How to Prepare Valentines Chocolates
Creating your own valentines chocolates is a fun and rewarding process. Follow these simple steps, and you’ll be on your way to making a delightful batch that’ll impress everyone!
Step 1: Melt the Chocolate
Start by chopping your dark chocolate into small pieces for even melting. In a heatproof bowl, combine the chopped chocolate and butter. Place this bowl over a pot of simmering water, making sure the water doesn’t touch the bowl. This gentle heat will help melt the chocolate without burning it. Stir occasionally until you achieve a smooth, glossy mixture. This usually takes about 5-7 minutes. You’ll know it’s ready when there are no lumps and the chocolate is silky!
Step 2: Combine Ingredients
Once your chocolate mixture is melted and smooth, it’s time to add in the milk chocolate. Stir it in until fully melted and combined—this is where that creamy richness comes into play! Next, sprinkle in the sugar and add the vanilla extract. Mix everything thoroughly, making sure there are no dry patches. This step is crucial because it ensures that all those sweet flavors blend seamlessly together.
Step 3: Add Texture
Now for the fun part! Gently fold in your chopped nuts and dried fruits. This is where you can really get creative! Want a bit of crunch? Go for almonds! Looking for something chewy? Dried cranberries are delightful! Just be sure not to overmix; we want those lovely bits to stay intact and provide that wonderful texture throughout your chocolates.
Step 4: Mold the Chocolates
Carefully pour your chocolate mixture into your chosen chocolate molds. You can use silicone molds for easy removal or traditional metal molds if you prefer. Make sure to tap the molds gently on the counter to remove any air bubbles and ensure an even distribution. This will help your chocolates come out looking beautiful and uniform!
Step 5: Chill and Set
Pop those molds into the refrigerator and let them chill for about 2 hours. This step is key for achieving that perfect texture—your chocolates need time to set and firm up. You’ll be so excited to see the transformation when you take them out!
Step 6: Unmold and Gift
Once your chocolates are set, it’s time to unmold them! Gently press the molds from the bottom to release your delightful creations. They should pop right out! Now comes the best part: packaging them up for gifting. Consider using cute boxes or cellophane bags tied with a lovely ribbon. Personal touches like handwritten tags or a sprinkle of love always make a difference. Your homemade chocolates are ready to spread joy!
Nutritional Information
As you enjoy these delightful valentines chocolates, it’s good to know what you’re indulging in! Here’s an estimated nutritional breakdown per chocolate, based on the ingredients used:
- Calories: 120
- Fat: 8g
- Saturated Fat: 5g
- Unsaturated Fat: 3g
- Trans Fat: 0g
- Carbohydrates: 15g
- Sugar: 10g
- Fiber: 1g
- Protein: 2g
- Cholesterol: 10mg
- Sodium: 5mg
Keep in mind, these figures are an estimate and can vary based on the specific brands and types of ingredients you choose. Enjoy your chocolates knowing you’re savoring a delicious treat made with love!
Tips for Success
When it comes to crafting the best valentines chocolates, a few pro tips can take your creations from good to absolutely divine! First and foremost, always choose high-quality chocolate. Brands with a higher cocoa content tend to melt smoother and provide a richer flavor that elevates your chocolates. Trust me, it makes all the difference!
Don’t be afraid to get creative with your flavor profiles! Consider adding a pinch of sea salt to enhance the sweetness or a splash of your favorite liqueur for an adult twist. You can also experiment with spices like cinnamon or a hint of espresso powder for that extra depth. Just remember to keep balance in mind; you want the flavors to complement each other, not overpower.
As for storage, keep your chocolates in a cool, dry place. If you live in a warmer climate, using an airtight container in the fridge is a great idea. Just let them come to room temperature before enjoying to savor all those delicious flavors! With these tips, you’re all set to impress your loved ones with your delightful homemade valentines chocolates!
Variations on Valentines Chocolates
If you’re in the mood to mix things up and add a personal touch to your valentines chocolates, here are some delightful variations to consider:
- Nutty Delight: Swap out the chopped nuts for your favorite variety! Try pecans for a buttery flavor, or go for hazelnuts for a unique twist.
- Fruit Fusion: Experiment with different dried fruits like mango or pineapple for a tropical flair, or go classic with raisins or cherries for a more traditional taste.
- Spicy Kick: Add a sprinkle of cayenne pepper or chili powder to the chocolate for an unexpected spicy kick that pairs beautifully with the sweetness!
- Minty Fresh: Stir in some peppermint extract for a refreshing mint chocolate experience. Perfect for those who love that classic combination!
- Coffee Boost: Mix in a teaspoon of instant coffee or espresso powder to deepen the flavor profile and give your chocolates a caffeine kick.
- Citrus Zest: Brighten your chocolates with a touch of orange or lemon zest. The citrus notes add a lovely brightness that balances the richness of the chocolate.
- Nut Butter Swirl: For a creamy texture, swirl in a spoonful of almond or peanut butter before pouring into molds. It’s like a delightful surprise in every bite!
Feel free to mix and match these ideas to create your perfect batch of valentines chocolates. The possibilities are endless, and that’s part of the fun! Enjoy the process and let your creativity shine!
Storage & Reheating Instructions
Once you’ve made your delightful valentines chocolates, you’ll want to make sure they stay fresh for as long as possible, right? Storing them properly is key! Keep your chocolates in an airtight container to protect them from air and moisture. If you live in a warmer climate, it’s best to store them in the refrigerator. Just be sure to let them come to room temperature before enjoying, as this will enhance their flavor and texture.
If you happen to have any leftovers (though I doubt it!), they should last up to two weeks in a cool, dry place or in the fridge. Just make sure to check for any signs of moisture or melting, especially if you’re keeping them out. If you’re looking to gift some later, consider wrapping them in pretty packaging to keep them looking lovely!
As for reheating, you generally won’t need to reheat chocolates unless they’ve melted or softened too much. If that happens, place them in the fridge for a bit to firm back up. If you’re thinking of making melted chocolate treats, like drizzling over desserts or dipping fruits, gently melt them in a microwave-safe bowl in short bursts of 10-15 seconds, stirring in between until smooth. Just be careful not to overheat, as chocolate can seize up quickly!
With these simple storage and reheating tips, you’ll keep your valentines chocolates delicious and ready to share, or savor all for yourself!
Why You’ll Love This Recipe
Making your own valentines chocolates is not just a fun project; it’s a delightful experience filled with love and creativity! Here are a few reasons why you’ll absolutely adore this recipe:
- Quick and Simple: You can whip up a batch in no time—just about 30 minutes of prep, and they’re ready to chill! Perfect for those last-minute gift ideas.
- Customizable: With endless possibilities for mix-ins and flavors, you can tailor these chocolates to suit anyone’s taste. Go wild with your favorite nuts, dried fruits, or even spices!
- Thoughtful Gift: Nothing says “I care” quite like a box of chocolates made by your own hands. It’s a heartfelt gesture that shows you put time and effort into your gift.
- Impressive Results: Even if you’re a beginner, these chocolates look and taste gourmet! Your friends and loved ones will be wowed by your chocolaty creations.
- Great for Any Occasion: While they’re perfect for Valentine’s Day, these chocolates work wonderfully for birthdays, anniversaries, or just because you want to spread some love!
- Fun Activity: Making chocolates can be a great bonding experience! Gather friends or family and enjoy the process together, creating sweet memories along the way.
With all these perks, it’s hard to resist diving into this delightful chocolate-making adventure. I promise you’ll feel the love pouring out with each delicious piece!
Engage with Us
I absolutely love hearing from you! Have you tried making these valentines chocolates? What creative twists did you add to make them your own? I’d be thrilled to know how they turned out and what your loved ones thought of your delicious creations!
Feel free to drop a comment below and share your experiences, tips, or even questions you might have. Did you take any fun photos while making them? I’d love to see your chocolate masterpieces! And if you enjoyed this recipe, let me know by rating it. Your feedback means the world to me and helps others discover this sweet adventure!
Let’s spread the love of homemade chocolates together, one delightful bite at a time!
Print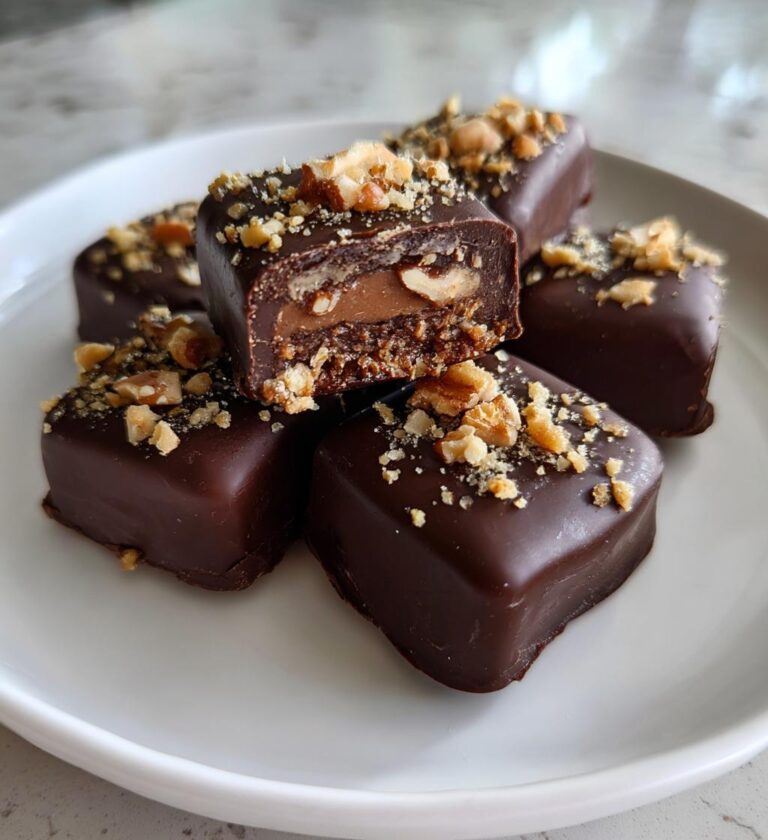
Valentines Chocolates: 7 Sweet Creations to Melt Hearts
Delicious homemade chocolates perfect for Valentine’s Day.
- Total Time: 2 hours 45 minutes
- Yield: 20 chocolates 1x
Ingredients
- 200g dark chocolate
- 100g milk chocolate
- 50g butter
- 100g sugar
- 1 tsp vanilla extract
- 1/2 cup chopped nuts
- 1/4 cup dried fruits
Instructions
- Melt dark chocolate and butter in a bowl over simmering water.
- Add milk chocolate and stir until smooth.
- Mix in sugar and vanilla extract.
- Fold in chopped nuts and dried fruits.
- Pour the mixture into chocolate molds.
- Chill in the refrigerator for 2 hours.
- Remove from molds and package for gifting.
Notes
- Use high-quality chocolate for best results.
- Customize with your favorite nuts and fruits.
- Store in a cool, dry place.
- Prep Time: 30 minutes
- Cook Time: 15 minutes
- Category: Dessert
- Method: Molding
- Cuisine: Confectionery
- Diet: Vegetarian
Nutrition
- Serving Size: 1 chocolate
- Calories: 120
- Sugar: 10g
- Sodium: 5mg
- Fat: 8g
- Saturated Fat: 5g
- Unsaturated Fat: 3g
- Trans Fat: 0g
- Carbohydrates: 15g
- Fiber: 1g
- Protein: 2g
- Cholesterol: 10mg
Keywords: valentines chocolates, homemade chocolates, chocolate gifts