
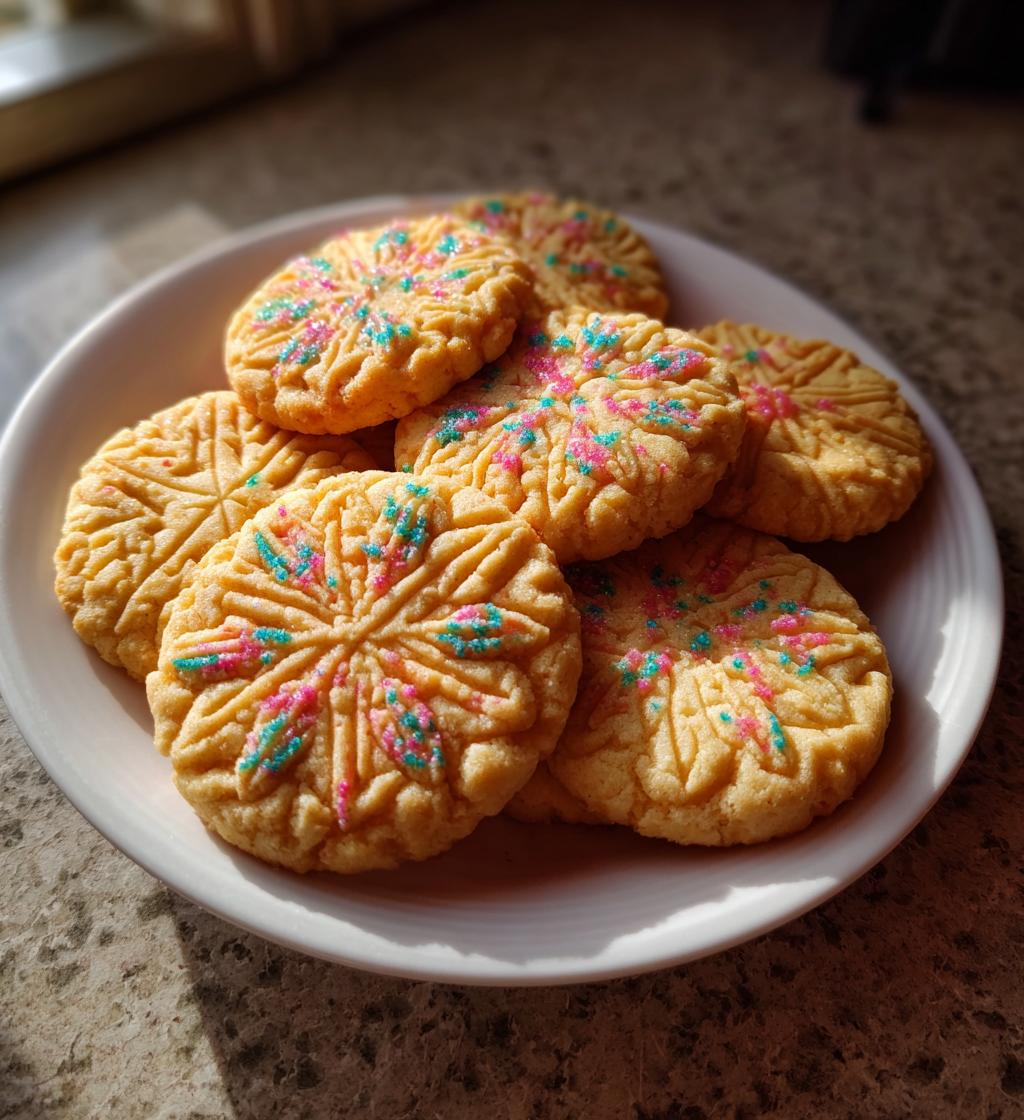
There’s just something magical about baking cookies during the holidays, isn’t there? The warmth of the oven, the sweet aromas wafting through the house, and the laughter of friends and family gathered around, waiting to taste your creations. My *stamped cookies recipe holidays* has become a cherished tradition in my home. I remember the first time I made these cookies with my kids; their eyes lit up as we pressed the cookie stamps into the dough, creating festive shapes that we couldn’t wait to decorate. We’d sprinkle colored sugar like it was confetti, turning each cookie into a little work of art! These stamped cookies are not just treats; they’re a way to create lasting memories and spread joy during the season. So, roll up your sleeves, gather your loved ones, and let’s dive into the delightful world of baking these festive cookies together!
Ingredients List
To create the perfect stamped cookies, you’ll want to gather these simple yet essential ingredients:
- 2 cups all-purpose flour – Make sure it’s leveled for accuracy!
- 1 cup unsalted butter, softened – This should be at room temperature for easy creaming.
- 1 cup granulated sugar – Sweetness is key, and this will help achieve that light, fluffy texture.
- 1 large egg – This binds everything together beautifully.
- 1 teaspoon vanilla extract – For that lovely, warm flavor that makes cookies so inviting.
- 1/2 teaspoon baking powder – This gives your cookies a nice lift.
- 1/4 teaspoon salt – A little pinch enhances all the flavors!
- Colored sugar for decoration – This adds a festive touch that makes these cookies pop!
Gather these ingredients, and you’re already on your way to cookie magic!
How to Prepare Stamped Cookies Recipe Holidays
Now that you’ve gathered all your ingredients, it’s time to dive into the fun part: preparing your stamped cookies! Trust me, this is where the magic truly happens. Follow these steps, and you’ll be well on your way to creating delicious, festive treats!
Step-by-Step Instructions
- Preheat your oven: Start by preheating your oven to 350°F (175°C). This ensures your cookies bake evenly and come out perfectly golden.
- Cream the butter and sugar: In a large mixing bowl, combine your softened unsalted butter and granulated sugar. Use an electric mixer or a sturdy wooden spoon to cream them together until the mixture is light and fluffy. This usually takes about 2-3 minutes. You want it to look airy, almost like whipped cream!
- Add the egg and vanilla: Crack in your large egg and pour in the vanilla extract. Mix everything together well until it’s fully combined and smooth.
- Mix the dry ingredients: In another bowl, whisk together your all-purpose flour, baking powder, and salt. This helps distribute the baking powder evenly throughout the flour.
- Combine wet and dry mixtures: Gradually add your dry ingredients to the wet mixture. I like to do this in thirds, mixing gently until just combined. You don’t want to overmix; a few flour streaks are totally fine!
- Chill the dough: Now, here’s a crucial step: cover your mixing bowl with plastic wrap and chill the dough in the refrigerator for about 30 minutes. This helps the cookies hold their shape when baking, so don’t skip this part!
- Roll out the dough: Once chilled, sprinkle a little flour on your countertop and roll out the dough to about 1/4-inch thickness. Use your favorite stamped cookie cutters to cut out fun shapes!
- Prepare for baking: Place the cut-out cookies on a baking sheet lined with parchment paper. This makes cleanup a breeze and helps prevent sticking. Sprinkle each cookie with colored sugar for that festive touch!
- Bake to perfection: Pop those beauties into the oven and bake for 10-12 minutes, or until the edges are lightly golden. Keep an eye on them; ovens can vary!
- Cool and enjoy: Let the cookies cool on the baking sheet for a few minutes before transferring them to a wire rack to cool completely. Then, it’s time to gather around with your loved ones and enjoy your delicious stamped cookies!
Follow these steps, and you’ll create a batch of cookies that not only taste amazing but also fill your home with the joyful spirit of the holidays!
Why You’ll Love This Recipe
- Easy preparation: With simple ingredients and straightforward steps, you’ll have these cookies baked in no time!
- Festive appeal: The colorful decorations and fun shapes make these cookies perfect for any holiday celebration.
- Delicious taste: Each bite is a delightful blend of buttery sweetness and vanilla goodness that everyone will adore.
- Great for bonding: Baking together with family or friends creates cherished memories while having fun in the kitchen.
- Customizable: Feel free to switch up the shapes, colors, or even add flavors to make them your own!
Tips for Success
To ensure your stamped cookies turn out perfectly every time, here are some handy tips to keep in mind:
- Dough chilling is crucial: Don’t skip the chilling step! It helps the cookies maintain their shape and prevents spreading.
- Check your oven temperature: Ovens can be tricky! Use an oven thermometer if you have one to ensure it’s at the right temperature.
- Don’t overbake: Keep an eye on the cookies as they bake. They should be lightly golden around the edges, so set a timer and check a minute or two early.
- Experiment with flavors: Feel free to swap in almond extract or a hint of citrus zest for a fun twist!
- Let them cool: Allow the cookies to cool on the baking sheet for a few minutes before moving them to a wire rack. This helps them firm up and prevents breakage.
With these tips, you’ll be well on your way to cookie perfection! Happy baking!
Nutritional Information Section
As with any recipe, the nutritional values can vary based on the specific ingredients and brands you use. This information is provided as a general guide and may not be precisely accurate. Always check the packaging for the most accurate nutritional information for your stamped cookies!
FAQ Section
Got questions about my *stamped cookies recipe holidays*? Don’t worry, I’ve got you covered! Here are some common queries I often hear:
- How should I store the stamped cookies? Store your cookies in an airtight container at room temperature. They’ll stay fresh for about a week, but trust me, they won’t last that long!
- Can I freeze the cookie dough? Absolutely! You can freeze the dough before chilling it. Just wrap it tightly in plastic wrap and pop it in the freezer. It’ll keep for up to three months. When you’re ready, thaw it in the fridge before rolling it out.
- What if I don’t have cookie stamps? No problem! You can use regular cookie cutters or even the rim of a glass to create shapes. Get creative!
- Can I add other flavors? Yes! Almond extract or citrus zest can really elevate the flavor. Just remember to adjust the quantities to your taste!
- What are common mistakes I should avoid? The biggest mistake is skipping the chilling step. It’s crucial for keeping the cookies from spreading too much while baking. Also, don’t overbake them—keep an eye on those edges!
Serving Suggestions
Now that you’ve baked your delightful stamped cookies, it’s time to think about how to enjoy them! Pair these festive treats with a steaming cup of hot cocoa or a comforting chai latte for a cozy afternoon snack. They also shine when served alongside a platter of assorted holiday treats like gingerbread men or peppermint bark, creating a colorful dessert spread that’s sure to impress your guests. For a fun twist, try serving them with a scoop of vanilla ice cream for an indulgent dessert that’s perfect for holiday gatherings. The possibilities are endless, and they’re sure to bring smiles all around!
Print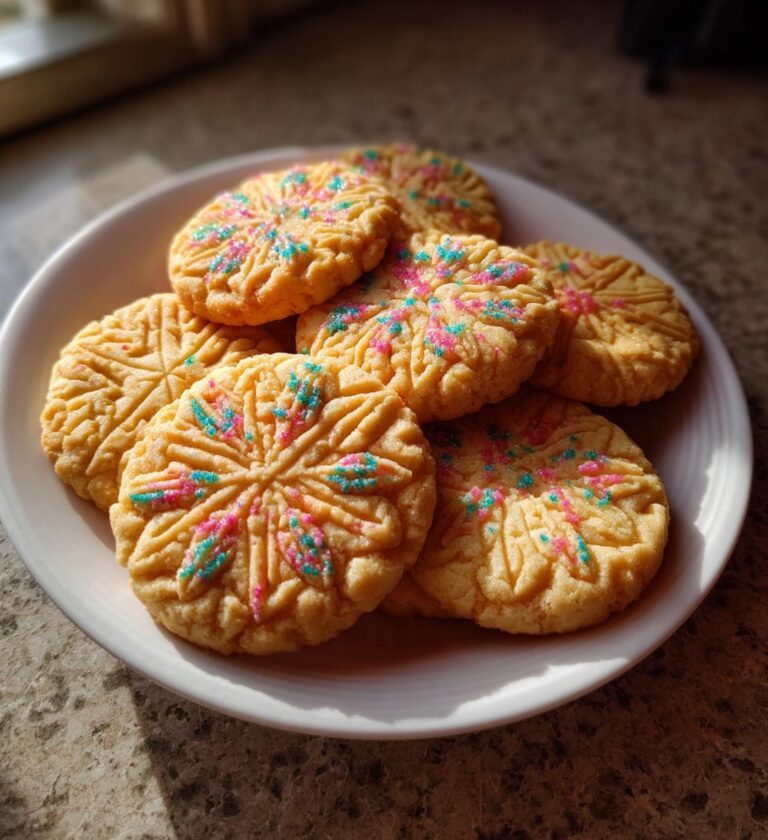
stamped cookies recipe holidays for Magical Family Moments
A festive recipe for delicious stamped cookies perfect for holidays.
- Total Time: 42 minutes
- Yield: 24 cookies 1x
Ingredients
- 2 cups all-purpose flour
- 1 cup unsalted butter, softened
- 1 cup granulated sugar
- 1 large egg
- 1 teaspoon vanilla extract
- 1/2 teaspoon baking powder
- 1/4 teaspoon salt
- Colored sugar for decoration
Instructions
- Preheat your oven to 350°F (175°C).
- In a bowl, cream together the butter and sugar until light and fluffy.
- Add the egg and vanilla extract, mix well.
- In another bowl, combine flour, baking powder, and salt.
- Gradually add the dry ingredients to the wet mixture, mixing until combined.
- Chill the dough for 30 minutes in the refrigerator.
- Roll out the dough and cut into shapes using stamped cookie cutters.
- Place cookies on a baking sheet and sprinkle with colored sugar.
- Bake for 10-12 minutes until the edges are lightly golden.
- Allow to cool before serving.
Notes
- Store cookies in an airtight container.
- Use different cookie cutters for various shapes.
- Try adding almond extract for a different flavor.
- Prep Time: 30 minutes
- Cook Time: 12 minutes
- Category: Dessert
- Method: Baking
- Cuisine: American
- Diet: Vegetarian
Nutrition
- Serving Size: 1 cookie
- Calories: 150
- Sugar: 10g
- Sodium: 50mg
- Fat: 8g
- Saturated Fat: 5g
- Unsaturated Fat: 3g
- Trans Fat: 0g
- Carbohydrates: 18g
- Fiber: 0g
- Protein: 2g
- Cholesterol: 20mg
Keywords: stamped cookies recipe holidays