
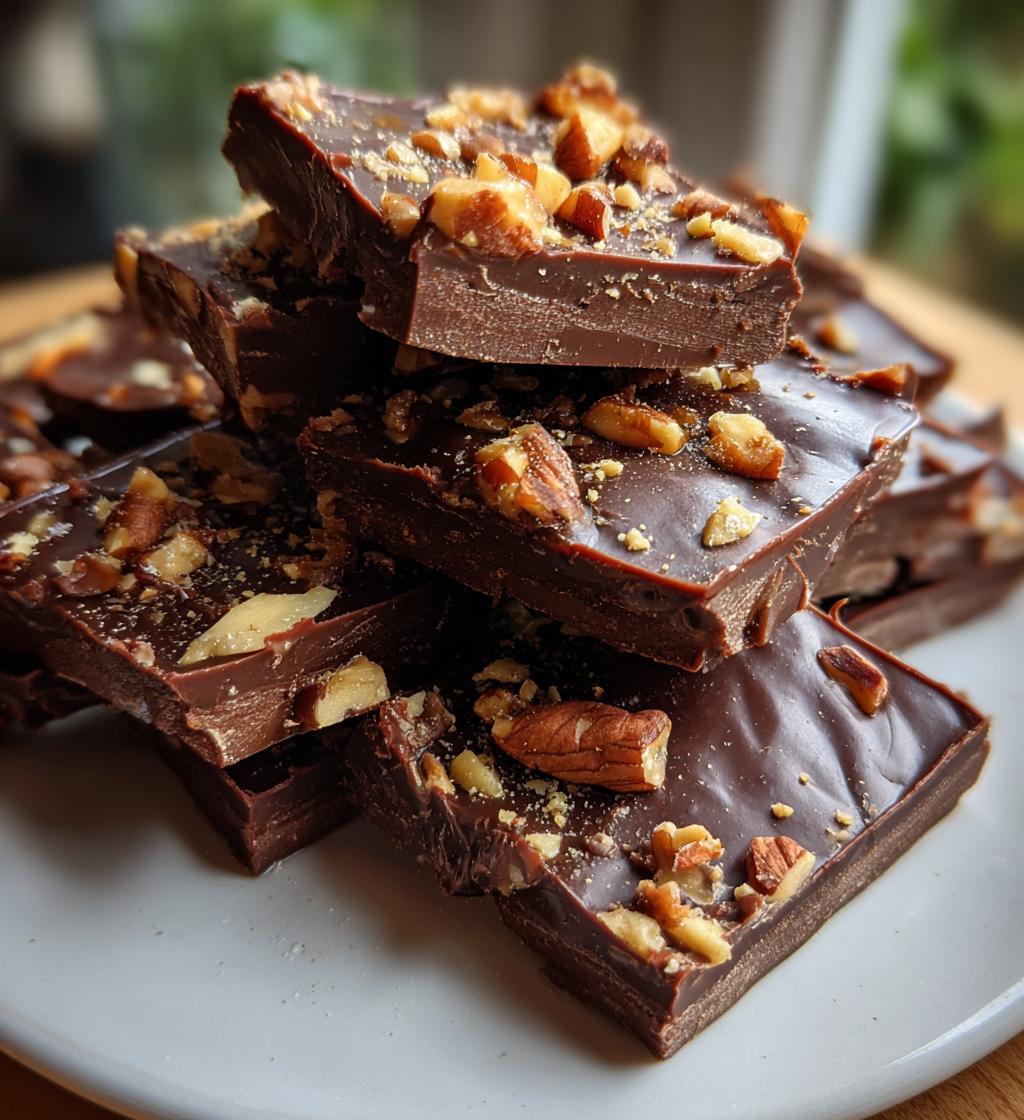
Ah, the holidays! There’s something magical about this time of year, isn’t there? The smell of freshly baked goods wafting through the house, the twinkling lights, and the laughter of family gathered around the table. One of my absolute favorite traditions is making fudge. The rich, chocolatey scent fills the air, and before you know it, you’re standing there with a spatula in one hand and a warm piece of fudge in the other, savoring that sweet moment. It’s like a hug in dessert form!
I remember the first time I attempted to make fudge on my own. I was probably eight or nine, standing on a stool in my grandma’s kitchen, trying to stir the bubbling mixture without burning myself. She stood beside me, guiding my hand and sharing stories of her childhood holiday traditions. That first batch was a little crumbly, but the joy of making it together was what mattered most. Now, every holiday season, I whip up different fudge flavors, and it never fails to bring back those cherished memories. Trust me, once you dive into the world of fudge flavors for the holidays, you won’t want to stop! It’s the perfect treat to share, gift, or savor all by yourself while watching your favorite holiday movie.
Ingredients List
Gathering the right ingredients is the first step in creating your delicious holiday fudge. Here’s what you’ll need:
- 2 cups sugar: This is the base of your fudge, providing that signature sweetness. Make sure to use granulated sugar for the best results.
- 1/2 cup unsweetened cocoa powder: For that rich chocolate flavor, use good quality cocoa powder. It gives your fudge its deep, satisfying taste.
- 1/2 cup milk: Whole milk works best for creaminess, but you can use any milk you prefer. It helps to dissolve the sugar and cocoa, creating a smooth mixture.
- 1/4 cup butter: Real butter is essential for the rich, buttery texture that makes fudge so irresistible. I always use unsalted butter to control the saltiness.
- 1 tsp vanilla extract: This adds a lovely warmth and depth to the fudge. Go for pure vanilla extract if you can; it makes a world of difference!
- 1/2 cup nuts (optional): Chopped nuts like walnuts or pecans add a delightful crunch and nutty flavor, but feel free to leave them out if you prefer a smooth fudge.
How to Prepare Instructions
Making fudge is a delightful process that’s surprisingly simple. Follow these steps, and you’ll have a batch of rich, creamy fudge ready in no time! Just remember, timing and constant attention are key to achieving that perfect texture.
Step-by-Step Preparation
First things first, grab a heavy-bottomed saucepan. This helps distribute the heat evenly, which is crucial for our fudge. Start by measuring out the sugar, cocoa powder, and milk. In the saucepan, combine 2 cups of sugar, 1/2 cup of unsweetened cocoa powder, and 1/2 cup of milk. Stir them together until everything is well mixed. It should look a bit like a thick chocolate milkshake!
Now, place the saucepan over medium heat. Here’s where the fun begins! You’ll want to bring your mixture to a boil while stirring constantly. This is super important – don’t leave it unattended! As it heats, the sugar will dissolve, and you’ll start to see those delicious bubbles forming. Keep stirring until it reaches a full rolling boil. This usually takes about 5 to 7 minutes.
Once it’s bubbling away, set your timer for exactly 5 minutes. This boiling time is crucial! Don’t stir during this part – just let it boil. You’ll notice the mixture thickening a bit as it cooks. Trust me, it’s hard to resist peeking, but keep your hands off!
When the timer goes off, remove the saucepan from the heat. Now it’s time to add in the good stuff! Stir in 1/4 cup of butter and 1 teaspoon of vanilla extract. If you’re using nuts, this is the moment to toss in 1/2 cup of chopped nuts too. Stir everything together until the butter is melted and fully blended into the chocolatey goodness.
Next, pour the luscious mixture into a greased pan. I like to use an 8×8 inch pan for perfectly sized squares. Use a spatula to spread it out evenly. Then, let it cool at room temperature for about 2 hours. This is the hardest part, but trust me, it’s worth the wait! Once it’s set, cut it into squares, and enjoy the fruits of your labor!
And there you have it! With just a few simple steps, you’ve made your very own fudge. Each bite is like a piece of holiday magic – rich, creamy, and utterly delicious!
Nutritional Information Section
Before you dive into this delicious fudge, it’s good to know a bit about the nutritional side! Keep in mind that these values can vary based on the specific brands and ingredients you use, so consider this as a general guide rather than precise numbers.
Here’s what you can expect per piece of fudge (about 1 piece):
- Calories: 150
- Total Fat: 7g
- Saturated Fat: 4g
- Unsaturated Fat: 2g
- Trans Fat: 0g
- Cholesterol: 10mg
- Sodium: 5mg
- Carbohydrates: 20g
- Fiber: 1g
- Sugar: 20g
- Protein: 1g
Whether you’re making this fudge for holiday gatherings or just a cozy night in, it’s all about balance and enjoying the sweet moments!
Why You’ll Love This Recipe
This fudge recipe is a true gem for the holidays, and here’s why you’ll adore it:
- Quick Preparation: With just 10 minutes of prep and 15 minutes of cooking, you can whip up a delicious batch in no time!
- Easy to Make: The steps are straightforward, making it perfect for bakers of all skill levels. You don’t need any fancy equipment – just a saucepan and a spatula!
- Versatile Flavors: Feel free to get creative! You can easily add different flavors like peppermint, almond, or even swirls of peanut butter for a fun twist.
- Perfect for Gifting: Packaged nicely, this fudge makes a delightful homemade gift for friends and family, spreading joy during the festive season.
- Irresistible Treat: Rich, creamy, and oh-so-chocolatey – each bite is a little piece of holiday happiness that everyone will love!
Tips for Success
Making fudge is a delightful experience, but a few tips can ensure your creation turns out perfectly every time! First, pay close attention to the temperature. When you’re boiling the mixture, you want it to reach a full rolling boil without stirring. This step is crucial for achieving that smooth, creamy texture. If it doesn’t reach the right temperature, your fudge might end up too soft.
Next, remember to stir constantly when you first combine the ingredients. This helps to prevent any burning at the bottom of the pan. Once you start the 5-minute boil, though, resist the urge to stir! It’s hard, I know, but trust the process – let it bubble away.
When it comes to pouring the fudge into your greased pan, use a spatula to gently spread it out evenly. If you find that it’s starting to set too quickly, you can pop it back on low heat just for a minute to loosen it up. After it cools, use a sharp knife to cut it into squares for that perfect presentation.
Lastly, store your fudge in an airtight container at room temperature. If you have leftovers (which is rare!), it’ll stay fresh for about a week. Enjoy your delicious fudge and the joy it brings to the holidays!
Variations
One of the best things about making fudge is how versatile it can be! You can easily customize the flavors to suit your taste or the season. Here are some fun variations to try:
- Peppermint Fudge: Add 1/2 teaspoon of peppermint extract to the mixture right before pouring it into the pan. You can also sprinkle crushed candy canes on top for added crunch and festive flair!
- Nutty Almond Fudge: Swap out the vanilla extract for 1 teaspoon of almond extract. This gives your fudge a lovely, warm flavor that pairs beautifully with chocolate.
- White Chocolate Fudge: Replace the cocoa powder with 2 cups of white chocolate chips and add a splash of vanilla. It’s creamy, sweet, and a great contrast to traditional chocolate fudge.
- Peanut Butter Swirl: Once your fudge is in the pan, drop spoonfuls of creamy peanut butter on top and swirl it with a knife for a delicious twist!
Feel free to experiment with different combinations – the sky’s the limit when it comes to fudge flavors for the holidays!
Serving Suggestions
Now that you’ve created your delicious fudge, let’s talk about how to serve it up! One of my favorite ways to enjoy fudge is with a steaming cup of coffee or a warm mug of hot cocoa. The rich chocolate flavor pairs perfectly with the warmth of your drink, making for a cozy treat on chilly nights.
If you’re hosting a holiday gathering, consider arranging your fudge as part of a festive dessert platter. Mix it with an assortment of cookies, brownies, and seasonal sweets like peppermint bark. It’s a visual delight that guests will love to dive into!
And don’t forget about gifting! Cut your fudge into beautiful squares, package them in decorative boxes or jars, and tie them with festive ribbons. It’s a heartfelt homemade gift that friends and family will appreciate. Trust me, sharing your fudge is just as rewarding as making it!
Storage & Reheating Instructions
To keep your delicious fudge fresh and tasty, store it in an airtight container at room temperature. Just make sure it’s completely cooled before sealing it up! If you have any leftovers (which I doubt!), it should stay good for about a week. I like to separate layers of fudge with parchment paper to prevent them from sticking together.
If you ever find yourself with fudge that’s a bit too firm, don’t worry! You can gently reheat it to soften. Just place the fudge in a microwave-safe dish and heat it in short bursts of about 10-15 seconds, stirring in between, until it reaches your desired consistency. Keep an eye on it, though – you don’t want to melt it completely! Enjoy your fudge as it remains a delightful treat throughout the holidays!
FAQ Section
As you embark on your fudge-making adventure, you might have a few questions. Here are some common queries I’ve encountered along the way, along with my answers to help you out!
Q1: How long does homemade fudge last?
Homemade fudge can last about a week when stored in an airtight container at room temperature. If you want to keep it fresh for longer, you can refrigerate it, where it can last up to two weeks. Just be sure to let it come to room temperature before enjoying it again!
Q2: Can I substitute ingredients in this fudge recipe?
Absolutely! You can substitute whole milk with any type of milk you prefer, like almond or oat milk, though this may change the texture slightly. If you’re looking to reduce sugar, you might experiment with sugar substitutes, but keep in mind that the consistency and flavor may vary. Also, feel free to swap out the cocoa powder with different chocolate types for a unique twist!
Q3: How do I prevent my fudge from becoming grainy?
Grainy fudge can happen if the sugar doesn’t dissolve completely or if it’s stirred too much while boiling. To avoid this, make sure to stir constantly until the mixture comes to a full boil, then let it boil undisturbed for the full 5 minutes. Using a heavy-bottomed pan can also help achieve a smooth texture.
Q4: Can I freeze fudge?
Yes, you can freeze fudge! Just wrap it tightly in plastic wrap and then place it in an airtight container or freezer bag. It can be stored in the freezer for up to three months. When you’re ready to enjoy it, let it thaw in the fridge or at room temperature.
Q5: What if my fudge doesn’t set?
Don’t worry! If your fudge doesn’t set, it could be due to not boiling it long enough. You can reheat the mixture gently in a saucepan, making sure to bring it back to a boil for a couple of minutes, then pour it back into the pan to cool again. It should set perfectly the second time around!
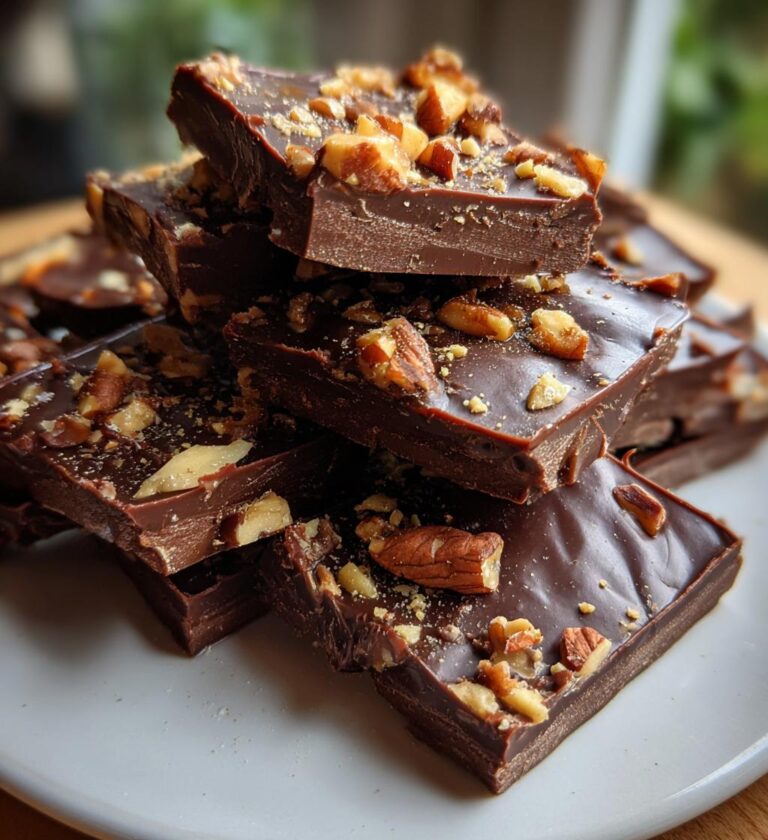
Fudge Flavors Holidays: 5 Irresistible Recipes to Savor
Delicious fudge recipes perfect for the holidays.
- Total Time: 25 minutes
- Yield: 16 pieces 1x
Ingredients
- 2 cups sugar
- 1/2 cup unsweetened cocoa powder
- 1/2 cup milk
- 1/4 cup butter
- 1 tsp vanilla extract
- 1/2 cup nuts (optional)
Instructions
- Combine sugar, cocoa powder, and milk in a saucepan.
- Bring to a boil over medium heat, stirring constantly.
- Boil for 5 minutes without stirring.
- Remove from heat and stir in butter and vanilla.
- Add nuts if desired and mix well.
- Pour into a greased pan and let cool.
- Cut into squares and serve.
Notes
- Store in an airtight container.
- Can add different flavors like peppermint or almond.
- Use different types of chocolate for variety.
- Prep Time: 10 minutes
- Cook Time: 15 minutes
- Category: Dessert
- Method: Stovetop
- Cuisine: American
- Diet: Vegetarian
Nutrition
- Serving Size: 1 piece
- Calories: 150
- Sugar: 20g
- Sodium: 5mg
- Fat: 7g
- Saturated Fat: 4g
- Unsaturated Fat: 2g
- Trans Fat: 0g
- Carbohydrates: 20g
- Fiber: 1g
- Protein: 1g
- Cholesterol: 10mg
Keywords: fudge, holiday recipes, dessert, chocolate fudge, festive treats