
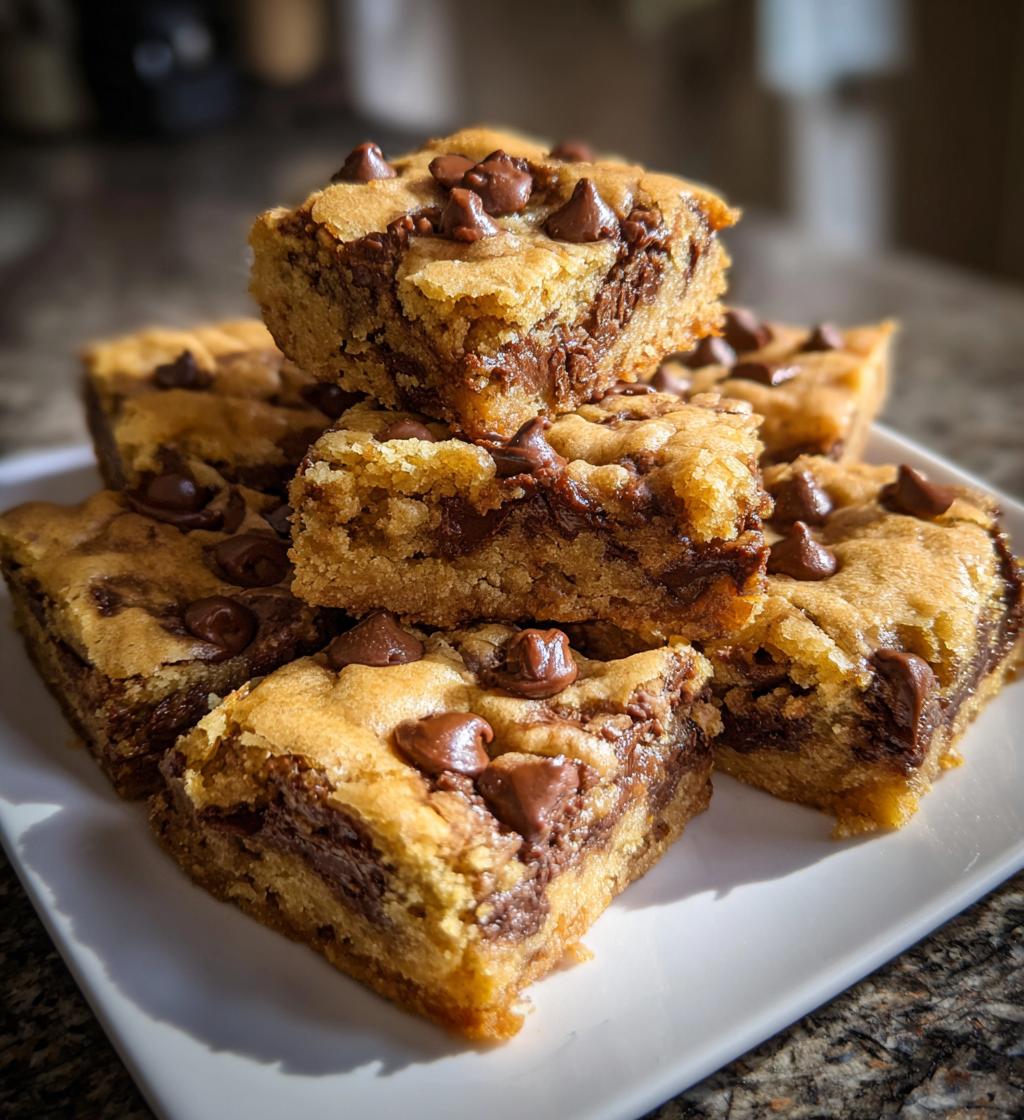
Oh, the joy of holiday baking! There’s something truly magical about filling your kitchen with the aroma of freshly baked treats, and these Christmas cookie bars are the perfect way to celebrate the season. I can still picture my mom and I in the kitchen, flour dusting our noses as we mixed together ingredients, giggling and sneaking bites of chocolate chips when we thought no one was looking. It was our cherished tradition, and it always brought us closer together.
These cookie bars are not just delicious; they’re a canvas for all your festive creativity! Whether you’re hosting a holiday gathering or simply want to spread some cheer, they’re guaranteed to be a hit. With layers of buttery goodness and rich chocolate chips, every bite feels like a warm hug. Plus, they’re super easy to whip up, making them a go-to recipe for busy holiday schedules. So, put on your favorite holiday playlist, gather your loved ones, and let’s dive into the joy of baking these scrumptious Christmas cookie bars together!
Ingredients for Christmas Cookie Bars
Gathering the right ingredients is crucial for making these delightful Christmas cookie bars. Here’s what you’ll need:
- 2 cups all-purpose flour
- 1 cup unsalted butter, softened
- 1 cup granulated sugar
- 1 cup brown sugar, packed
- 2 large eggs
- 1 teaspoon vanilla extract
- 1 teaspoon baking soda
- 1/2 teaspoon salt
- 2 cups chocolate chips
Trust me, using softened butter and packed brown sugar will make all the difference in achieving that perfect texture. These ingredients come together to create cookie bars that are rich, chewy, and simply irresistible! So, make sure to measure them accurately, and you’re on your way to holiday bliss!
How to Prepare Christmas Cookie Bars
Now that you’ve got all your ingredients ready, it’s time to bring this festive magic to life! Follow these steps, and you’ll have delicious Christmas cookie bars that will fill your home with joy and warmth.
Preheat the Oven
First things first, you’ll want to preheat your oven to 350°F (175°C). Preheating is crucial because it helps the cookie bars bake evenly and rise beautifully. Trust me, there’s nothing worse than undercooked centers! So, go ahead and get that oven warmed up while you start mixing.
Cream the Butter and Sugars
In a large mixing bowl, cream together 1 cup of softened unsalted butter, 1 cup of granulated sugar, and 1 cup of packed brown sugar. You can use a hand mixer or a wooden spoon – just make sure it’s smooth and fluffy! This should take about 2-3 minutes. The sugars will dissolve into the butter, creating a light and airy mixture that adds to the delightful texture of your cookie bars.
Add Eggs and Vanilla
Next, crack in 2 large eggs and pour in 1 teaspoon of vanilla extract. Mix everything together until it’s fully combined and smooth. This step is so important because the eggs help bind everything together, and the vanilla adds that lovely warm flavor we all crave during the holidays!
Combine Dry Ingredients
In a separate bowl, combine 2 cups of all-purpose flour, 1 teaspoon of baking soda, and 1/2 teaspoon of salt. Whisk them together until they’re well mixed. This helps to evenly distribute the baking soda and salt, ensuring your cookie bars rise perfectly. Plus, it prevents any clumps of flour from sneaking into your batter!
Mix Wet and Dry Ingredients
Now, it’s time to bring the wet and dry ingredients together! Gradually add the dry mixture to the wet ingredients, mixing gently until you have a smooth batter. Don’t overmix, though! Just stir until everything is combined. This will keep the bars light and chewy, which is exactly what we want!
Stir in Chocolate Chips
Fold in 2 cups of chocolate chips gently until they’re evenly distributed throughout the batter. This is my favorite part, as you can already imagine the gooey chocolate goodness that’s about to happen! Make sure each bite has those delicious little nuggets of chocolate.
Spread in Baking Pan
Next, spread the batter evenly into a greased 9×13 inch baking dish. I like to use a spatula to smooth the top and ensure it’s nice and even. This helps the cookie bars bake uniformly, so you don’t end up with any overcooked edges!
Bake the Bars
Pop the baking dish into your preheated oven and bake for 25-30 minutes. You’ll know they’re ready when the edges are golden brown and a toothpick inserted into the center comes out clean or with just a few moist crumbs. Keep an eye on them; we want that perfect texture!
Cool and Cut
Once they’re done baking, take them out and let them cool in the pan for about 10-15 minutes. This step is crucial because it allows the bars to set before you cut them. Then, transfer them to a wire rack to cool completely. Once cooled, grab a sharp knife and cut them into squares. Get ready for everyone to ask for the recipe!
Tips for Success
Getting these Christmas cookie bars just right is all about a few simple techniques and some love for the baking process. Here are my top tips to ensure your cookie bars come out perfectly every time!
- Use Room Temperature Ingredients: Make sure your butter and eggs are at room temperature before you start. This helps them blend together more easily, creating a smoother batter. I usually set them out about 30 minutes before I start baking.
- Don’t Rush the Creaming: When creaming the butter and sugars, take your time. This step is key for incorporating air into the mixture, which helps your bars rise and stay light. Aim for a fluffy texture; it should look like whipped cream!
- Measure Carefully: Baking is a science, so accurate measurements are crucial. I recommend using a kitchen scale for the flour if you have one, but if you’re using cups, make sure to spoon the flour into the measuring cup and level it off with a knife. No packing down!
- Watch the Baking Time: Every oven is different, so keep an eye on your bars as they bake. Start checking at 25 minutes, and remember that they’ll continue to cook a bit while cooling in the pan. You want that perfect golden edge!
- Customize with Toppings: Feel free to get creative! Try adding chopped nuts, holiday sprinkles, or even a drizzle of caramel or white chocolate on top once they’re cool. It’s an easy way to make them feel extra special for the holidays!
- Store Smart: Once cooled, store your cookie bars in an airtight container to keep them fresh. They’ll last up to a week, but I promise they won’t last that long around friends and family!
With these tips in your baking toolkit, you’ll be well on your way to creating mouthwatering Christmas cookie bars that everyone will love. Happy baking!
Nutritional Information
Understanding the nutritional content of these delightful Christmas cookie bars can help you enjoy them mindfully during the holidays. Here’s a typical breakdown per bar:
- Calories: 200
- Fat: 10g
- Saturated Fat: 6g
- Unsaturated Fat: 3g
- Trans Fat: 0g
- Cholesterol: 30mg
- Sodium: 150mg
- Carbohydrates: 25g
- Fiber: 1g
- Protein: 2g
- Sugar: 15g
These cookie bars are a delicious treat, and while they do have some calories, they also bring joy and warmth to your holiday gatherings. Enjoy them in moderation, and don’t forget to share with friends and family! After all, the best ingredient in any recipe is love!
FAQ Section
Got questions about these delightful Christmas cookie bars? Don’t worry, I’ve got you covered! Here are some common queries and answers to help you navigate this festive baking adventure.
Can I make substitutions for the ingredients?
Absolutely! One of the great things about these cookie bars is their versatility. If you’re out of chocolate chips, try using white chocolate chips, caramel bits, or even dried fruit for a festive twist! You can also switch out the nuts or leave them out entirely if you prefer. Just remember, each change might slightly alter the texture or flavor, but that’s part of the fun!
How do I store the cookie bars?
To keep your cookie bars fresh and delicious, store them in an airtight container at room temperature. They’ll last about a week—if they last that long! For longer storage, you can freeze them. Just wrap individual bars tightly in plastic wrap and then place them in a freezer-safe container. When you’re ready to enjoy, simply thaw them at room temperature for a few hours.
Can I make these cookie bars ahead of time?
You bet! These cookie bars actually taste even better the next day as the flavors meld together. You can bake them a day or two in advance, just be sure to store them properly. If you want to prepare ahead of time, you can also mix the dry ingredients and store them in an airtight container until you’re ready to bake.
What’s the best way to cut the bars evenly?
For perfectly cut bars, let them cool completely in the pan before slicing. You can use a sharp knife or a pizza cutter for clean lines. If you’d like to ensure even portions, use a ruler to measure and mark where to cut, or simply eyeball it—it’s all about enjoying the process!
Can I add extra toppings or mix-ins?
Definitely! Feel free to get creative with toppings. Adding chopped nuts, festive sprinkles, or even a drizzle of frosting on top can elevate these cookie bars to another level. You could also mix in some crushed candy canes for a peppermint twist or swirl in some peanut butter for a delicious flavor combo. The possibilities are endless!
If you have any other questions or need further guidance, don’t hesitate to reach out! Happy baking and enjoy those holiday cookie bars!
Why You’ll Love This Recipe
- Easy Preparation: These Christmas cookie bars come together in no time! With simple steps and minimal cleanup, they’re perfect for busy holiday schedules.
- Festive Flavors: The combination of rich chocolate, buttery goodness, and a hint of vanilla makes every bite feel like a warm hug during the holidays. It’s a flavor that will bring back fond memories!
- Great for Gatherings: Whether it’s a holiday party, a cozy family get-together, or a cookie exchange, these bars are always a crowd-pleaser. They’re easy to cut into portions, making sharing a breeze.
- Versatility in Ingredients: Feel free to mix things up! You can swap chocolate chips for white chocolate, add nuts, or top them with festive sprinkles. This recipe is a blank canvas for your creativity!
Trust me, once you try these cookie bars, you’ll wonder how you ever celebrated the holidays without them. Enjoy the deliciousness and the joy they bring to your festive gatherings!
Storage & Reheating Instructions
Storing your delicious Christmas cookie bars properly will keep them fresh and tasty for all those holiday gatherings! Once they’ve cooled completely, grab an airtight container to keep them sealed away from air and moisture. I like to layer parchment paper between the bars to prevent them from sticking together. They’ll stay fresh for up to a week—if they last that long!
If you want to keep them for a little longer, you can freeze the bars! Just wrap each individual piece tightly in plastic wrap, then place them in a freezer-safe container or a zip-top bag. They’ll be good for about 2-3 months in the freezer. When you’re ready to enjoy, simply take them out and let them thaw at room temperature for a couple of hours. You can also pop them in the microwave for about 10-15 seconds if you want a warm treat right away!
So, whether you’re saving some for later or sharing with friends, these storage tips will ensure your Christmas cookie bars remain a festive delight! Happy baking and sharing!
Print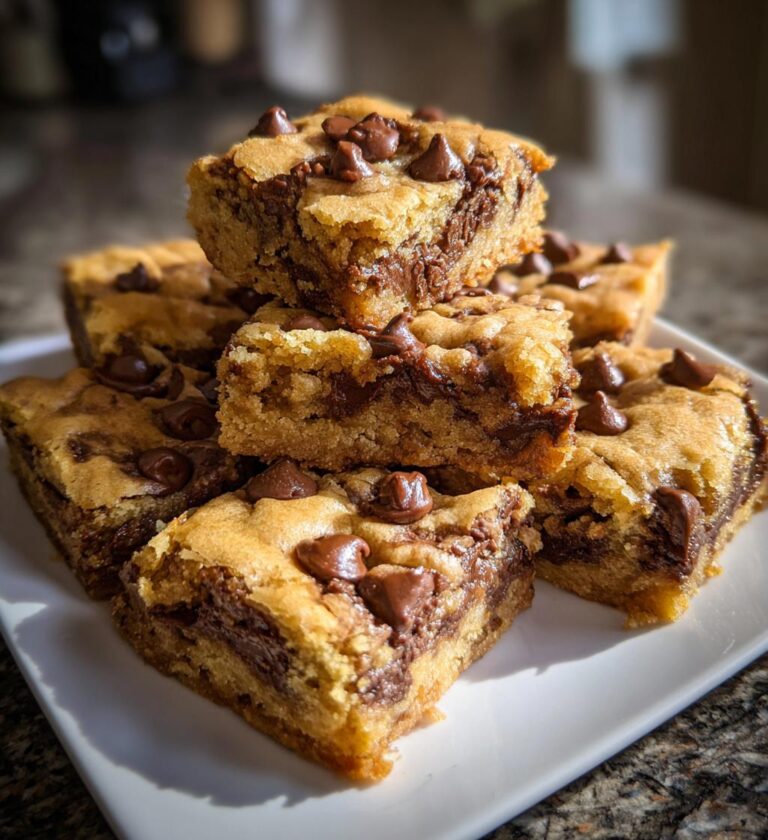
christmas cookie bars recipes holidays that warm your heart
Delicious Christmas cookie bars perfect for holiday gatherings.
- Total Time: 45 minutes
- Yield: 24 bars 1x
Ingredients
- 2 cups all-purpose flour
- 1 cup unsalted butter, softened
- 1 cup granulated sugar
- 1 cup brown sugar, packed
- 2 large eggs
- 1 teaspoon vanilla extract
- 1 teaspoon baking soda
- 1/2 teaspoon salt
- 2 cups chocolate chips
Instructions
- Preheat your oven to 350°F (175°C).
- In a large bowl, cream together the butter, granulated sugar, and brown sugar.
- Add the eggs and vanilla extract, mixing until smooth.
- In another bowl, combine flour, baking soda, and salt.
- Gradually add the dry ingredients to the wet mixture and mix well.
- Stir in the chocolate chips.
- Spread the batter into a greased 9×13 inch baking pan.
- Bake for 25-30 minutes or until golden brown.
- Let cool before cutting into bars.
Notes
- Store in an airtight container for up to one week.
- Try adding nuts for extra crunch.
- Can substitute chocolate chips with white chocolate or caramel bits.
- Prep Time: 15 minutes
- Cook Time: 30 minutes
- Category: Dessert
- Method: Baking
- Cuisine: American
- Diet: Vegetarian
Nutrition
- Serving Size: 1 bar
- Calories: 200
- Sugar: 15g
- Sodium: 150mg
- Fat: 10g
- Saturated Fat: 6g
- Unsaturated Fat: 3g
- Trans Fat: 0g
- Carbohydrates: 25g
- Fiber: 1g
- Protein: 2g
- Cholesterol: 30mg
Keywords: christmas cookie bars recipes holidays