
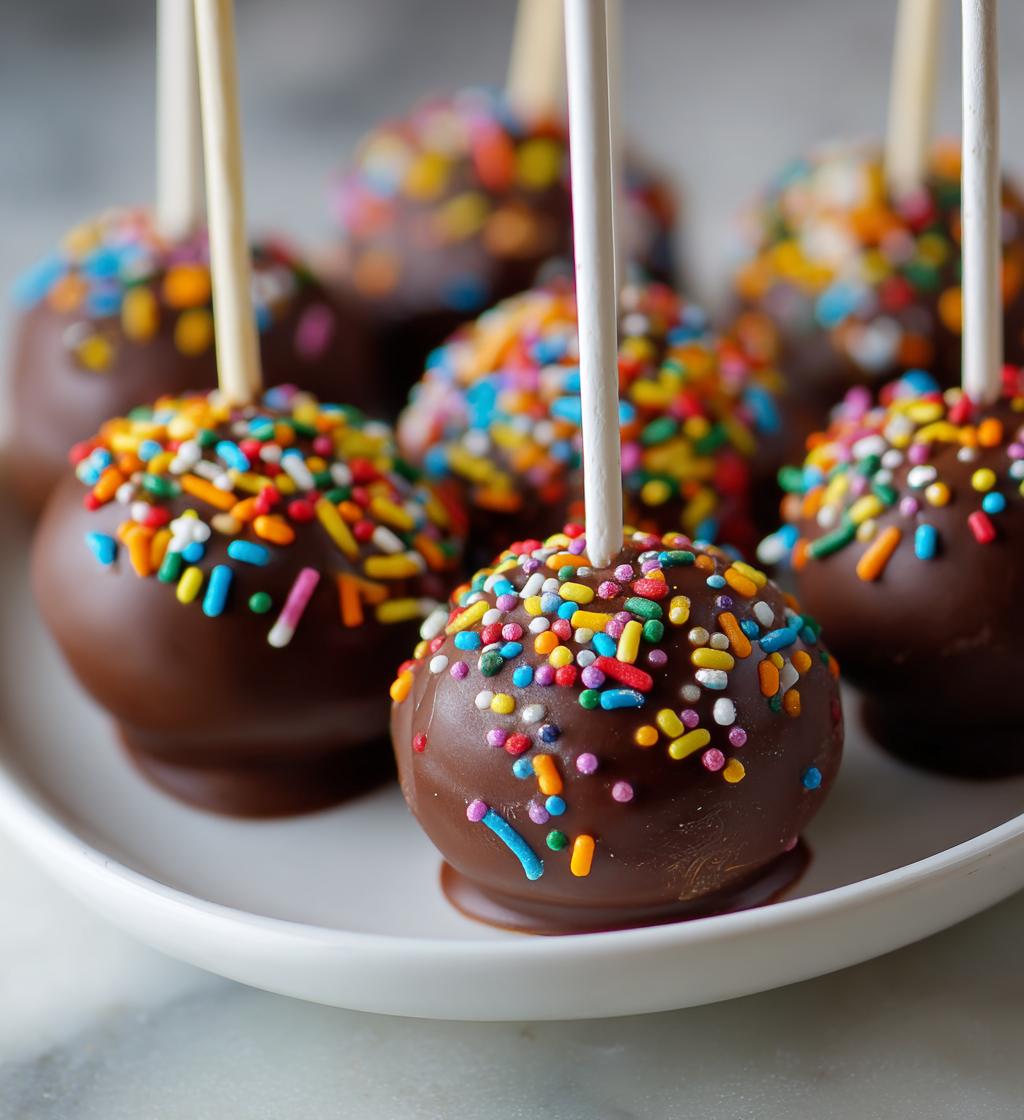
Oh my goodness, have you ever tasted something that just screams love? That’s exactly how I feel about these *Valentines Day cake pops*! They’re not just any dessert; they’re tiny bites of joy, perfect for celebrating all things sweet and romantic. I remember the first time I made them for a Valentine’s Day party, and honestly, they stole the show! Everyone was raving about how adorable and delicious they were. It was such a thrill to see my friends light up with each bite.
These cake pops are super easy to make and are a fantastic way to get creative with flavors and decorations. You can customize them for anyone special in your life or even for a little treat for yourself! The best part? You don’t need to be a baking expert. Just grab a box of cake mix, and you’re halfway there! Plus, they’re so much fun to decorate with sprinkles and chocolate. Whether you’re planning a cozy night in or a big Valentine’s Day bash, these cake pops are sure to spread some love and smiles all around!
Ingredients List
To create these delightful *Valentines Day cake pops*, you’ll need the following ingredients. Trust me, they’re simple and easy to find!
- 1 box of chocolate cake mix
- 3 eggs
- 1 cup of water
- 1/2 cup of vegetable oil
- 1 cup of frosting (any flavor you adore!)
- 12 oz of chocolate coating (you can choose milk, dark, or white chocolate)
- Sprinkles for decoration (get creative with colors!)
Feel free to mix and match flavors! You can use vanilla cake mix or even a funfetti mix for a festive twist. The frosting can also be swapped out to match your mood. Just keep in mind that the right combo will take your cake pops to the next level of deliciousness!
How to Prepare Your Valentines Day Cake Pops
Making these *Valentines Day cake pops* is a delightful process that brings so much joy! Follow these simple steps, and you’ll have a beautiful batch of cake pops ready to impress your loved ones!
Prepping the Cake
First things first, let’s get that cake baked! Preheat your oven to 350°F (175°C) and prepare your baking pan by greasing it lightly. Now, grab your box of chocolate cake mix and follow the package instructions, mixing in the eggs, water, and vegetable oil. Once your batter is ready, pour it into the pan and pop it in the oven for about 30-35 minutes. The cake is done when a toothpick comes out clean. After baking, let it cool completely on a wire rack. This step is super important, so don’t rush it!
Forming the Cake Balls
Once your cake is cooled, it’s time to have some fun! Crumble the cake into a large bowl using your hands or a fork—don’t worry about being perfect. Next, add your frosting to the crumbled cake and mix until everything is well combined. You want a dough-like consistency that holds together nicely. Then, roll the mixture into small balls, about the size of a golf ball, and place them on a baking sheet lined with parchment paper. Pop those little beauties in the fridge for at least an hour to chill. This helps them firm up, making the next steps a breeze!
Dipping and Decorating
Now for the exciting part—dipping and decorating! Start by melting your chocolate coating in a microwave-safe bowl, heating it in 30-second intervals until smooth, stirring in between to avoid any burning. Once melted, dip the end of a lollipop stick into the chocolate, then insert it into each chilled cake ball. This will help secure the stick in place. Next, dip each cake pop into the melted chocolate, letting any excess drip off before placing them upright on a Styrofoam block or a piece of parchment paper. The final touch? Sprinkle them with your favorite decorations while the chocolate is still wet. Get creative—this is where the fun really begins!
Why You’ll Love This Recipe
These *Valentines Day cake pops* are simply irresistible for so many reasons! Here’s why I think you’ll adore making them:
- Super easy to whip up, even for beginner bakers!
- Endless customization options let you express your creativity.
- Perfect for sharing at parties or gifting to loved ones.
- They look adorable and taste even better!
- Great fun for kids and adults alike—everyone can help decorate!
Seriously, they’re sure to bring smiles all around, making any celebration extra special!
Tips for Success
To ensure your *Valentines Day cake pops* turn out perfectly, here are some practical tips to keep in mind. First, remember to let your cake cool completely before crumbling it; this makes a big difference in texture. If you want a fun twist, try using different cake flavors or frostings! Red velvet with cream cheese frosting? Yes, please! You can also experiment with various chocolate coatings, like white chocolate or even colorful candy melts for a festive vibe.
For storage, keep your cake pops in an airtight container at room temperature for up to a week. If you’re making them ahead of time, they freeze beautifully! Just place them in a single layer in a container and they’ll stay fresh for up to a month. When you’re ready to enjoy them, let them thaw in the fridge for a few hours. Trust me, these tips will help make your cake pops a hit every time!
Nutritional Information
Here’s a quick overview of the estimated nutritional data for each of these delightful *Valentines Day cake pops*. It’s always good to know what you’re indulging in while enjoying these sweet treats!
- Calories: 150
- Fat: 6g
- Saturated Fat: 2g
- Unsaturated Fat: 4g
- Trans Fat: 0g
- Carbohydrates: 22g
- Fiber: 1g
- Sugar: 10g
- Protein: 2g
- Cholesterol: 30mg
- Sodium: 50mg
Keep in mind that these values can vary slightly depending on the cake mix and frosting you choose, but overall, they make for a delightful treat worth every bite!
FAQ Section
Q1. Can I use a different flavor of cake mix for these cake pops?
Absolutely! While chocolate is a classic choice, feel free to experiment with any cake flavor you love. Vanilla, red velvet, or even lemon cake can create delicious variations!
Q2. How do I make sure my cake pops don’t fall off the stick?
Great question! Make sure to chill the cake balls for at least an hour before dipping them. Also, dipping the stick in melted chocolate before inserting it into the cake ball helps secure it in place.
Q3. What kind of chocolate coating should I use?
You can use milk chocolate, dark chocolate, or white chocolate, depending on your preference. Each will give a different flavor profile, so choose what makes your heart sing!
Q4. Can I make these cake pops ahead of time?
Absolutely! You can make them a few days in advance and store them in an airtight container at room temperature. They also freeze well for up to a month—just let them thaw in the fridge before enjoying!
Q5. What’s the best way to decorate my cake pops?
Get creative! Use colorful sprinkles, drizzles of contrasting chocolate, or even edible glitter. Let your imagination run wild and have fun with it!
Serving Suggestions
When it comes to serving your *Valentines Day cake pops*, the presentation can really elevate the experience! Consider arranging them in a cute mason jar or a decorative cake stand to showcase their charm. You could even create a fun dessert table filled with other sweet treats like brownies, cookies, and chocolate-covered strawberries for a delightful spread.
These cake pops also make fantastic party favors! Wrap them in clear cellophane bags tied with a ribbon for a sweet, heartfelt gift. Whether it’s a cozy night in or a big celebration, these adorable cake pops will surely steal the spotlight and bring smiles to everyone’s faces!
Storage & Reheating Instructions
Storing your *Valentines Day cake pops* is super easy! Keep them in an airtight container at room temperature for up to a week. If you want to make them ahead of time, they freeze beautifully! Just place them in a single layer in a container, and they’ll stay fresh for up to a month. When you’re ready to enjoy them, simply let them thaw in the fridge for a few hours. There’s really no need to reheat these delightful treats; they’re best enjoyed at room temperature, and trust me, they’ll still taste amazing!
Print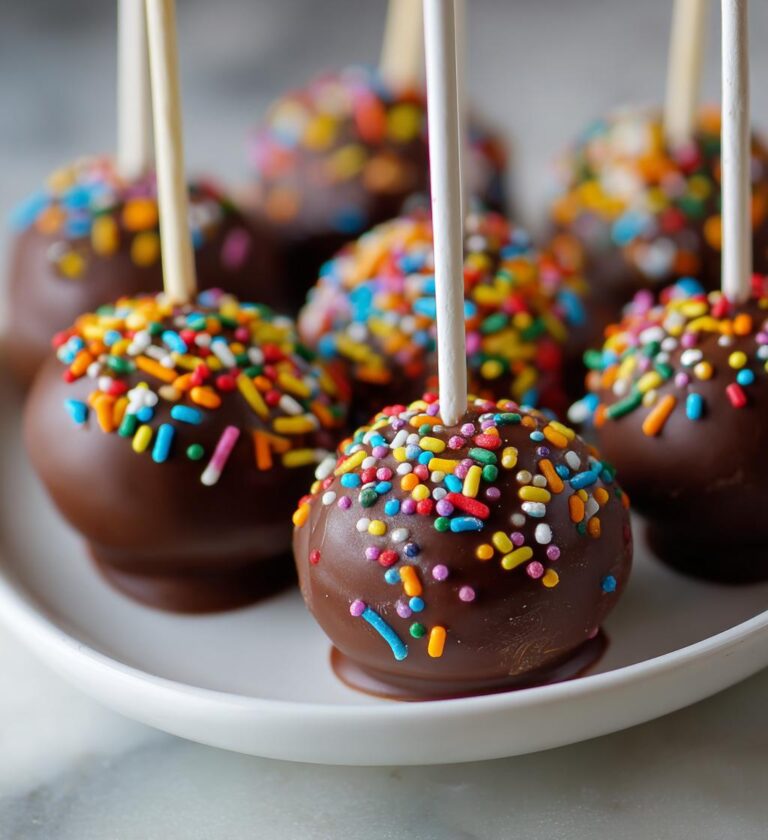
Valentines Day Cake Pops: 5 Delightful Bites of Love
Delicious cake pops perfect for Valentine’s Day celebrations.
- Total Time: 1 hour 5 minutes
- Yield: 24 cake pops 1x
Ingredients
- 1 box of chocolate cake mix
- 3 eggs
- 1 cup of water
- 1/2 cup of vegetable oil
- 1 cup of frosting (any flavor)
- 12 oz of chocolate coating
- Sprinkles for decoration
Instructions
- Preheat your oven to 350°F (175°C).
- Prepare the cake mix according to package instructions.
- Pour the batter into a greased baking pan.
- Bake for 30-35 minutes, or until a toothpick comes out clean.
- Let the cake cool completely.
- Crumble the cooled cake into a large bowl.
- Add frosting to the crumbled cake and mix until combined.
- Roll the mixture into small balls and place them on a baking sheet.
- Chill the cake balls in the refrigerator for at least 1 hour.
- Melt the chocolate coating in a microwave-safe bowl.
- Dip the end of a lollipop stick into the melted chocolate, then insert it into a cake ball.
- Dip each cake pop into the chocolate coating and let the excess drip off.
- Sprinkle with decorations and let them set on a Styrofoam block.
Notes
- Use any cake flavor you like.
- Experiment with different coatings like white chocolate.
- Store in an airtight container for up to a week.
- Prep Time: 30 minutes
- Cook Time: 35 minutes
- Category: Dessert
- Method: Baking and coating
- Cuisine: American
- Diet: Vegetarian
Nutrition
- Serving Size: 1 cake pop
- Calories: 150
- Sugar: 10g
- Sodium: 50mg
- Fat: 6g
- Saturated Fat: 2g
- Unsaturated Fat: 4g
- Trans Fat: 0g
- Carbohydrates: 22g
- Fiber: 1g
- Protein: 2g
- Cholesterol: 30mg
Keywords: valentines day cake pops, cake pops, dessert, chocolate cake, sweet treats