
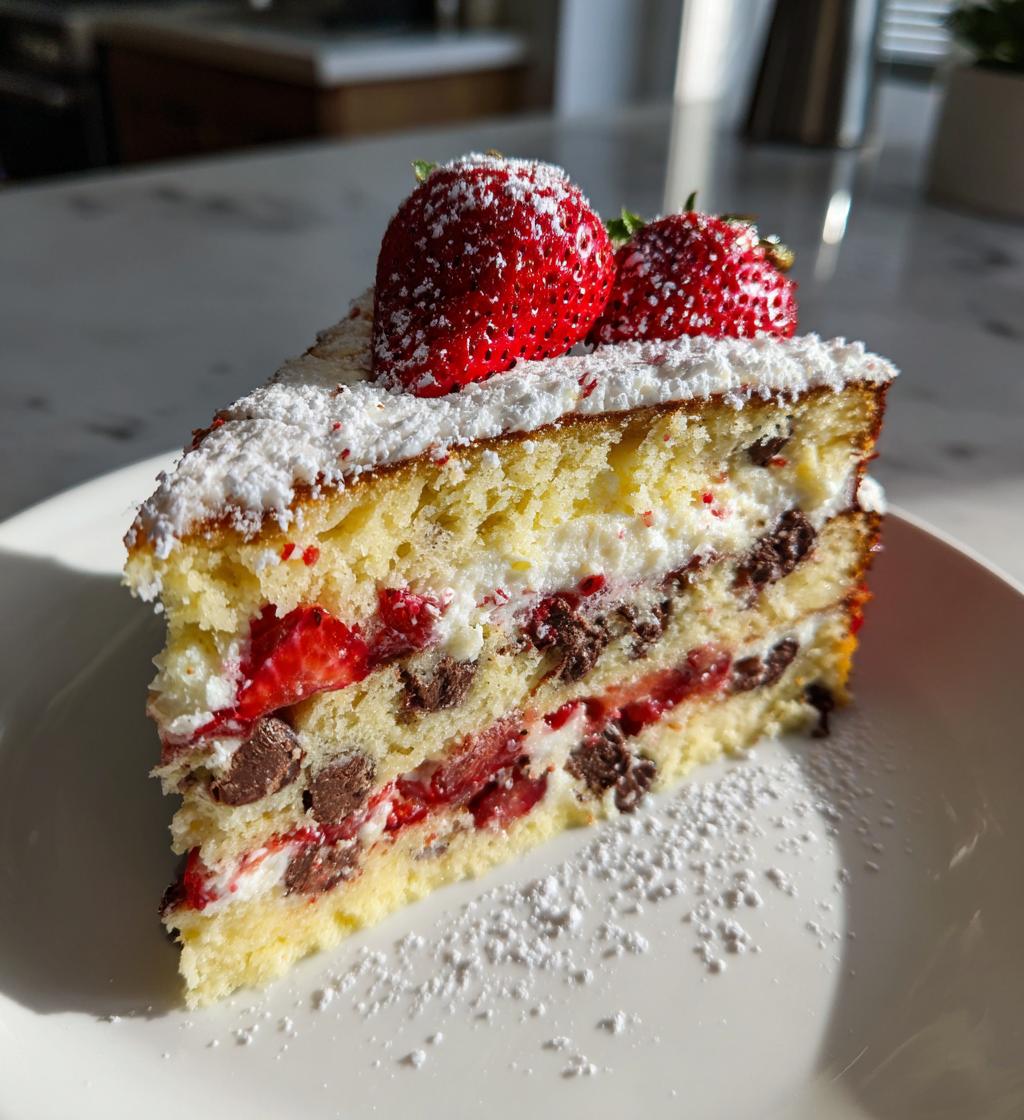
Oh, the joy of baking for loved ones! There’s something so magical about it, especially when it comes to crafting special *valentines baked goods*. Whether it’s for that special someone, family, or friends, these treats transform any day into a celebration of love and sweetness. I remember the first time I decided to whip up a batch of heart-shaped delights for Valentine’s Day; the kitchen was filled with the warm aroma of butter and sugar, and my heart felt lighter with every stir of the batter.
What makes these baked goods so unique is the way they create unforgettable moments. I can still picture the smiles on my kids’ faces as they helped me mix the ingredients, their little hands smudged with flour and chocolate. Each piece I pulled from the oven was not just a dessert; it was a love letter baked with care, ready to be shared and savored together. Trust me, there’s nothing quite like the feeling of watching someone enjoy a treat that you’ve poured your heart into.
Making *valentines baked goods* is more than just following a recipe; it’s about creating connections and memories that linger long after the last bite. So, gather your loved ones, preheat your oven, and let’s dive into making something truly special that will warm hearts and fill bellies!
Ingredients List
Let’s gather the ingredients that will bring our *valentines baked goods* to life! Each one plays a crucial role in creating that perfect balance of flavor and texture. Here’s what you’ll need:
- 2 cups all-purpose flour: Make sure to spoon and level it for accuracy. This forms the structure of our baked goods!
- 1 cup sugar: Regular granulated sugar will give our treats that lovely sweetness. I like to use a bit more if I’m feeling indulgent!
- 1/2 cup unsalted butter: Softened at room temperature, this adds richness and helps create a tender crumb. I always use real butter for that unbeatable flavor!
- 2 large eggs: These act as a binding agent, adding moisture and a touch of richness. Room temperature eggs mix in better, so consider taking them out of the fridge beforehand.
- 1 cup milk: Whole milk works best for that creamy texture, but you can use any milk you prefer. It brings all the ingredients together beautifully!
- 1 teaspoon vanilla extract: Pure vanilla extract is key for that warm, sweet aroma. It lifts all the flavors and makes everything taste homemade.
- 1/2 teaspoon baking powder: This will give our baked goods a lovely rise, making them light and fluffy. Don’t skip this step!
- 1/4 teaspoon salt: Just a pinch enhances the sweetness and balances the flavors perfectly.
- Red food coloring: A few drops add that festive touch, making our treats extra special for Valentine’s Day. You can adjust the amount to your desired shade!
- 1 cup chocolate chips: Choose semi-sweet or dark chocolate for a rich, melty surprise in every bite. They’re the cherry on top of this delightful creation!
With these ingredients in hand, you’re all set to create something that not only tastes amazing but also looks adorable! Now, let’s move on to the fun part—preparing our *valentines baked goods*!
How to Prepare *Valentines Baked Goods*
Now that we’ve gathered our ingredients, it’s time to bring them together and create our delicious *valentines baked goods*! Follow these straightforward steps, and don’t worry if it gets a little messy—that’s part of the fun!
- Preheat your oven: Start by setting your oven to 350°F (175°C). This ensures it’s nice and hot when our batter is ready to go in!
- Cream the butter and sugar: In a large mixing bowl, combine the softened unsalted butter and sugar. Use a hand mixer or a sturdy wooden spoon to cream them together until the mixture is light and fluffy, about 2-3 minutes. This step is crucial for creating that tender texture!
- Add the eggs: Crack in the two large eggs, mixing well until they’re fully incorporated. You want to make sure everything is blended smoothly—no bits of egg white hanging around!
- Mix in the milk and vanilla: Pour in the milk and add the vanilla extract. Stir gently until everything is combined. You’ll love the sweet aroma that fills your kitchen at this stage!
- Combine dry ingredients: In another bowl, whisk together the all-purpose flour, baking powder, and salt. This will help distribute the baking powder evenly throughout the flour, ensuring a good rise in the oven.
- Mix wet and dry ingredients: Gradually add the dry mixture to the wet ingredients, mixing until just combined. Be careful not to overmix—it’s okay if there are a few flour streaks left. Overmixing can make the baked goods tough!
- Fold in chocolate chips and color: Now for the fun part! Gently fold in the chocolate chips and a few drops of red food coloring. You can adjust the color until it’s just right for Valentine’s Day. Make sure not to overwork the batter here!
- Prepare the baking dish: Grease your baking dish or line it with parchment paper for easy removal. I love using a 9×13 inch pan for this recipe, but you can also use heart-shaped pans for a cute twist!
- Pour and spread: Pour the batter into the prepared dish, spreading it evenly with a spatula. Give the dish a little shake to settle the batter down.
- Bake: Pop it in the oven and bake for about 25-30 minutes. Keep an eye on it—when a toothpick inserted in the center comes out clean, it’s ready!
- Cool down: Once it’s baked, take it out and let it cool in the pan for about 10 minutes before transferring it to a wire rack to cool completely. Trust me, letting it cool will make it easier to cut and serve!
And there you have it! The steps may seem simple, but each one is a vital part of creating those delightful *valentines baked goods*. Now, let’s get ready to enjoy the fruits of our labor!
Why You’ll Love This Recipe
This recipe for *valentines baked goods* is a real winner, and I can’t wait to share why you’ll absolutely adore making it! Here are a few reasons that will have you reaching for your mixing bowl:
- Quick Preparation: In just 15 minutes, you can have your ingredients prepped and ready to go. It’s perfect for those last-minute sweet cravings or surprise treats!
- Delightful Taste: The combination of rich chocolate chips and the buttery, soft crumb is simply irresistible. Each bite melts in your mouth, making it hard to stop at just one!
- Festive Appearance: With a splash of red food coloring and the option for heart-shaped cookies, these treats are not just delicious; they look adorable too! They’re perfect for gifting or serving at any Valentine’s Day celebration.
- Versatile: You can easily customize this recipe with different add-ins or flavors. Want to swap chocolate chips for nuts or dried fruit? Go for it! You can make it your own!
- Family-Friendly Fun: Baking these goodies is a great way to bond with loved ones. Get the kids involved in mixing and decorating—it’s a wonderful way to create sweet memories together!
Trust me, once you try these *valentines baked goods*, you’ll find yourself making them for every occasion. They’re simply too good to resist!
Tips for Success
To ensure your *valentines baked goods* turn out perfectly, here are some tried-and-true tips that I’ve gathered over the years. With these, you’ll be on your way to creating delicious treats that will impress everyone!
- Room Temperature Ingredients: Make sure your butter and eggs are at room temperature before you start. This helps them blend more easily into the batter, creating a smoother texture.
- Don’t Overmix: When combining the wet and dry ingredients, mix until just combined. Overmixing can lead to dense baked goods, and we want them to be light and fluffy!
- Check for Doneness: Ovens can vary, so keep an eye on your baked goods as they approach the 25-minute mark. If the edges start to pull away from the pan and a toothpick comes out clean or with a few moist crumbs, you’re good to go!
- Let Them Cool: After baking, let your treats cool in the pan for about 10 minutes before transferring them to a wire rack. This prevents them from breaking apart and helps maintain their shape.
- Use the Right Pan: If you’re using different shaped pans, remember that baking times may vary. Heart-shaped or smaller pans might need a bit less time, while larger pans could take longer, so adjust accordingly.
- Experiment with Mix-Ins: Feel free to add your favorite treats! Chopped nuts, dried fruit, or even a sprinkle of sea salt on top can elevate the flavor. Just remember to keep the total volume similar to the chocolate chips.
- Check for Color: When adding red food coloring, start with a few drops and mix. You can always add more to reach your desired shade, but it’s tough to take color out!
By following these tips, you’ll ensure that your *valentines baked goods* come out just right every time. Happy baking! I can’t wait for you to taste these delightful treats!
Variations
One of the best parts about making *valentines baked goods* is how easy it is to customize the recipe! You can get creative and make these treats your own. Here are some fun variations to consider:
- Colorful Swaps: While red is the classic choice for Valentine’s Day, why not mix it up? Try using pink or purple food coloring for a fun twist. You could also create a marbled effect by swirling different colors into the batter before baking!
- Flavor Infusions: Add a splash of flavor by mixing in different extracts! Almond extract pairs beautifully with chocolate, while a hint of orange or lemon zest can brighten up the sweetness. Experiment with what you love!
- Chocolate Lovers’ Delight: If you’re a true chocolate fanatic, substitute the milk with chocolate milk for an extra layer of richness. You could also swap in dark chocolate chips or even white chocolate chips for a different flavor profile.
- Nutty Additions: Toss in some chopped nuts—like walnuts or pecans—along with the chocolate chips for a delightful crunch. Just be sure to adjust the amount slightly so the batter stays balanced!
- Dried Fruit Variations: For a fruity touch, add in some dried cherries or cranberries. Their tartness will complement the sweetness of the chocolate and give your baked goods a lovely texture.
- Oatmeal Goodness: For a heartier version, consider adding 1 cup of oats into the batter. It brings a chewy texture that contrasts nicely with the soft cake. You could even replace a portion of the flour with oat flour for a unique twist!
- Gluten-Free Option: If you need a gluten-free alternative, substitute the all-purpose flour with a 1:1 gluten-free baking blend. Just check that the blend contains xanthan gum, which helps with texture.
These variations not only keep things fresh but also allow you to cater to different tastes and dietary needs. So, have fun and let your creativity shine as you whip up your *valentines baked goods*! Each batch can be a new adventure!
Storage & Reheating Instructions
Once you’ve baked your delightful *valentines baked goods*, you’ll want to ensure they stay fresh and delicious for as long as possible. Here’s how to store any leftovers and some tips for reheating that will keep them tasting just as good as the day they came out of the oven!
Storing Leftovers: Allow your baked goods to cool completely before storing them. This prevents moisture buildup, which can lead to sogginess. Once they’re cool, I recommend cutting them into individual pieces for easy snacking.
- Room Temperature: If you plan to enjoy your treats within a couple of days, store them in an airtight container at room temperature. They’ll stay soft and tasty!
- Refrigeration: For longer storage, you can keep them in the fridge. Just be sure to wrap them tightly in plastic wrap or place them in an airtight container to prevent them from drying out. They’ll last about a week this way.
- Freezing: If you want to save some for later, freezing is a great option! Wrap each piece in plastic wrap and then place them in a freezer-safe bag. They can be frozen for up to three months. Just be sure to label the bag with the date so you remember when you baked them!
Reheating Tips: When you’re ready to enjoy your *valentines baked goods* again, here’s how to bring them back to life:
- Microwave: For a quick reheat, pop a piece in the microwave for about 10-15 seconds. This warms it up nicely and keeps it soft. Just be careful not to overdo it, or you’ll end up with a dry treat!
- Oven: If you have a little more time, preheat your oven to 350°F (175°C) and place the baked goods on a baking sheet. Heat them for about 5-10 minutes, depending on their size. This method helps restore that fresh-baked texture.
- Air Fryer: If you have an air fryer, you can use it to reheat your treats! Set it to 300°F (150°C) and warm them for about 3-5 minutes. It gives a lovely crispness to the edges while keeping the inside soft.
With these storage and reheating instructions, your *valentines baked goods* will continue to bring joy long after they’re out of the oven. So go ahead, bake a batch, and know you can savor them at your leisure!
Nutritional Information Section
Here’s a handy look at the nutritional values for each serving of our delightful *valentines baked goods*. Please keep in mind that these values are estimates and can vary based on ingredient brands and specific measurements. But this should give you a good idea of what you’re enjoying!
- Calories: 250
- Fat: 10g
- Saturated Fat: 6g
- Unsaturated Fat: 4g
- Trans Fat: 0g
- Cholesterol: 40mg
- Sodium: 180mg
- Carbohydrates: 35g
- Fiber: 2g
- Sugar: 15g
- Protein: 3g
This information should help you enjoy your *valentines baked goods* while keeping an eye on your dietary needs. Happy baking and savoring every delicious bite!
FAQ Section
Got questions about making *valentines baked goods*? I’ve got you covered! Here are some common queries I often hear, along with my best tips and advice to help you create the perfect treats for your loved ones.
- Q: Can I make these baked goods ahead of time?
Absolutely! You can prepare the batter a day in advance and store it in the fridge. Just remember to bring it back to room temperature before baking. Alternatively, you can bake them a day ahead, let them cool, and store them in an airtight container. - Q: How can I make these *valentines baked goods* healthier?
If you want to cut back on sugar, you can reduce the amount by about a quarter without losing too much sweetness. You can also substitute half the all-purpose flour for whole wheat flour for added nutrition. - Q: What if I don’t have red food coloring?
No worries! You can use beet juice or raspberry puree for a natural red hue. Just keep in mind that it might slightly alter the flavor, but it’ll still be delicious! - Q: Can I use a different type of chocolate?
Definitely! You can swap in white chocolate chips, milk chocolate, or even add some chopped dark chocolate for an extra rich flavor. Just adjust the sweetness if you switch to a sweeter chocolate! - Q: How do I know when my baked goods are done?
The best way to check for doneness is to do the toothpick test. Insert a toothpick into the center; if it comes out clean or with a few moist crumbs, they’re ready! Keep an eye on the edges too—they should start pulling away from the sides of the pan. - Q: Can I freeze these baked goods?
Absolutely! They freeze beautifully. Just wrap individual pieces tightly in plastic wrap and store them in a freezer-safe bag. They’ll last for up to three months. When you’re ready, thaw them at room temperature or reheat them as mentioned in the storage section!
These FAQs should help you feel more confident as you bake your *valentines baked goods*. Remember, baking is all about having fun and enjoying the process, so don’t stress too much—just savor the joy of creating something special!
Print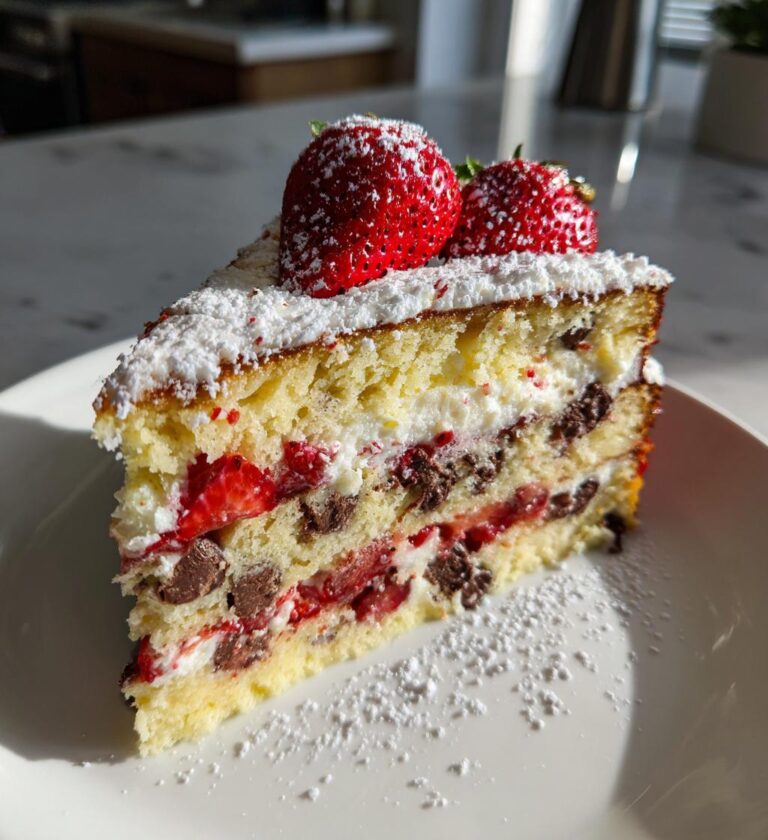
Valentines Baked Goods: 7 Sweet Treats to Cherish Together
Delicious baked goods perfect for Valentine’s Day.
- Total Time: 45 minutes
- Yield: 12 servings 1x
Ingredients
- 2 cups all-purpose flour
- 1 cup sugar
- 1/2 cup unsalted butter
- 2 large eggs
- 1 cup milk
- 1 teaspoon vanilla extract
- 1/2 teaspoon baking powder
- 1/4 teaspoon salt
- Red food coloring
- 1 cup chocolate chips
Instructions
- Preheat your oven to 350°F (175°C).
- In a bowl, cream together butter and sugar.
- Add eggs and mix well.
- Stir in milk and vanilla.
- In another bowl, combine flour, baking powder, and salt.
- Add dry ingredients to wet ingredients, mixing until just combined.
- Fold in chocolate chips and red food coloring.
- Pour batter into a greased baking dish.
- Bake for 25-30 minutes or until a toothpick comes out clean.
- Let cool before serving.
Notes
- Can substitute butter with coconut oil for a dairy-free option.
- Use heart-shaped cookie cutters for fun shapes.
- Prep Time: 15 minutes
- Cook Time: 30 minutes
- Category: Dessert
- Method: Baking
- Cuisine: American
- Diet: Vegetarian
Nutrition
- Serving Size: 1 piece
- Calories: 250
- Sugar: 15g
- Sodium: 180mg
- Fat: 10g
- Saturated Fat: 6g
- Unsaturated Fat: 4g
- Trans Fat: 0g
- Carbohydrates: 35g
- Fiber: 2g
- Protein: 3g
- Cholesterol: 40mg
Keywords: valentines baked goods, Valentine's Day treats, sweet desserts